- Azure provides Public IP addresses that allow resources within your Virtual Networks to communicate with the internet. These are typically used for services like virtual machines, load balancers, and application gateways.
- When managing Public IPs, consider using Azure IP prefixes and service tags to control inbound and outbound traffic through Network Security Groups (NSGs).
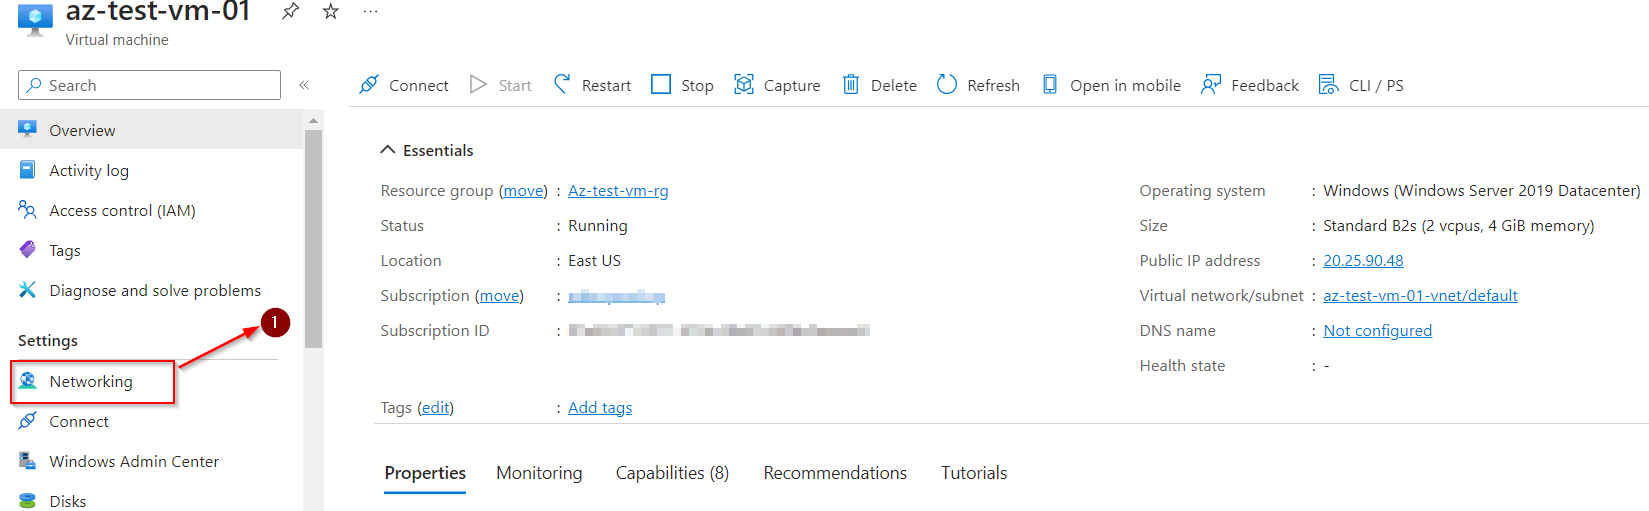
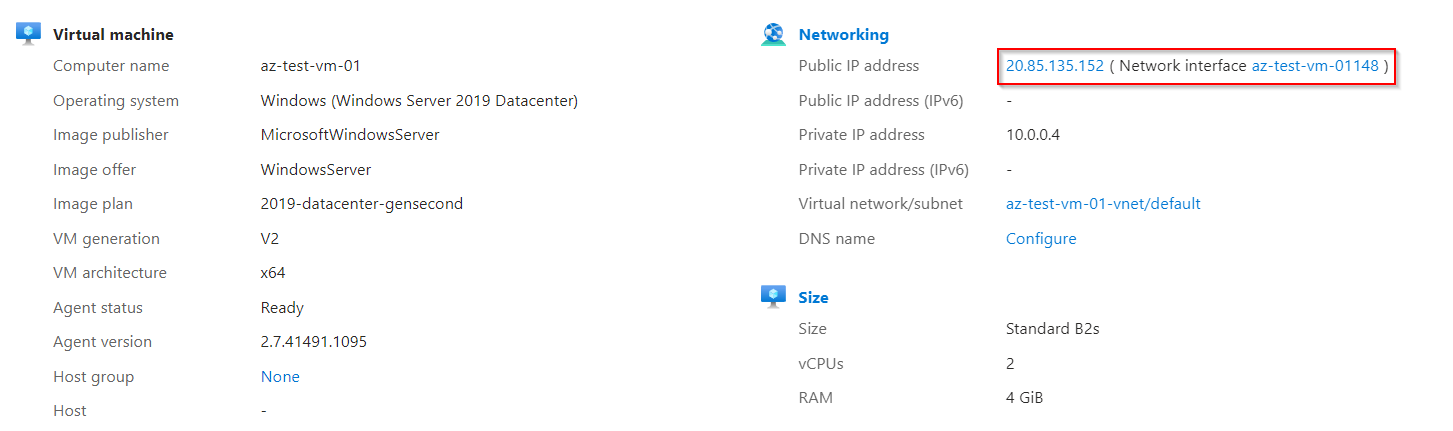
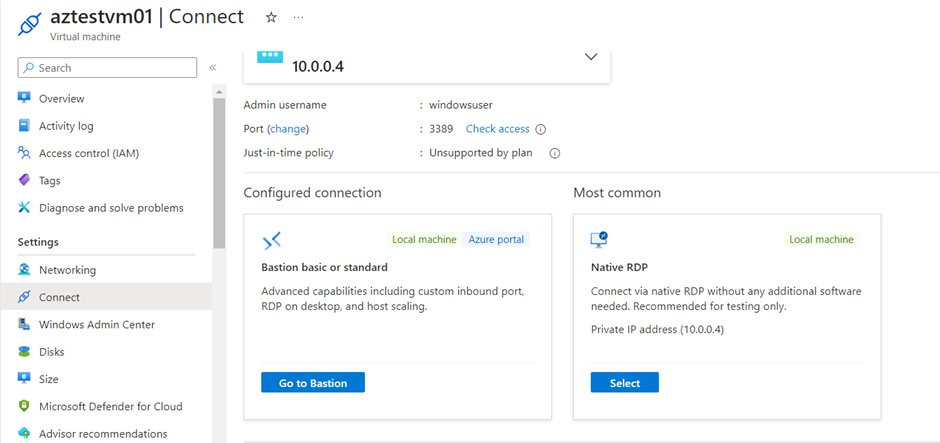
Currently here I have a Virtual Machine with both Public IP and a Private IP.
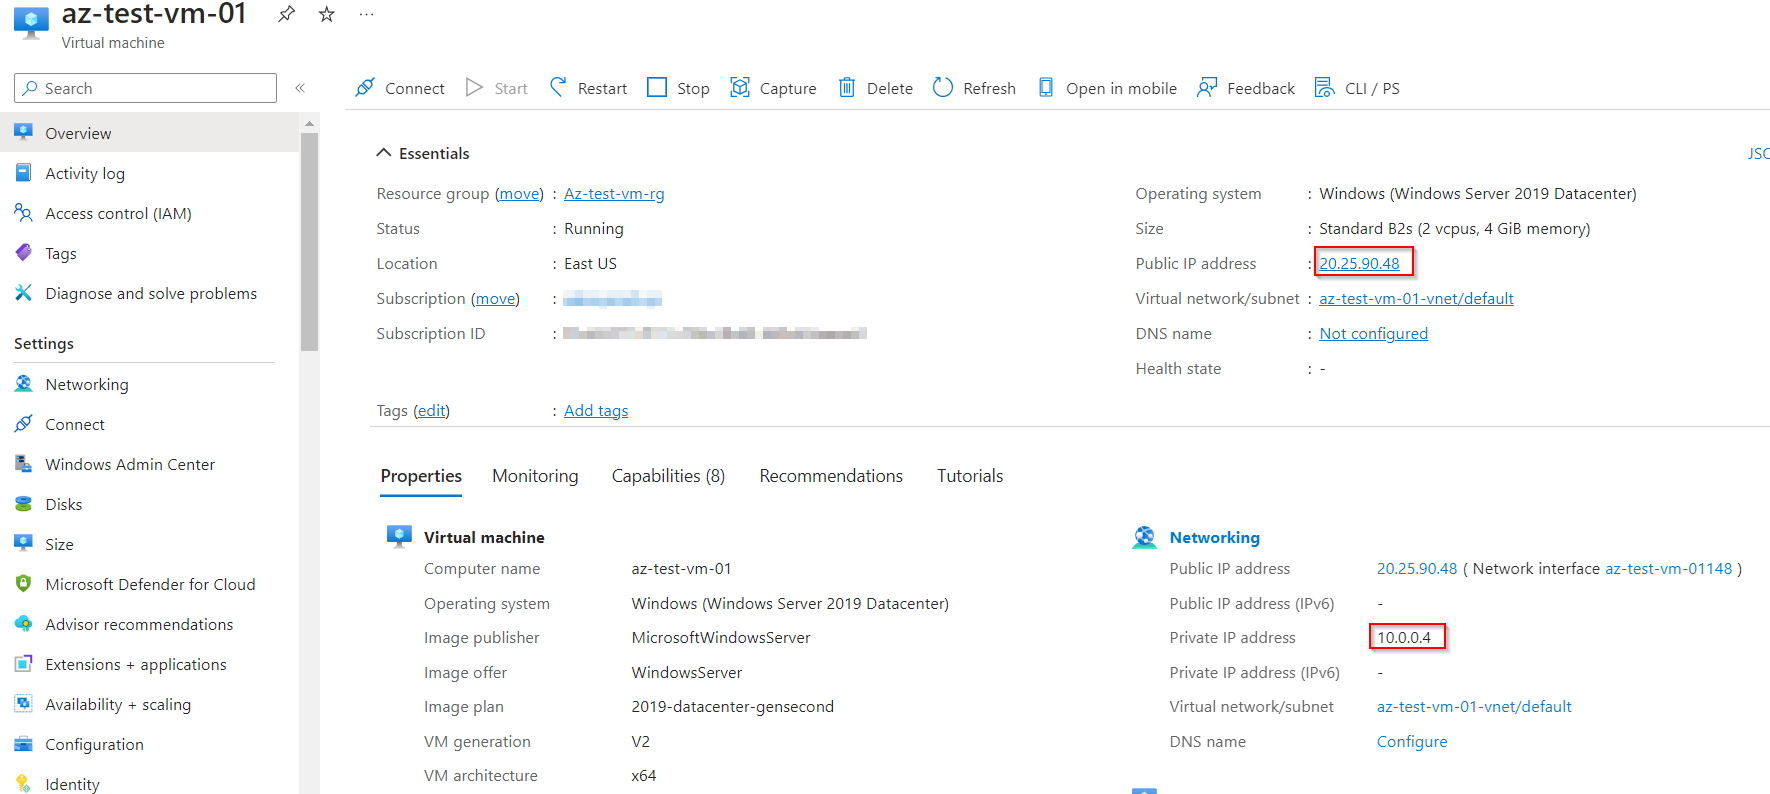
Private IP : Private IP addresses are used within Virtual Networks for communication between Azure resources.
Public IP : Public IP helps in Inbound communication with the Virtual machine through internet.
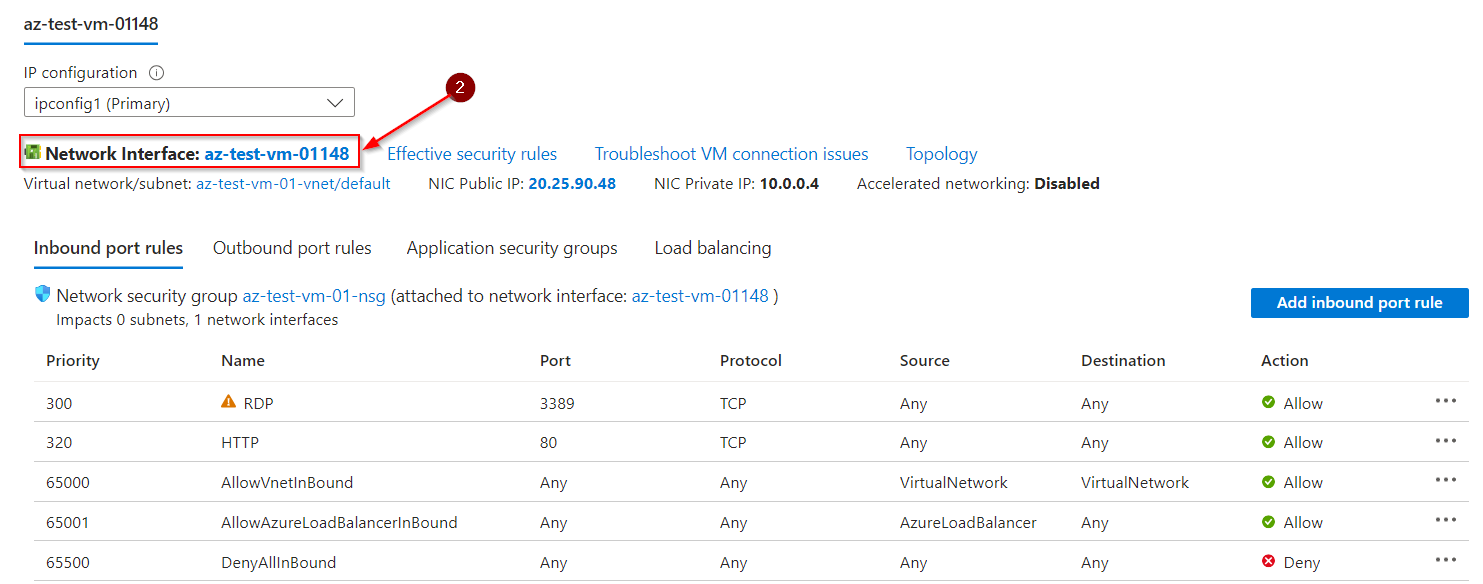
Step 1 : Lets check the IP configuration of this Virtual Machine.
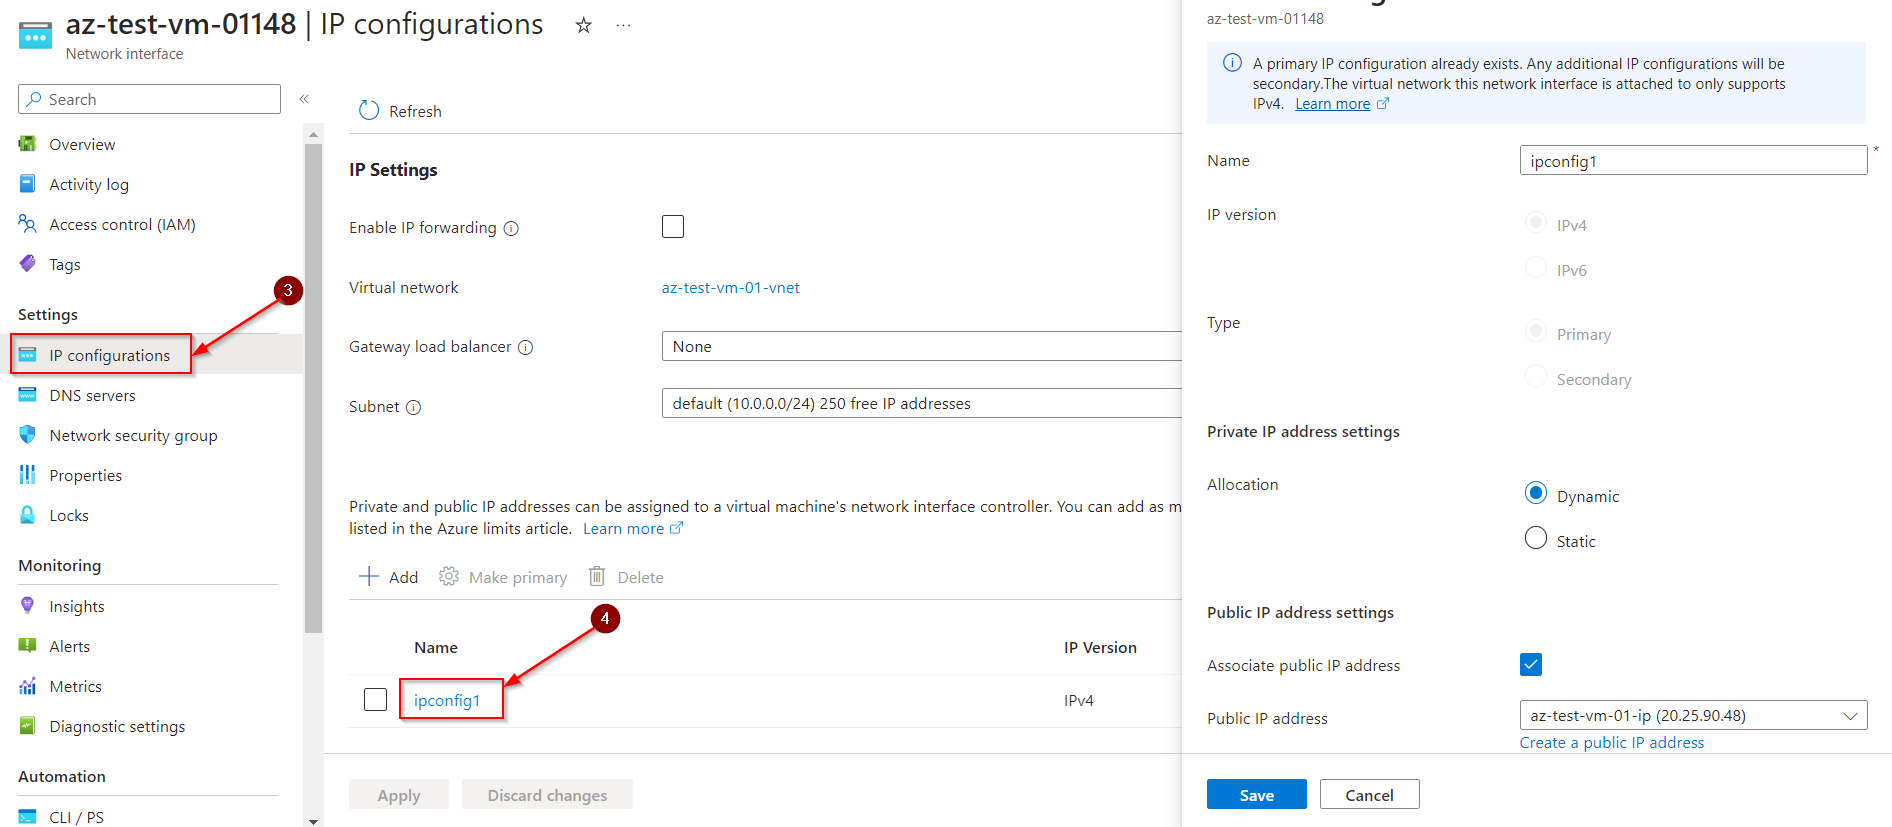
In IP configuration section we have options to convert our Private IP to Dynamic or Static. But there is no option for us to edit our Public IP SKU.
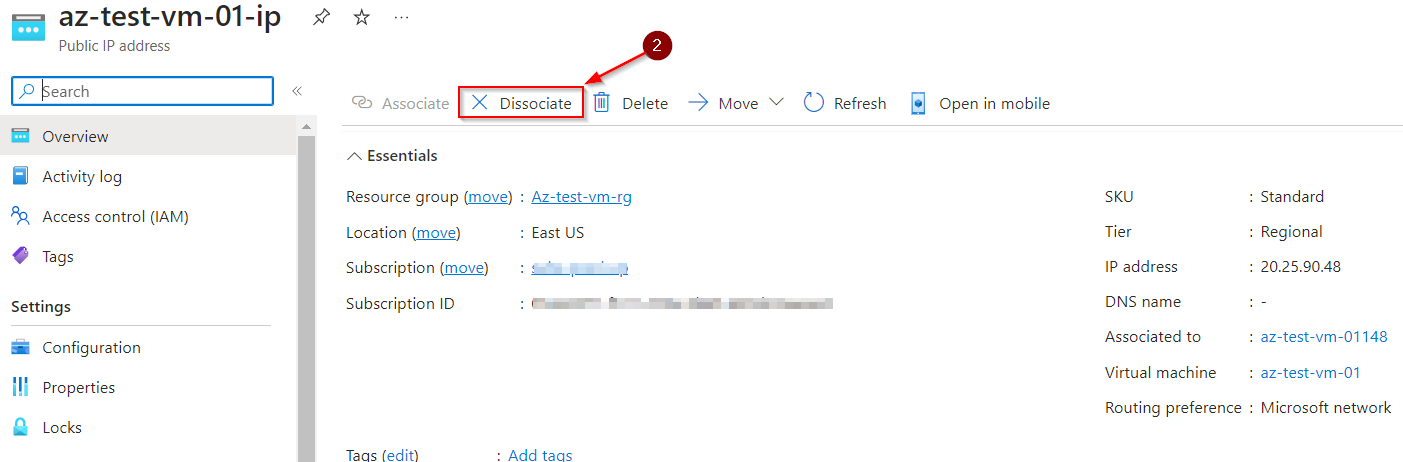
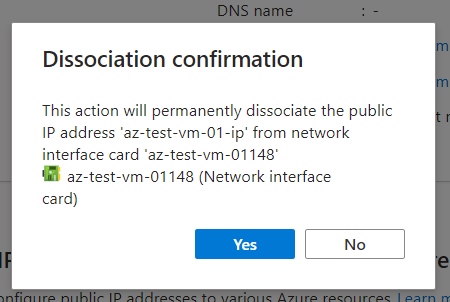
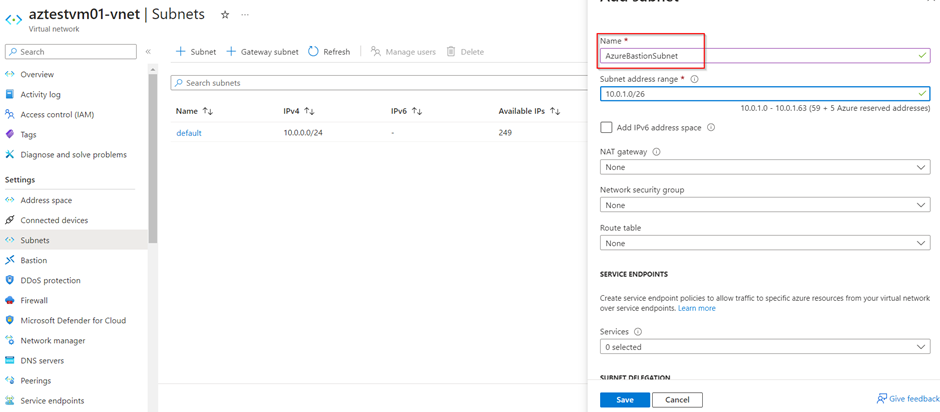
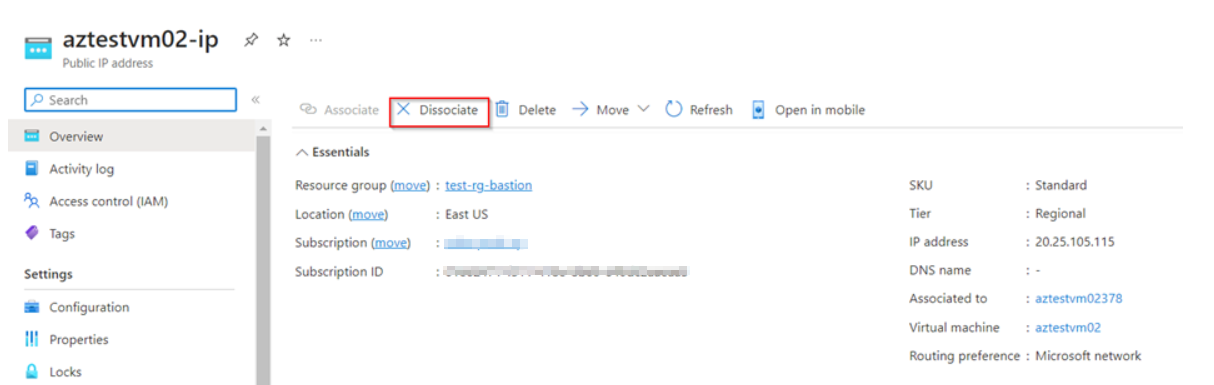
Step 2 : Dissociate the current Public IP and assign a new IP with a required SKU.
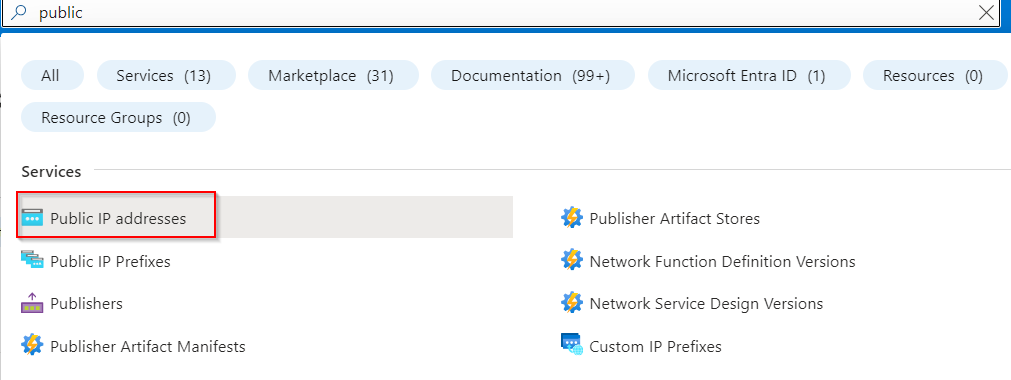
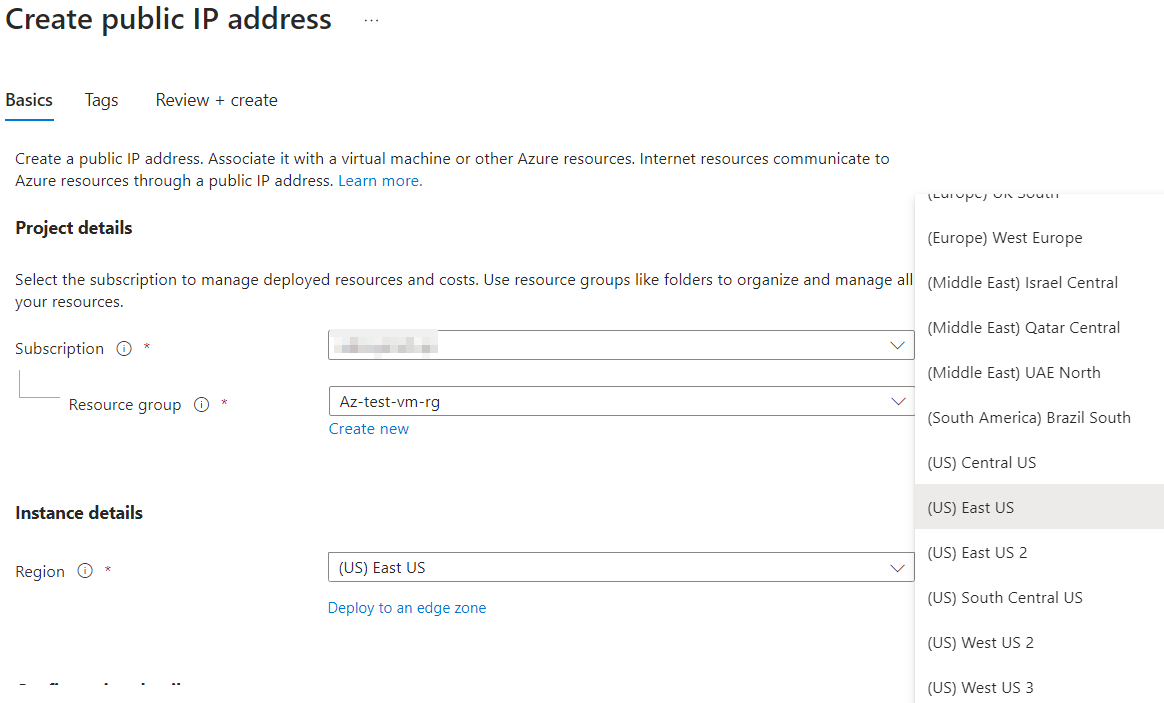
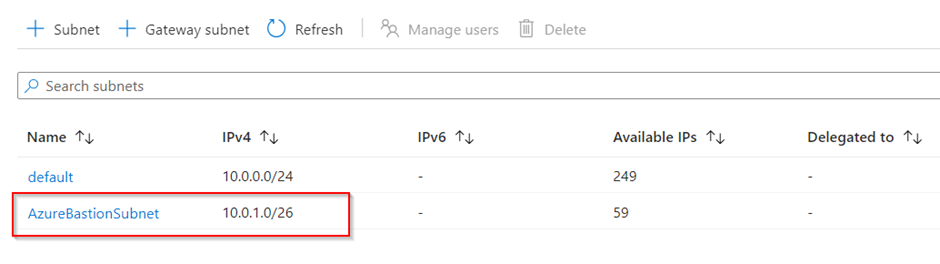
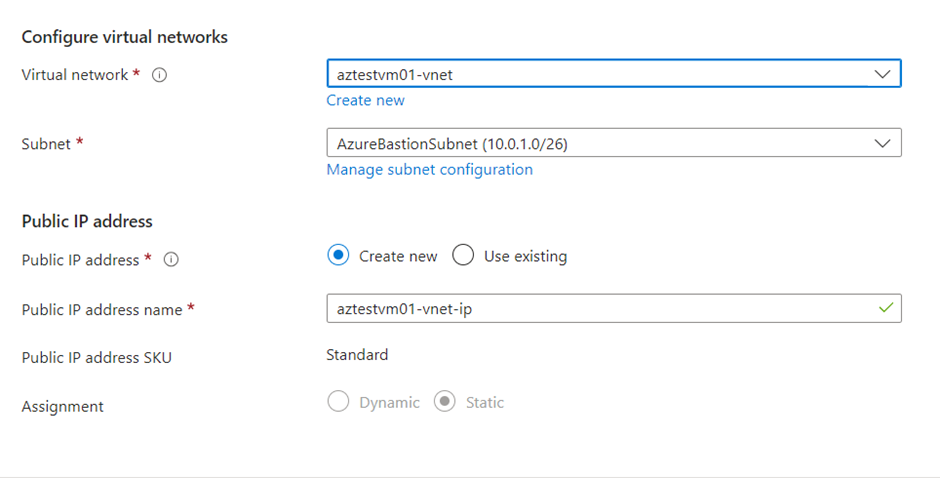
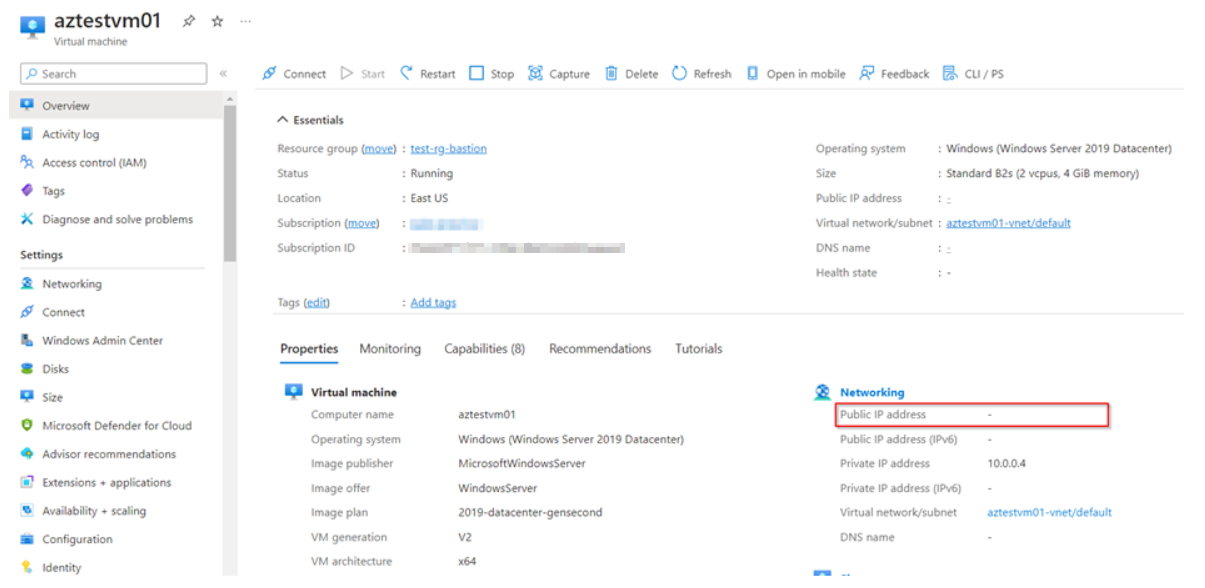
Step 3 : Now we have a Virtual Machine without a Public IP. So lets create a new Public IP with a different SKU.
We can select any region according to our requirement.
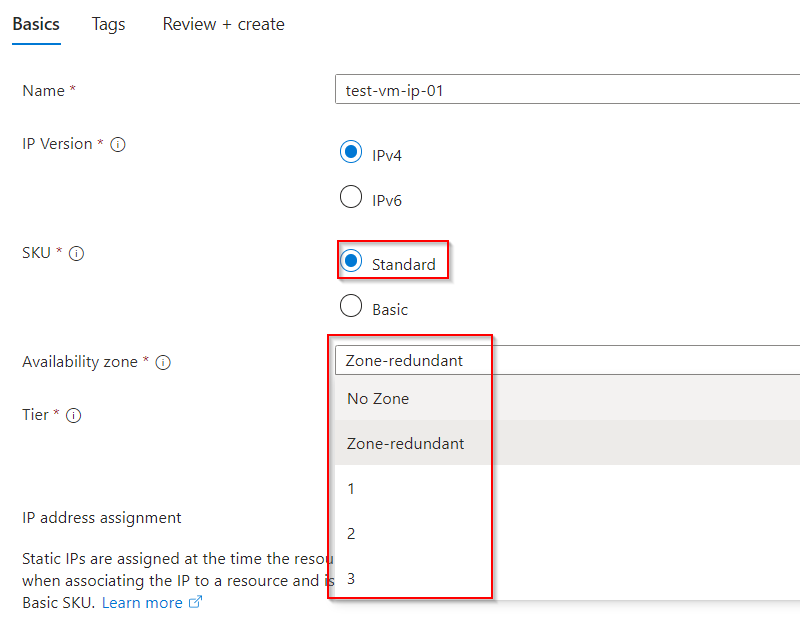
Now for selecting for SKU for IP addresses there are two SKU’s they are Standard and Basic.
For a Standard SKU we have option’s like Zone Redundant and tier’s for Regional or Global. All these options helps in increasing the availability of the Public IP. And for Basic SKU we don’t have any availability options.
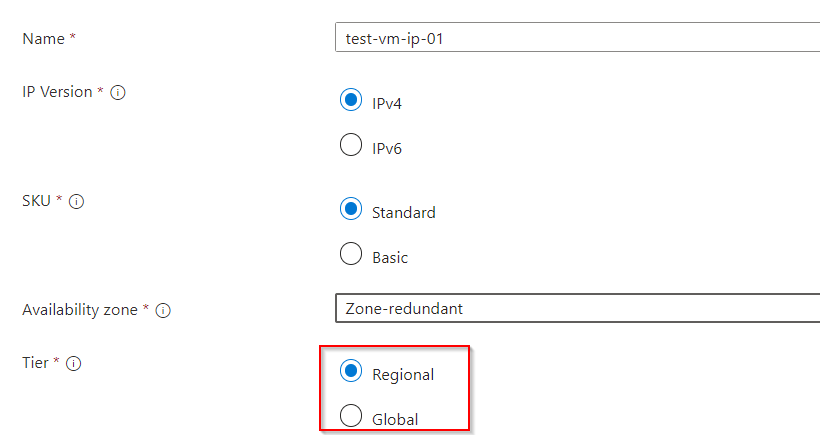
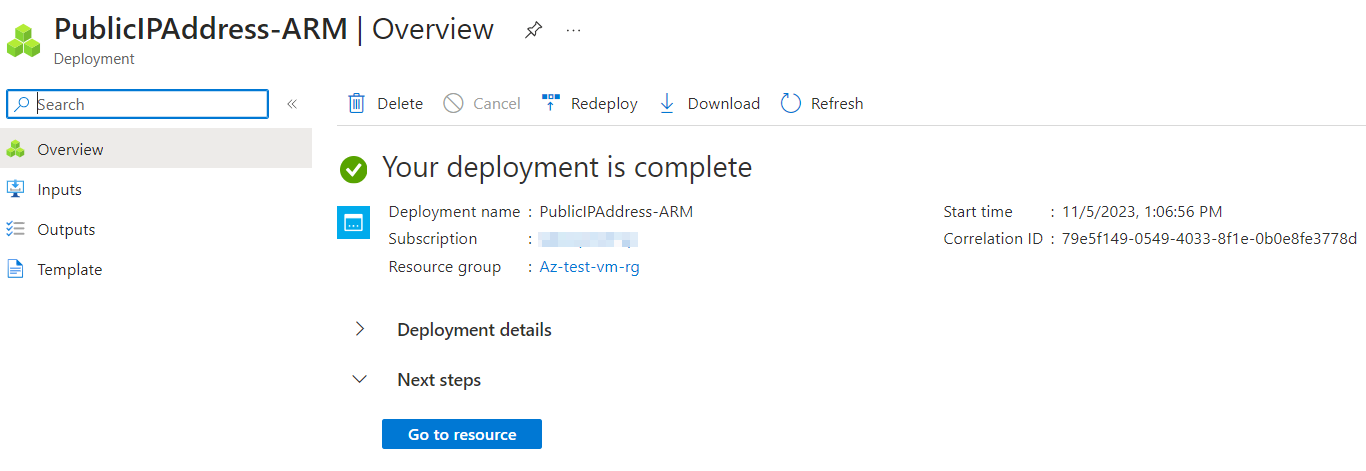
Step 4 : Here lets go with Standard Plan and create a Public IP.
Step 5 : Once the Public IP is created, Lets assign it to the Virtual Machine. In Ip configuration part click on Associate public IP address to assign our new Public IP.

Select the required IP address and click on save.
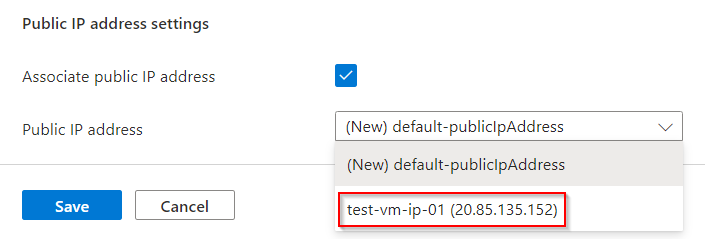
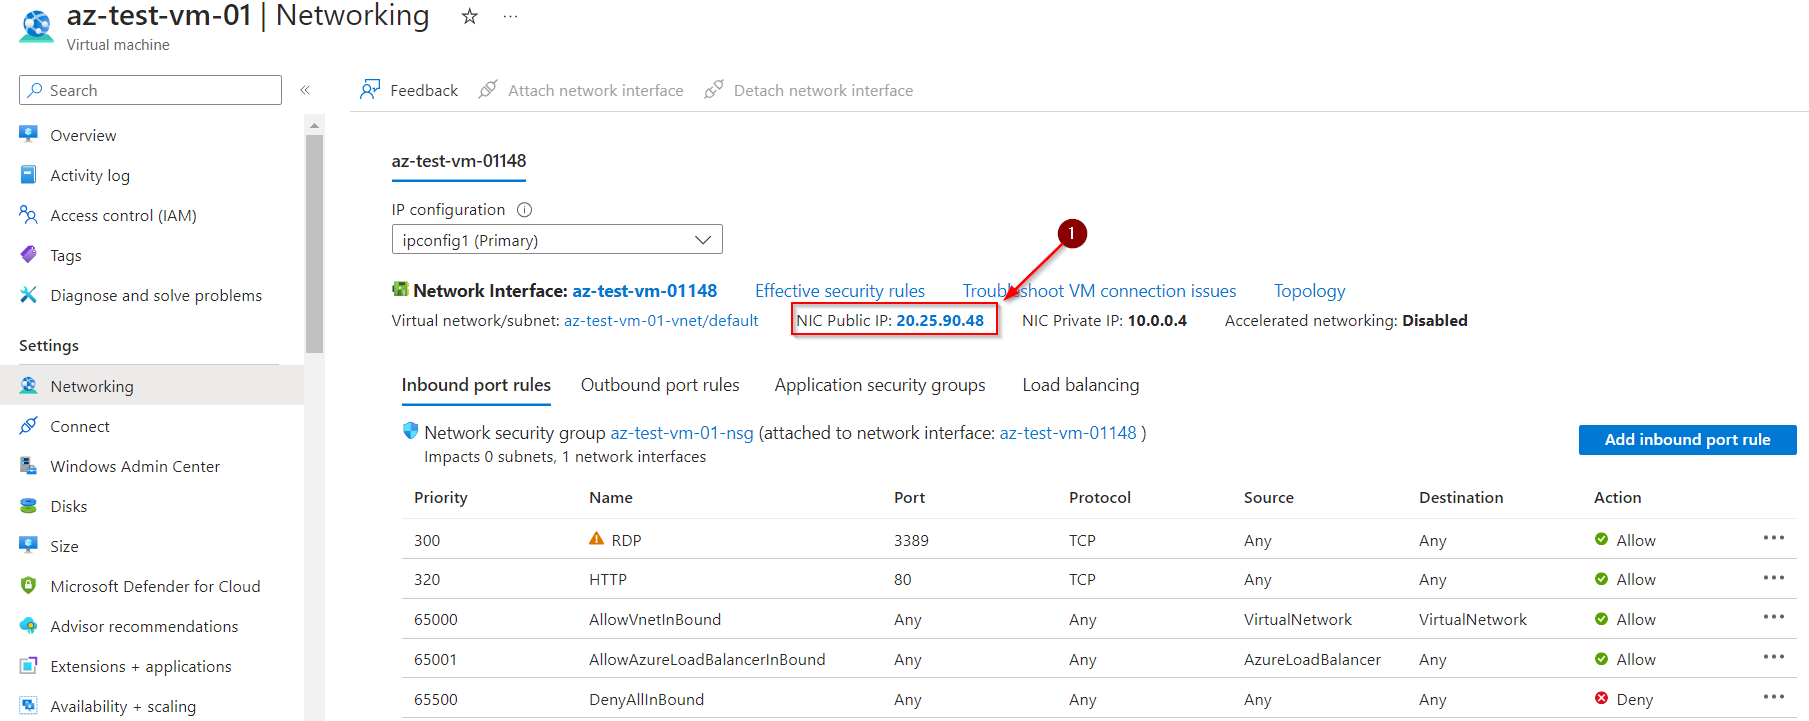
Now the Virtual Machine is assigned with a new Public IP Address.


 Access Control with Network Security Groups in Azure")


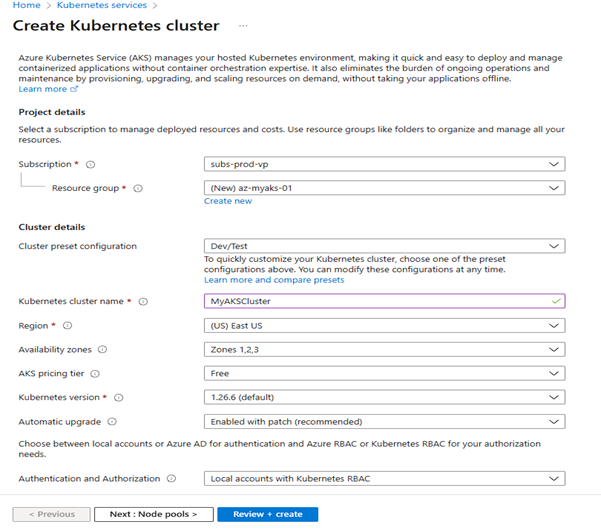
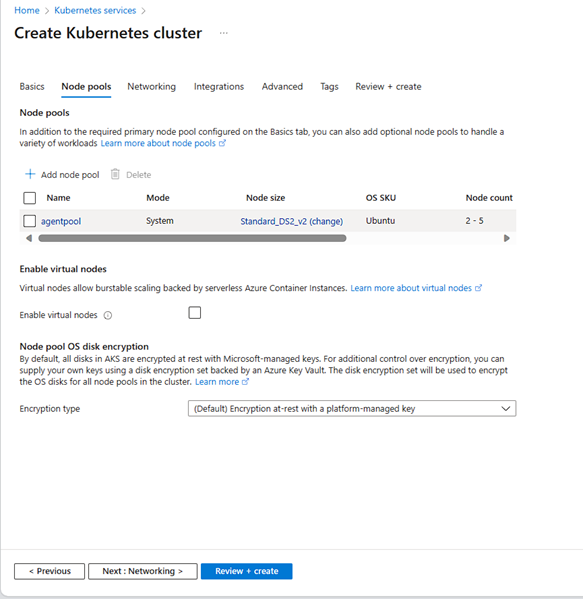
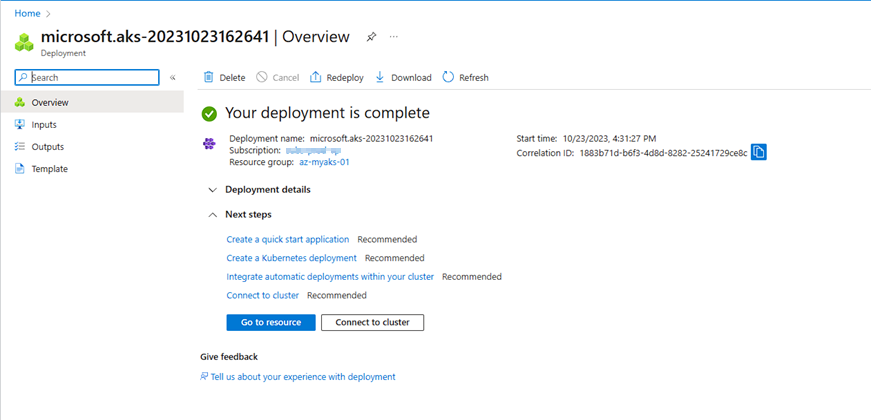
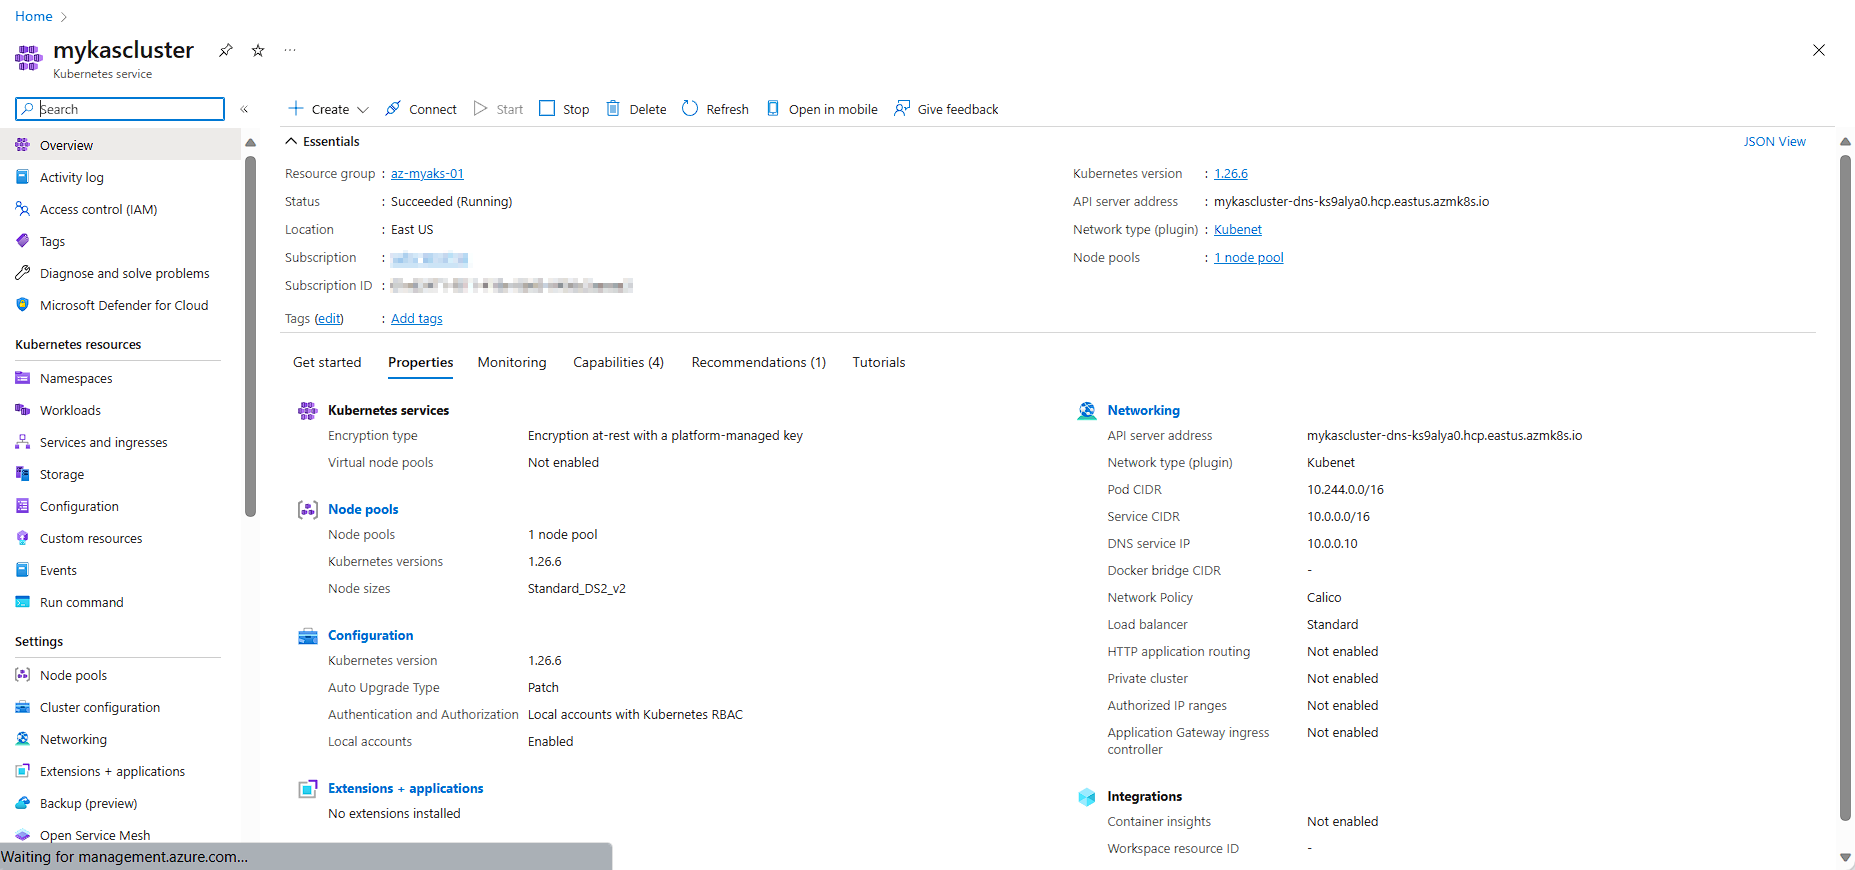
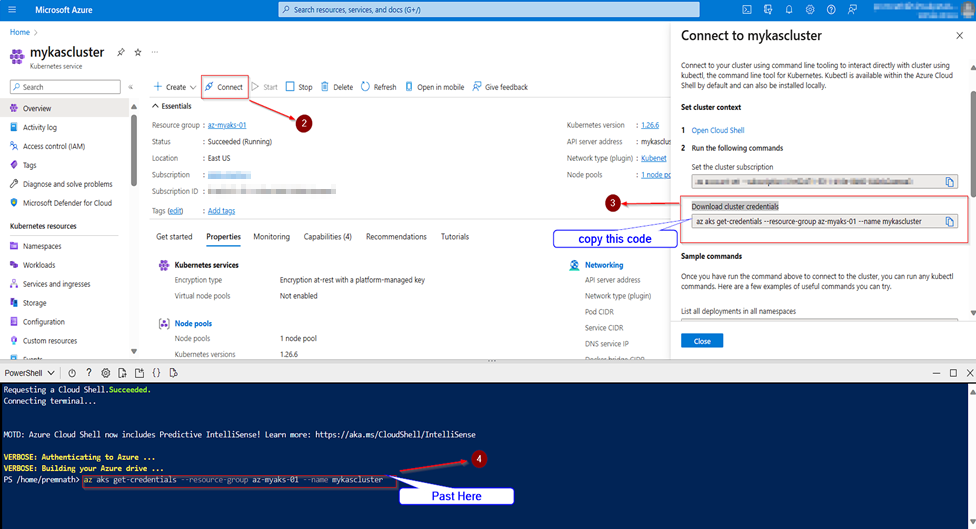
 cluster using the Azure portal")