
- PowerShell, with the Azure AD module, allows you to create, update, and delete Azure AD user accounts, making user management more efficient.
- Group creation, membership management, and group-based access control can be easily automated and configured using PowerShell scripts.
- PowerShell is a valuable tool for bulk operations, enabling you to handle multiple users and groups simultaneously.
- It’s important to follow security best practices, protect credentials, and assign proper permissions when using PowerShell with Azure AD.
Step 1 :As a first step open your PowerShell Prompt in your Local machine and select run as Administrator.
Now type the following command
Set-ExecutionPolicy RemoteSigned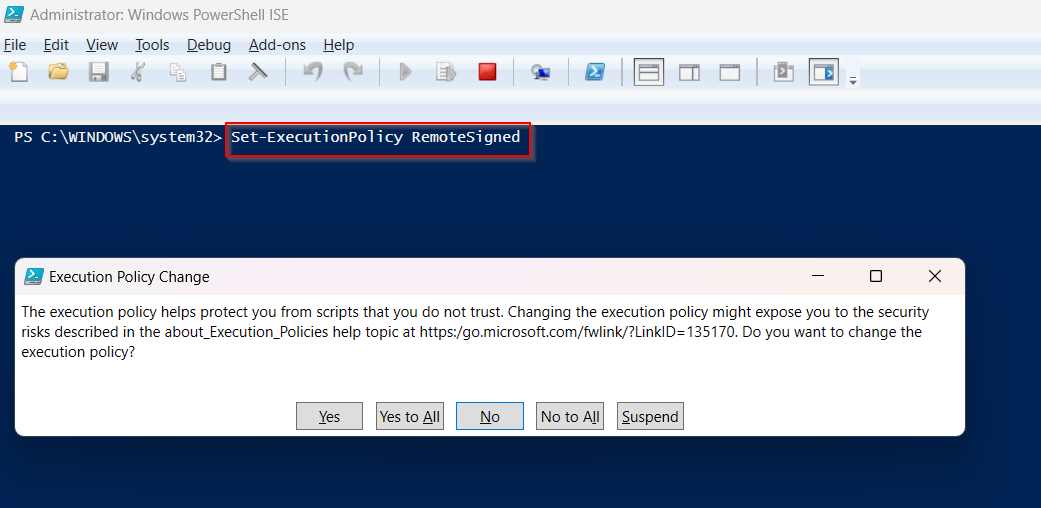
The command Set-ExecutionPolicy RemoteSigned is a PowerShell command used to set the execution policy for running scripts on a Windows system.RemoteSigned is one of the execution policies available in PowerShell. When you set the execution policy to RemoteSigned, it allows the execution of scripts that are local to your computer without requiring a digital signature.
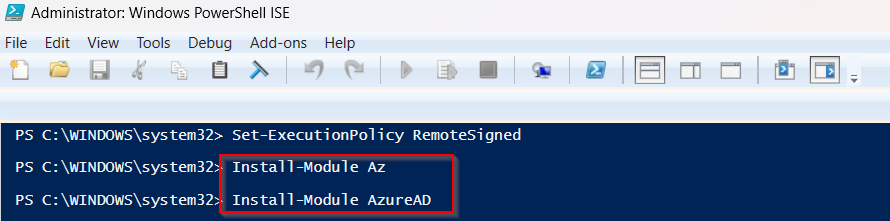
Step 2: Lets install Azure modules to for running our scripts.
Step 3: Once all the required modules are installed lets connect to our Azure tenant.

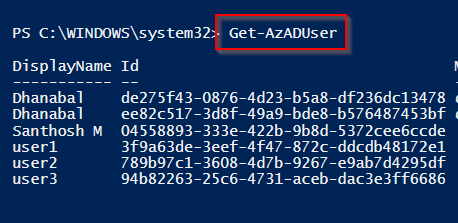
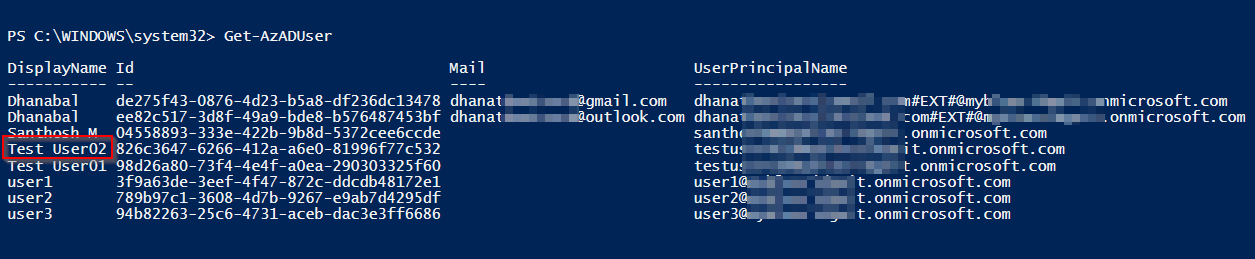
Step 4: Lets get the list of users in the tenant
Step 5: Lets start creating users for this tenant by using PowerShell.
Type the flowing command below to create a user in Azure AD
New-AzADUser -DisplayName 'Test User01' -UserPrincipalName testuser01@domain-name.onmicrosoft.com -MailNickname test01 `
-Password (Read-Host "Enter the Password for user :" -AsSecureString)
We can also give additional information’s required for the user and run the script to view the user.

We can also provide additional settings, like force the user to change the password once they login.

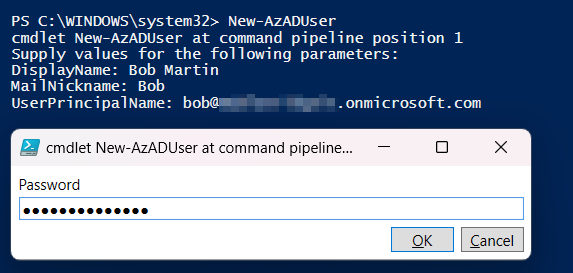
Step 6: Other simple ways to create a user in Azure AD. Type the command New-AzADuser and fill the parameter’s in the console window.
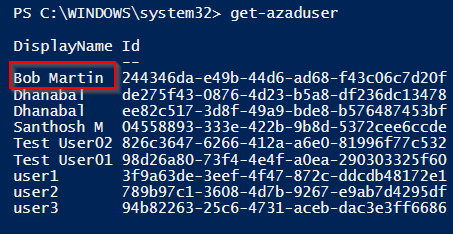
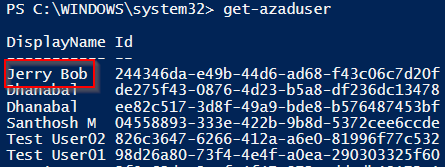
Step 7: Lets edit the properties of a user.

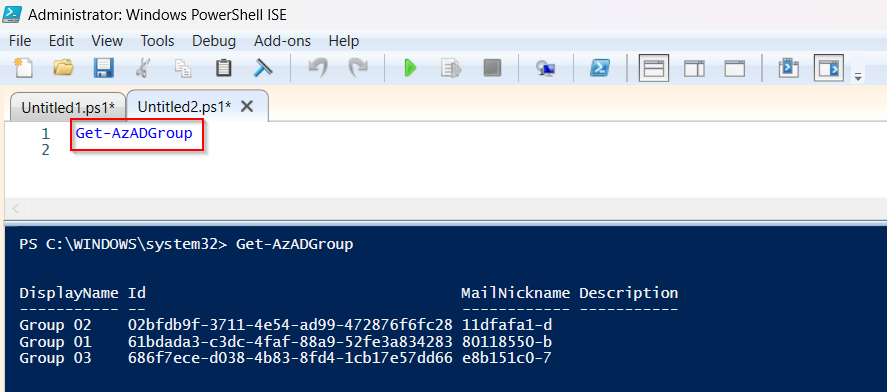
Step 8: Lets start creating groups in Azure AD
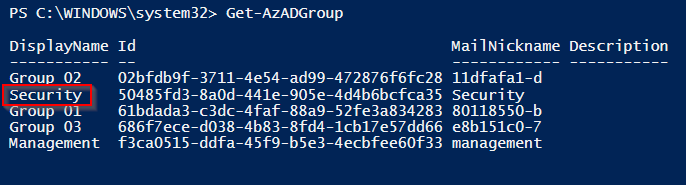
Check for the available group that exist in your tenant.
Provide the following commands the create a group in your tenant.
New-AzADGroup -DisplayName Security -MailNickname Security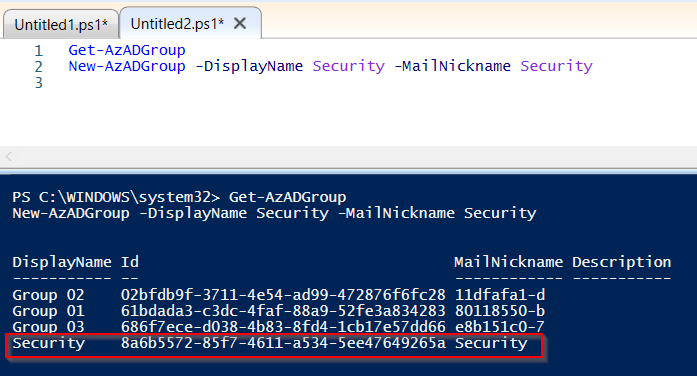
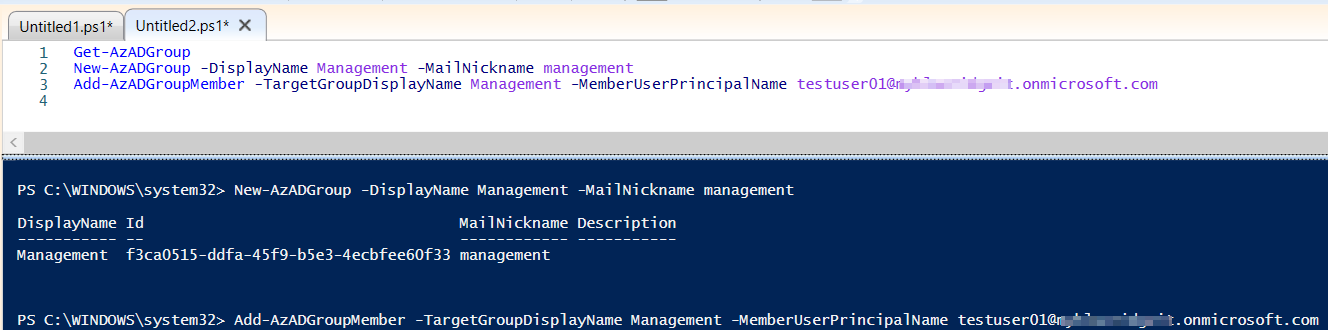
Adding members to the group
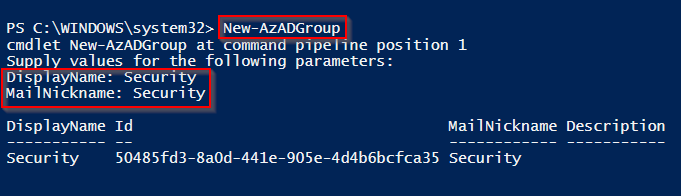
Step 9: We can also use other ways to create a group using PowerShell. Type New-AzADGroup and run the script, then fill the required parameters for the group.
Step 10: Removing or Deleting a group from Azure AD.

