31 C
Dubai
Tuesday, May 6, 2025
Home Blog Page 24

Migrate Azure AD Connect to a New Server

New Azure Active directory connect versions don’t support Windows server 2012 R2 anymore. Let’s see how to safely move the Azure AD Connect to a new operating system. There might be various scenarios on why you need to move to a new operating system. We will be seeing how to bring a staging server in the same configuration and move the configuration from the old server to the new server. They have simplified the process in the new version of Azure Active Directory Connect.

We will be migrating from Windows Server 2012 R2 to Windows Server 2019 in the scenario. Configured with standard operating system settings like the old azure AD Connect server with a new IP Address.

  • Export the Configuration of the existing Azure AD Connect server
  • Install the new Azure AD Connect server with the imported settings (Staging Mode)
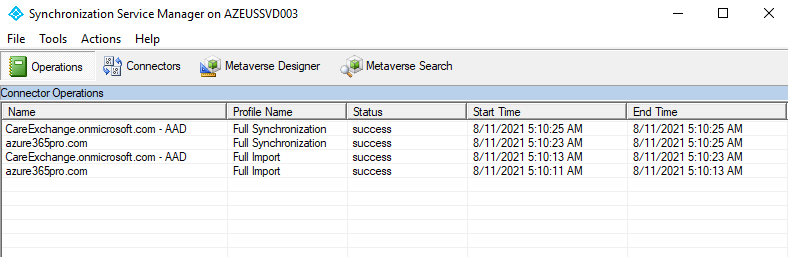
  • Verify Staging Sync
  • Set the Old Azure AD Connect server to staging mode (Optional)
  • Uninstall Old Azure AD Connect server (Direct uninstall)

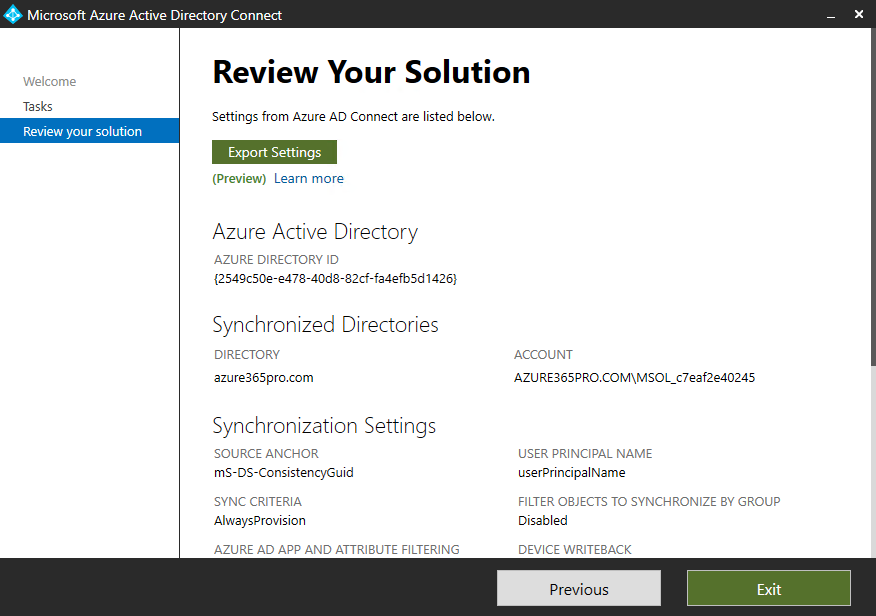
Login to the old Azure AD Connect server to export the current configuration. Note that this option is available in only the latest azure Active directory to connect versions you may not see it if you are running an older version.

Choose export settings to save the JSON file.

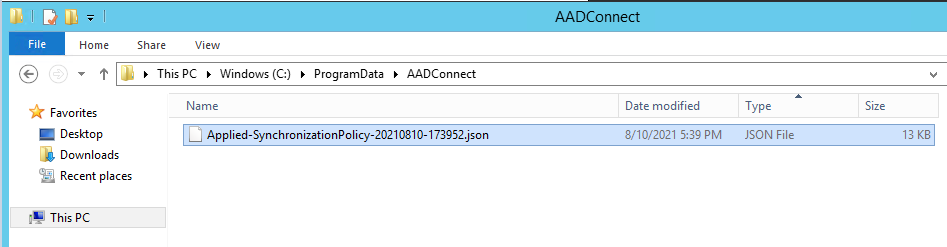
if you don’t see the option to Export the Current configuration. You may run an old version of Azure ad connect.
you can copy the latest applied JSON policy file from C:\ProgramData\AADConnect

Sample File will look like – Applied-SynchronizationPolicy-20210810-173952.json

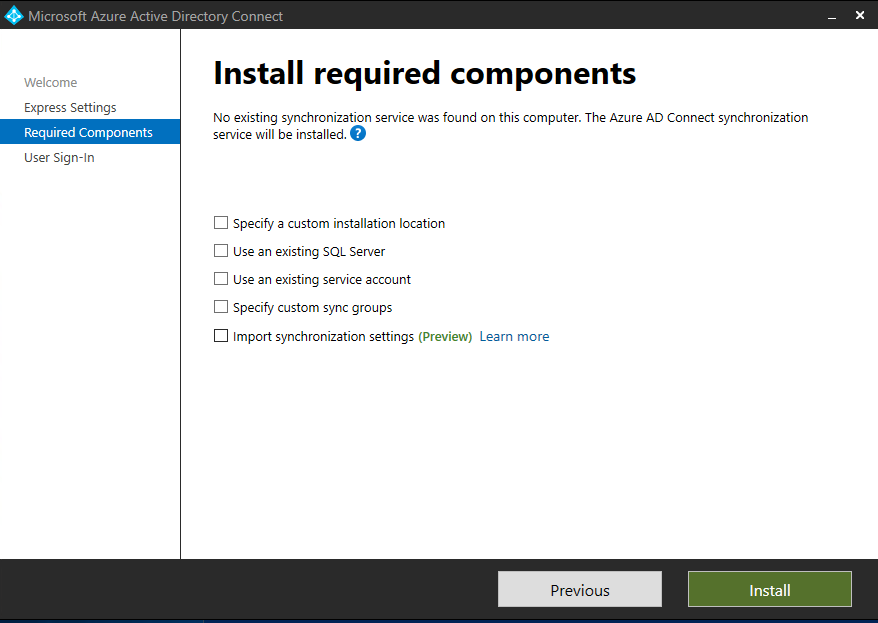
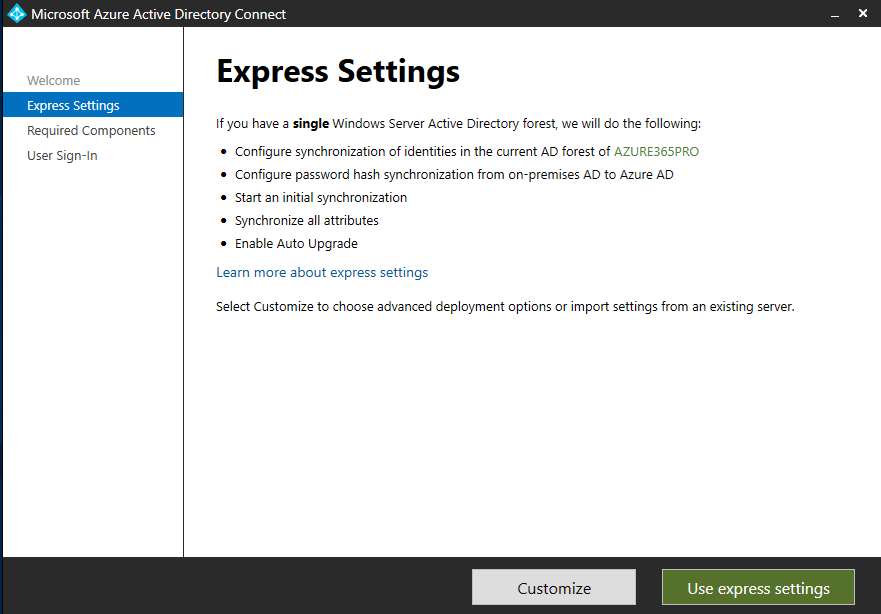
Login to the new server which has the latest operating system. Download the latest Azure AD Connect version

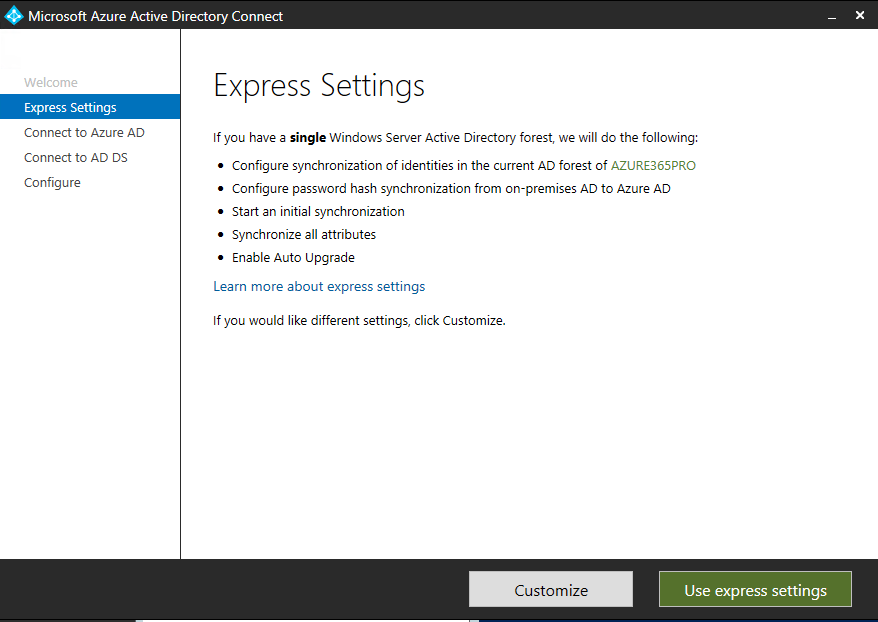
Choose Customize.  if you see an error to enable TLS1.2.

Choose Import synchronization settings. it’s not a preview anymore it’s a bug showing as a preview.

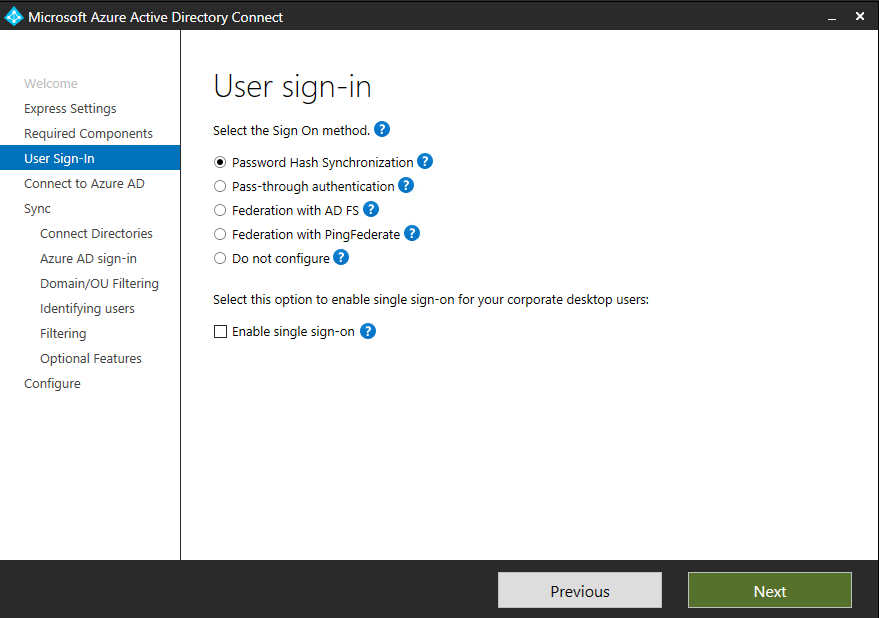
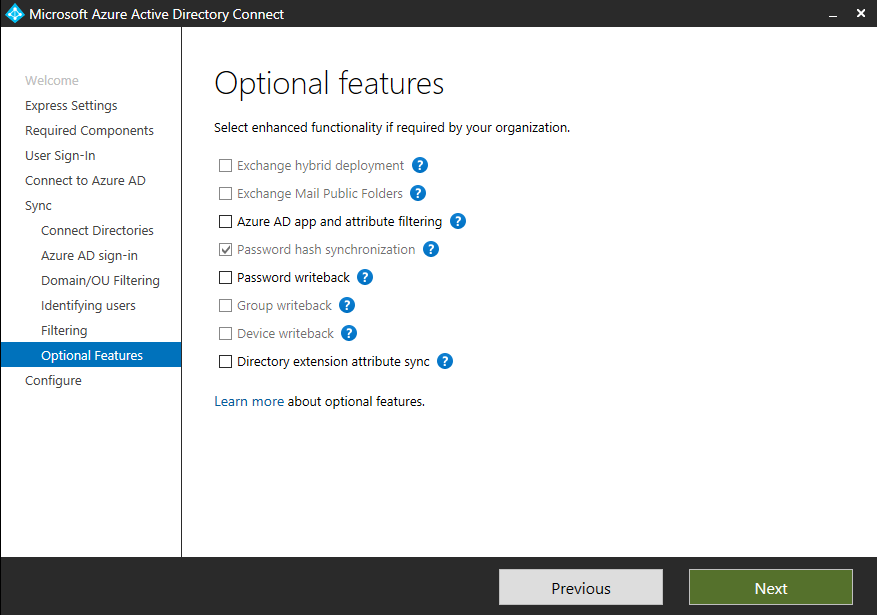
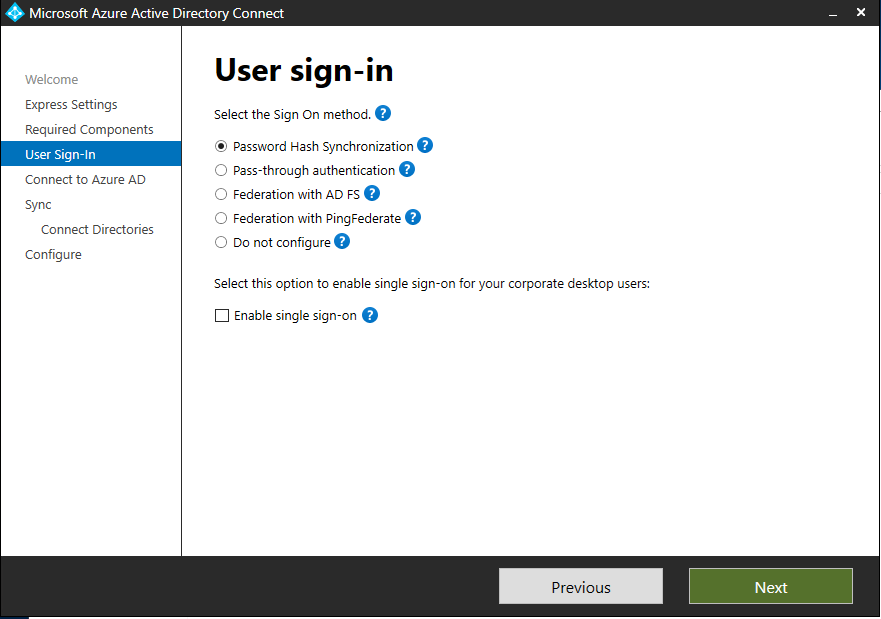
Choose password hash synchronization

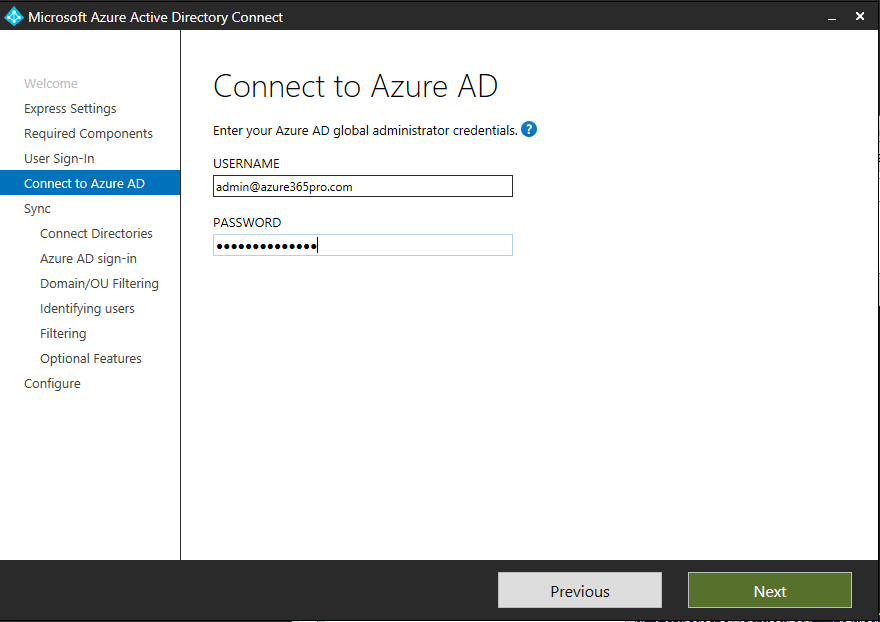
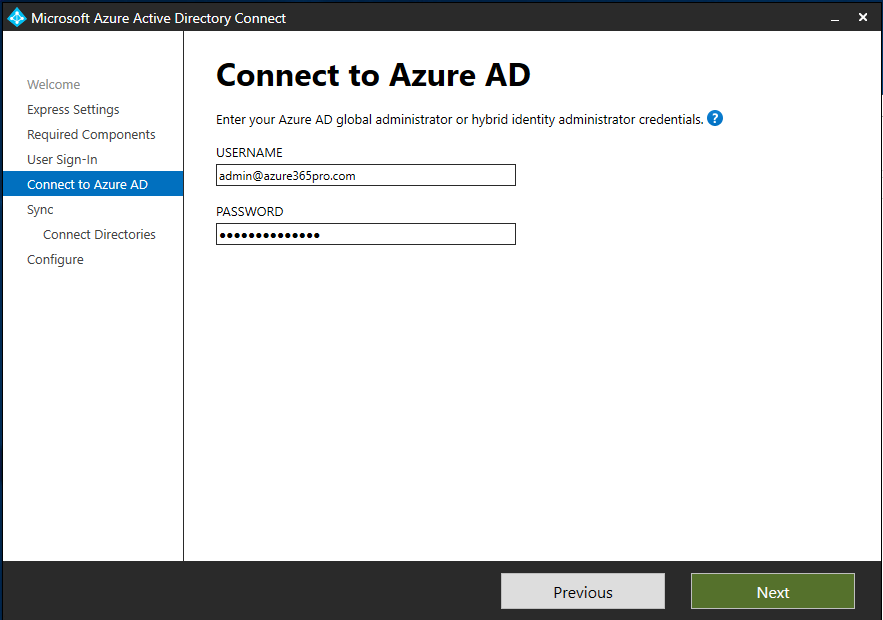
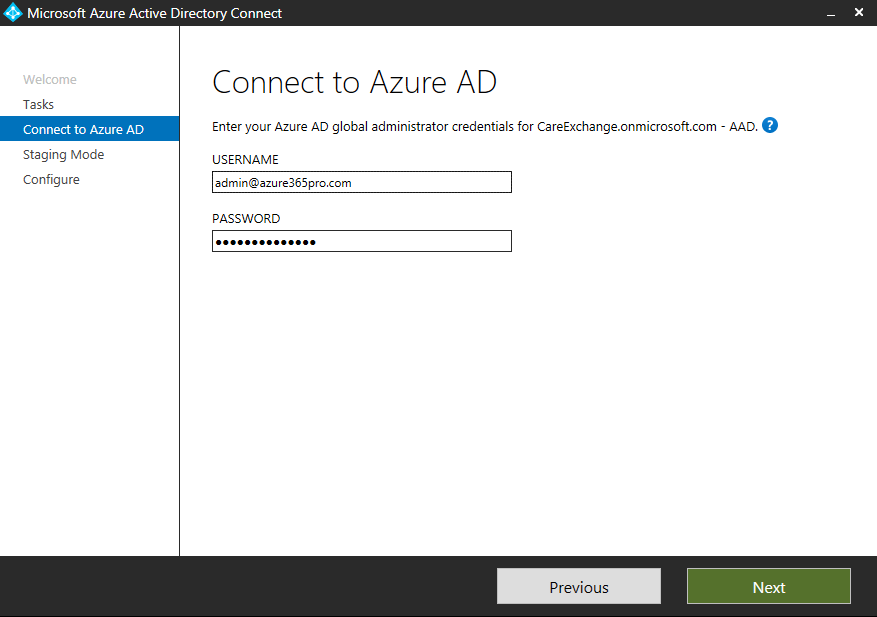
Log in using your global administrator or hybrid administrator credentials

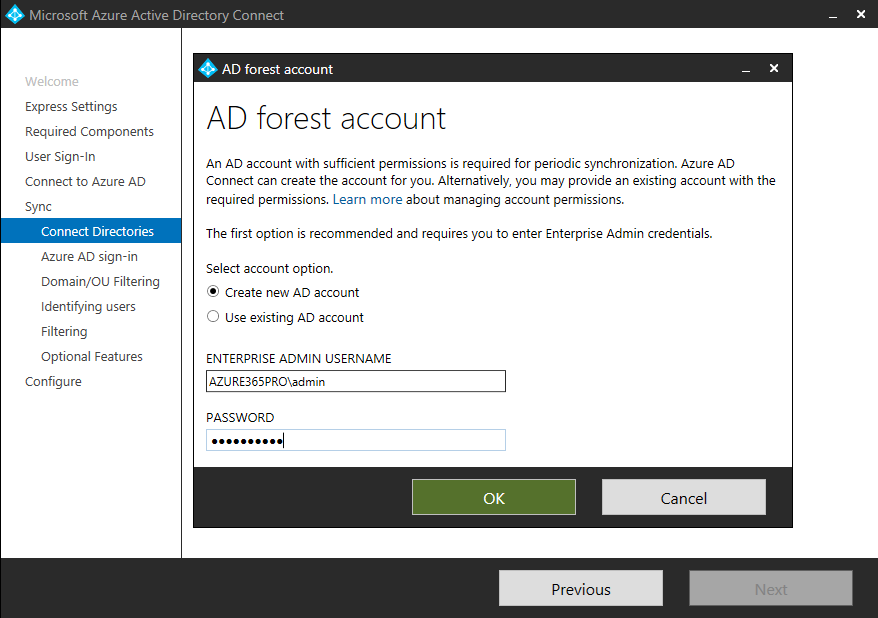
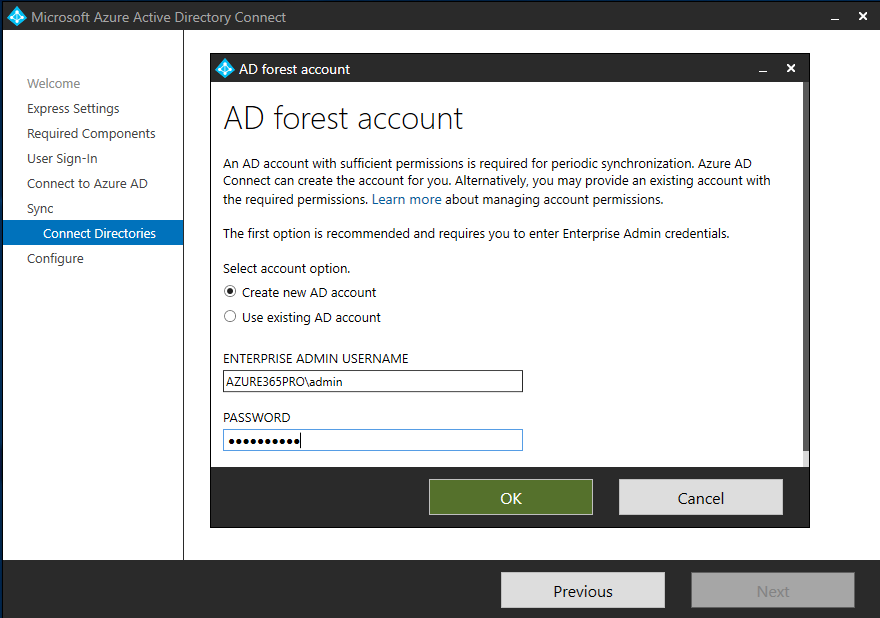
Choose the Enterprise admins credentials to create a service account

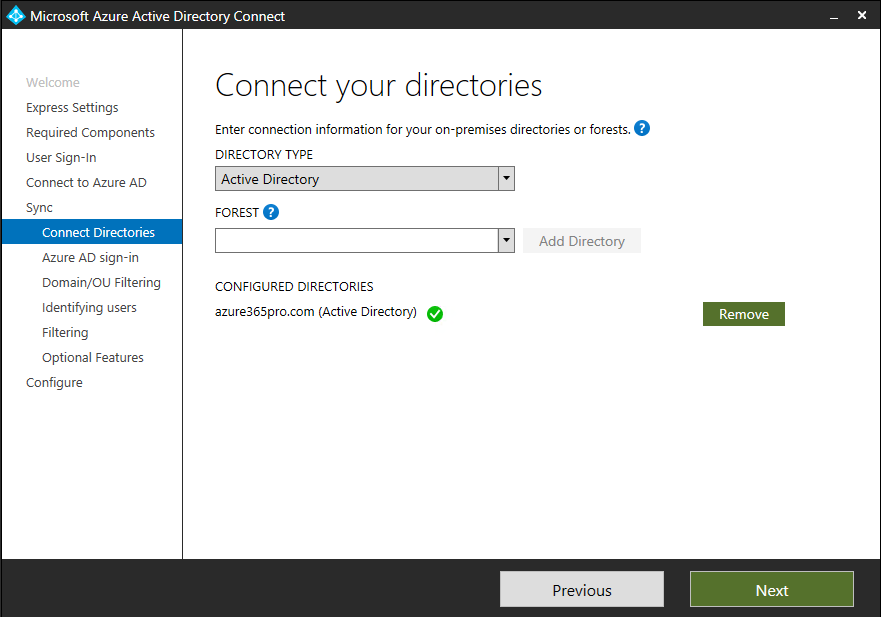
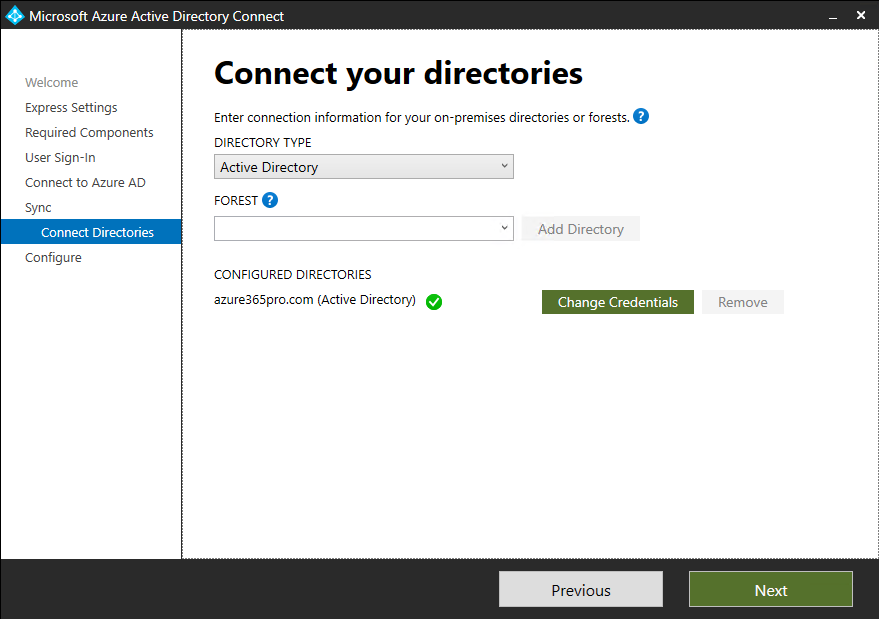
Make sure directory is configured

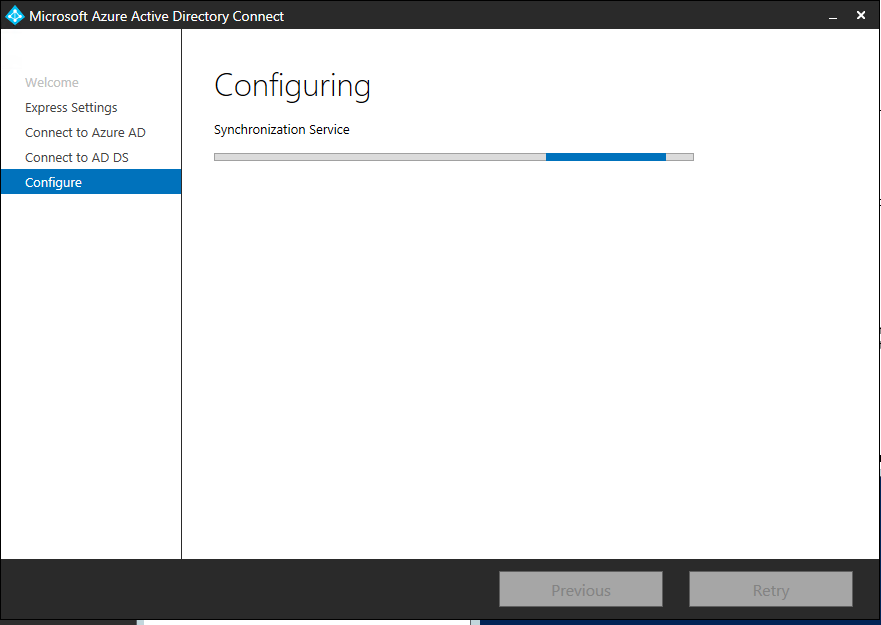
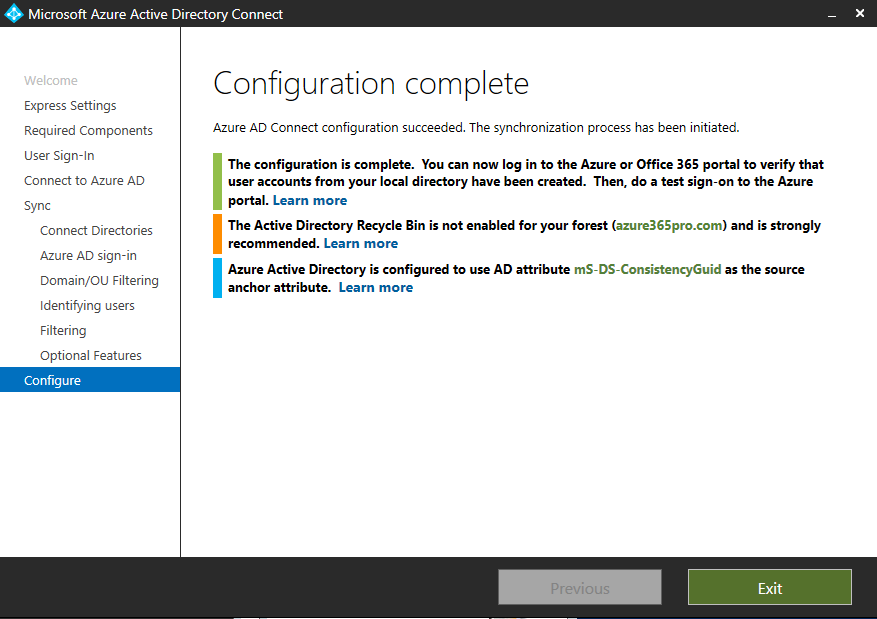
Staging Mode is Checked on New server and Choose install

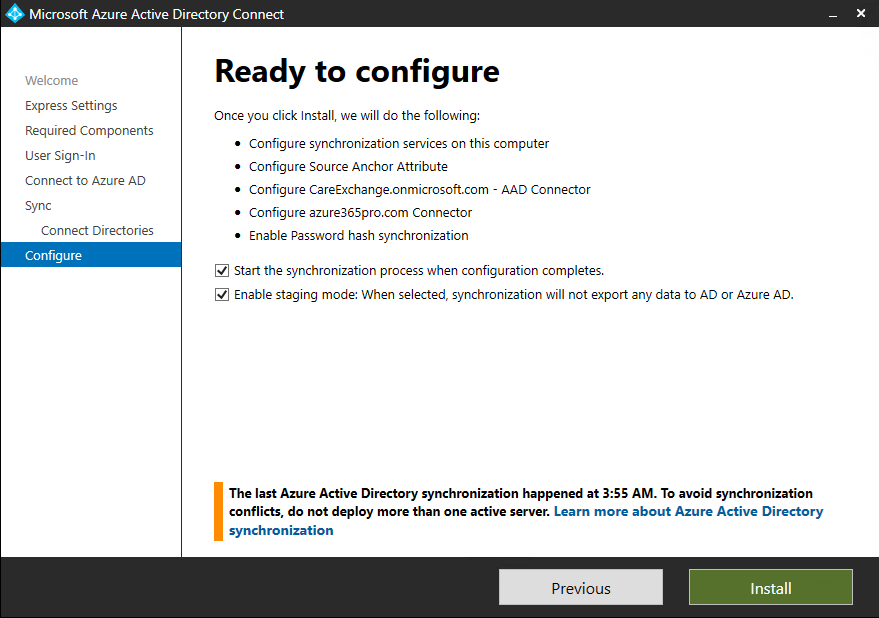
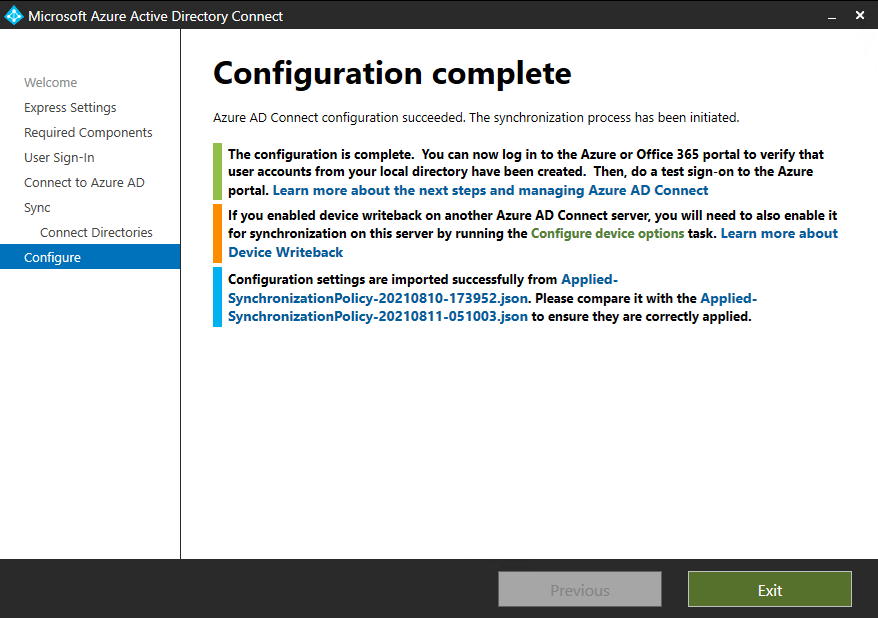
Configuration is completed in staging mode in the new server.

Log off and log in so that permissions get applied to open the synchronization manager

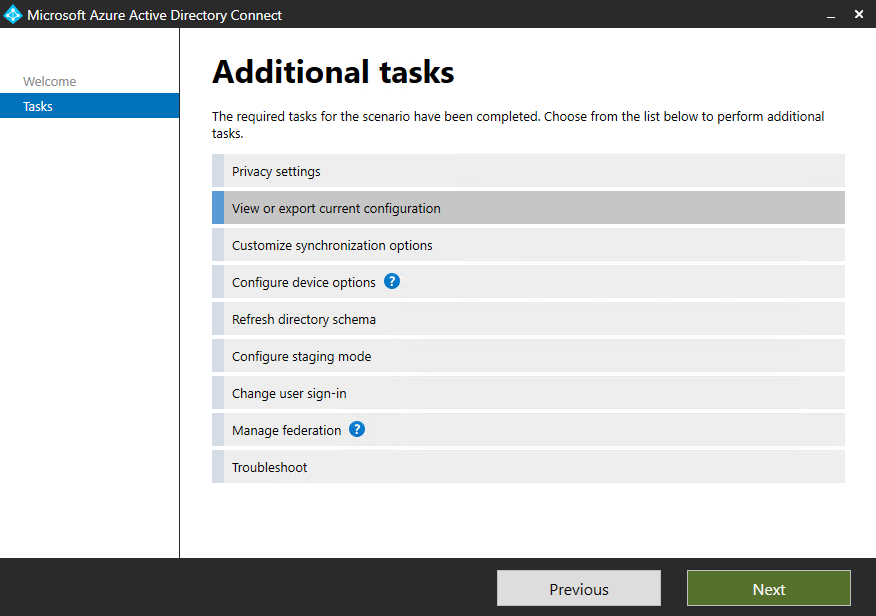
Now you have two options to Put the old server into staging mode and direct uninstall it.

Logged into the new server.

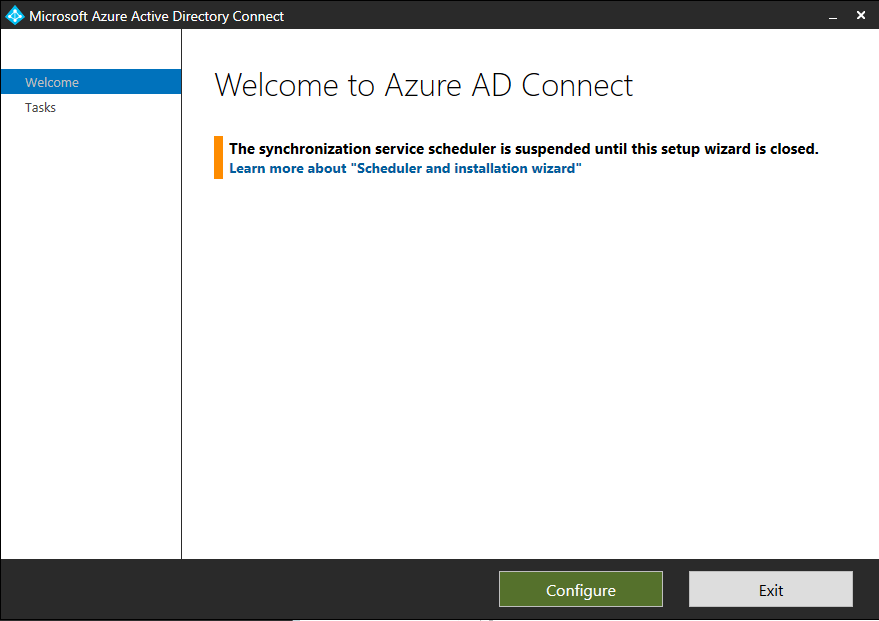
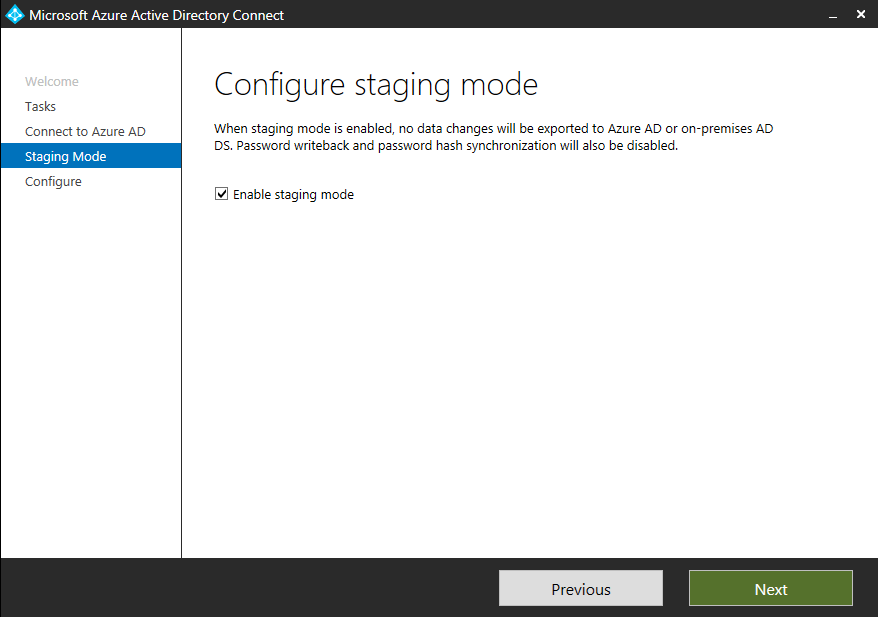
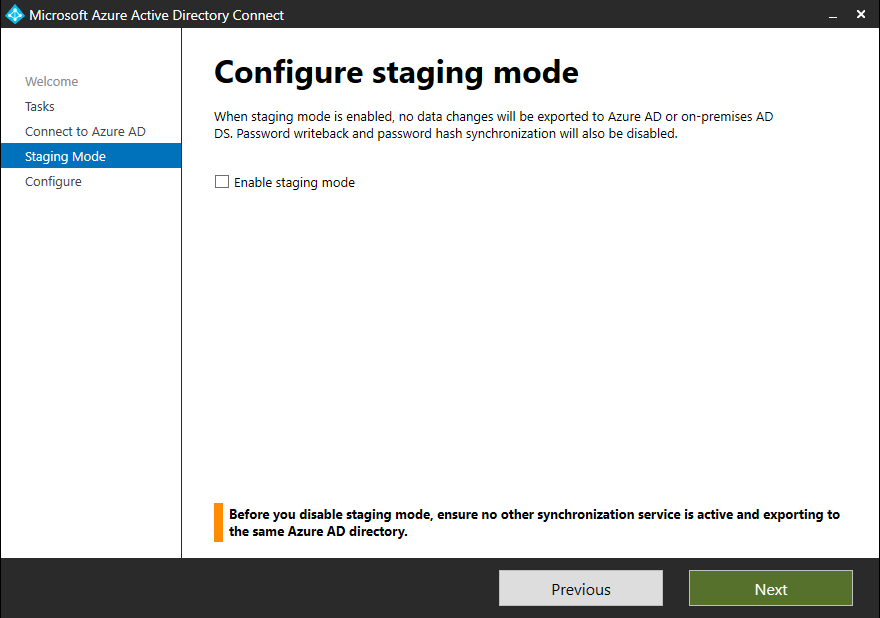
Configure Staging mode in the old server

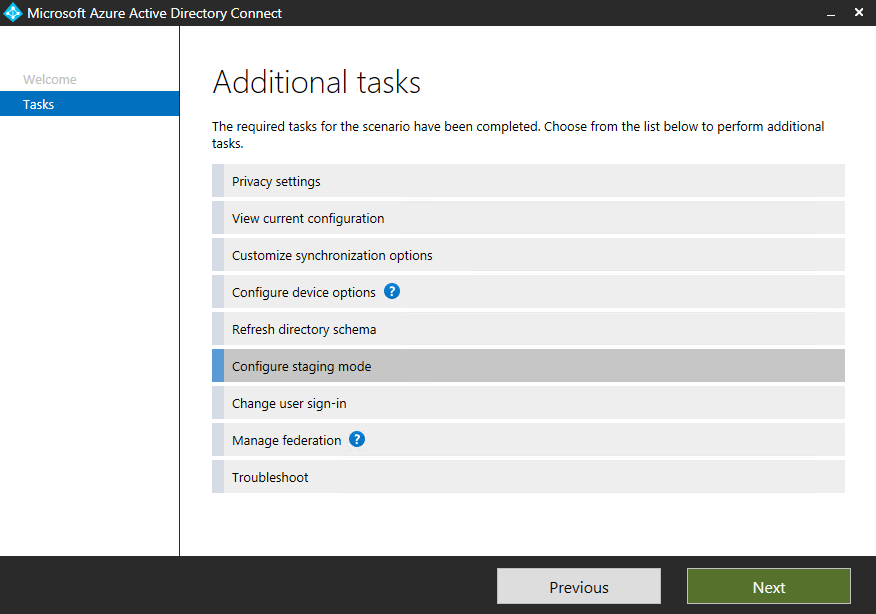
Enable the staging mode in the old server.
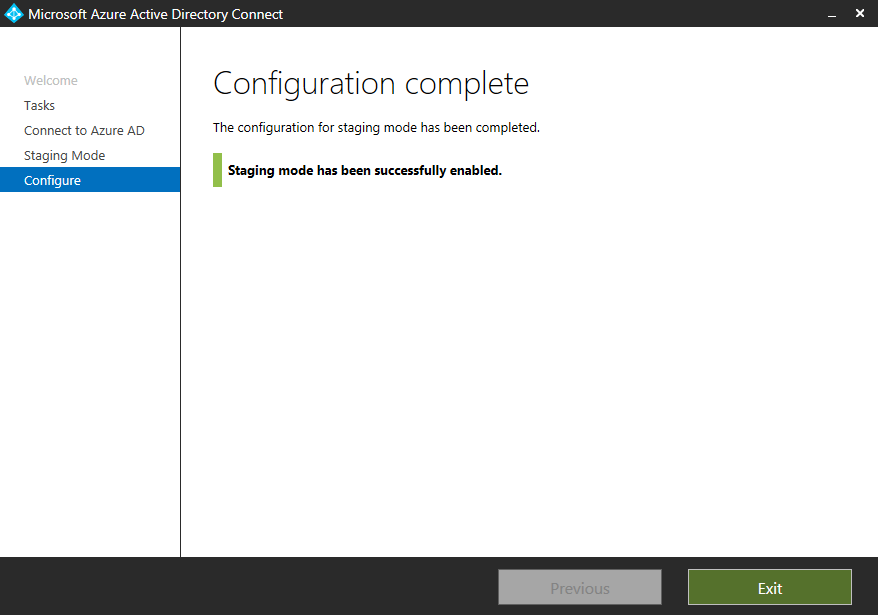
Choose Configure

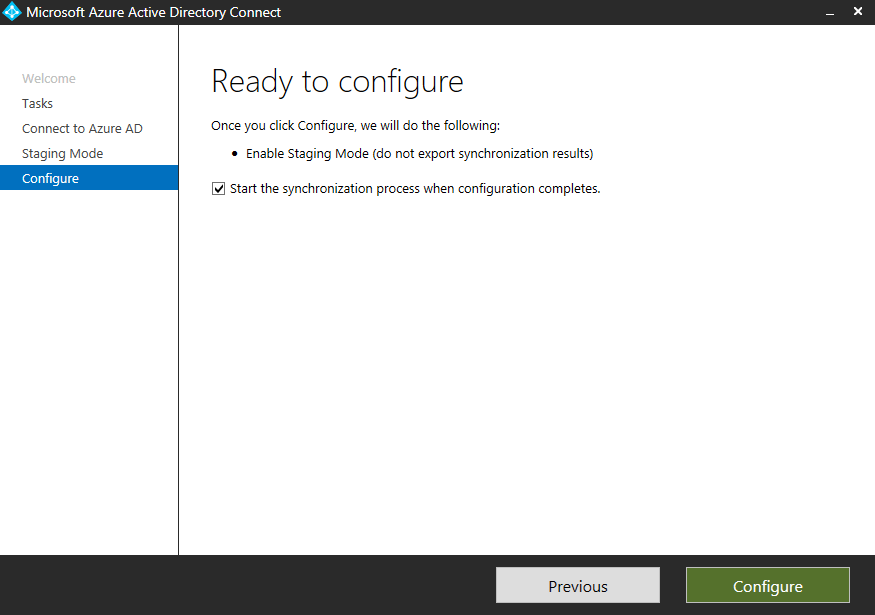
Staging mode is successfully enabled.

Now get inside the new server and disable the staging mode. To bring the new server live.

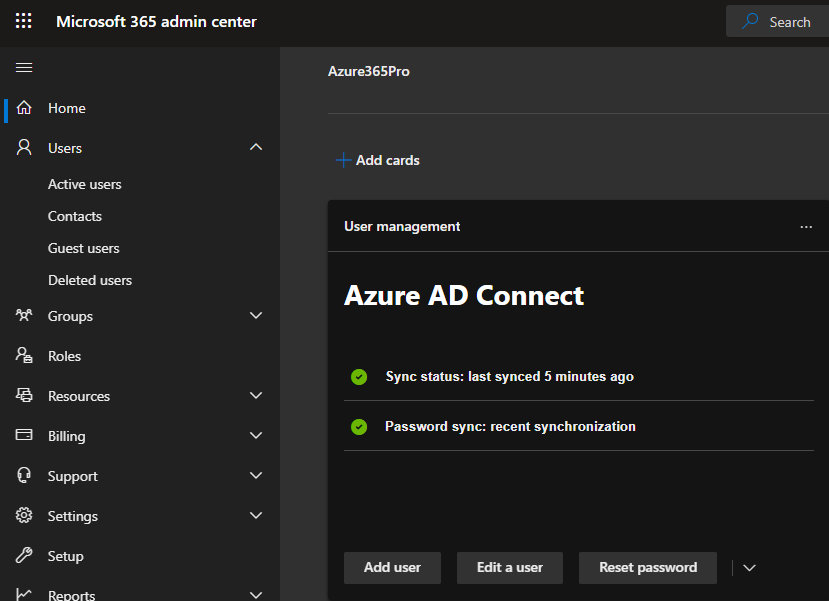
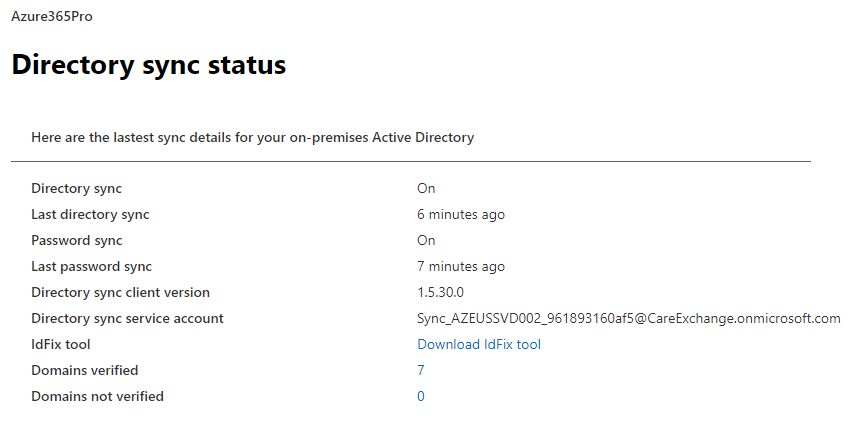
You can keep track of the Directory sync status in Office 365 admin Center to check which server is syncing
In my case am moving from the Directory Sync Client version 1.5.30 to 2.0.8.0 for example

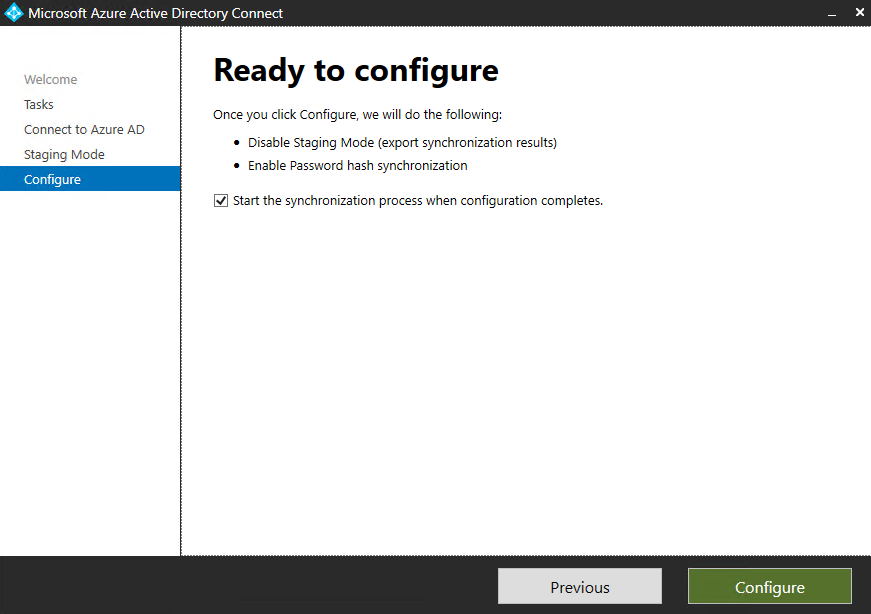
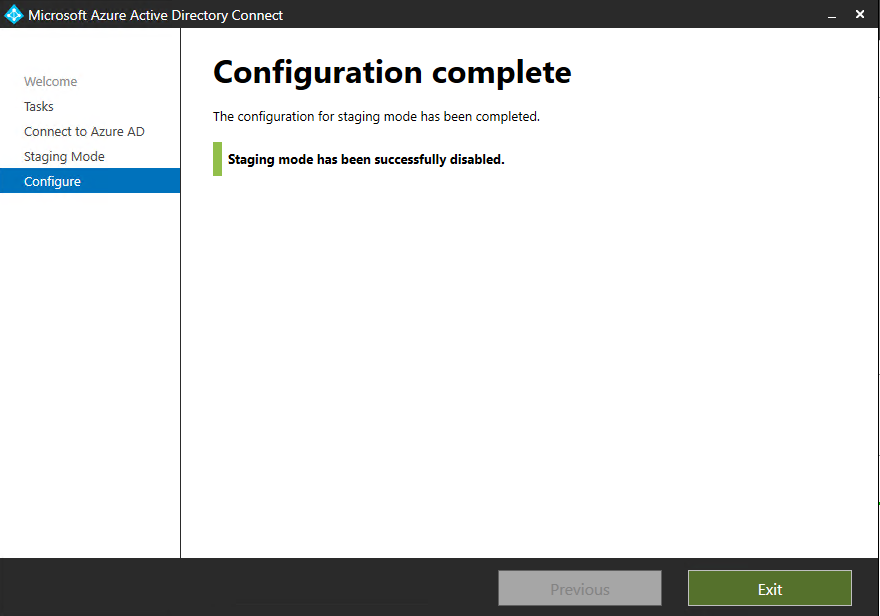
Now Staging mode is successfully disabled.

Now you can see the new server has taken over with the same settings.

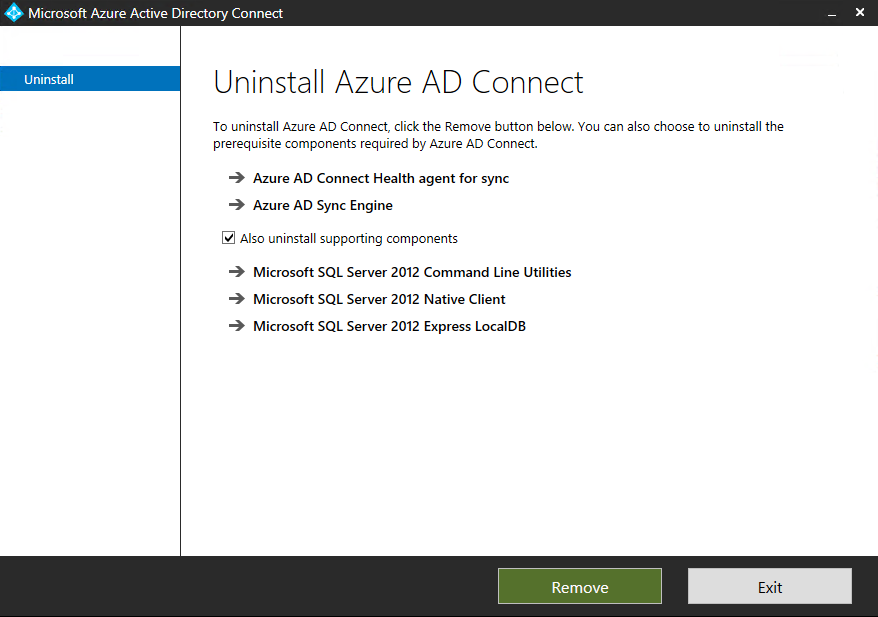
Login to the old server add or remove programs – To initiate a complete uninstall.

Choose Remove

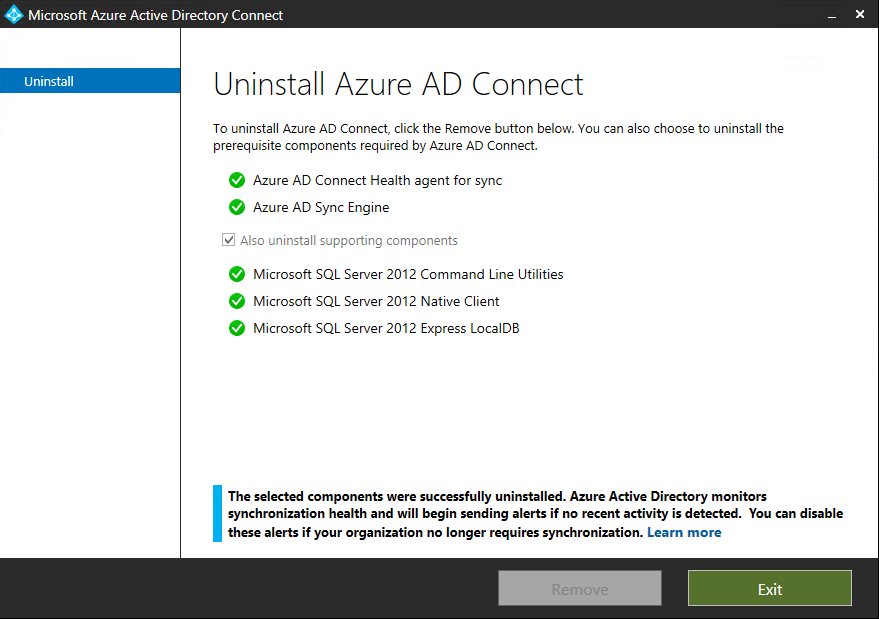
Uninstall is completed.

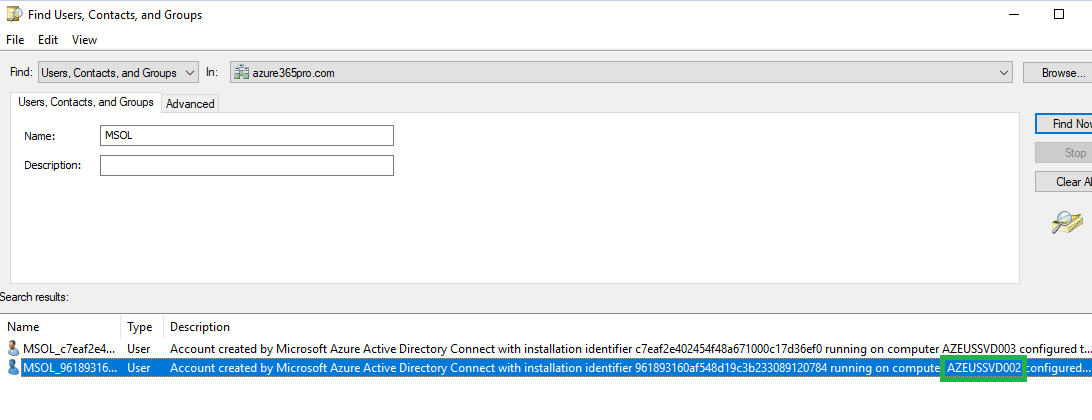
Remove the old MSOL Account that belongs to the old server.

you can delete the Old MSOL Account

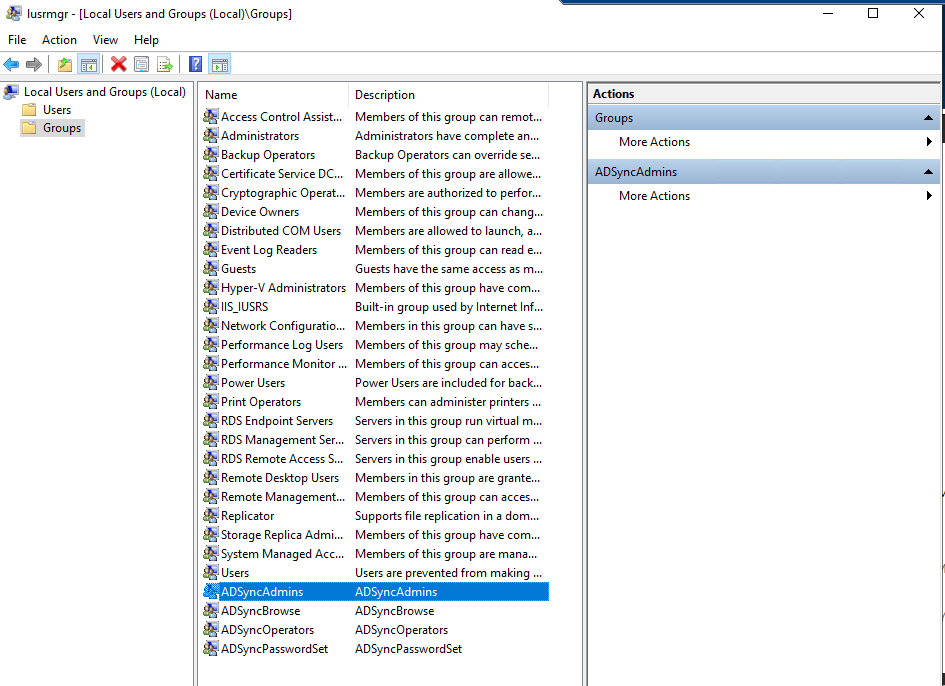
Additional Sync admins can be added using the below group

Implementing Azure Active Directory Connect

Lets go through Azure Active Directory connect to Syncronize OnPrem-Directory to the cloud

  • Install and configure Azure AD Connect
  • Use Azure AD Connect to integrate Azure AD with your on-premises AD

Preparing Azure Directory Sync Server with Active Internet–  (Assuming it as a On-prem Active Directory Server). Make sure Primary SMTP address is equals User Principal Name for Office 365 services to work seamlessly, Also its recommended to enable Active Directory Recycle bin but its not compulsory.

Create New Server

Download the latest Azure Active Directory Connect –

Make sure you run the latest version and the latest operating system https://docs.microsoft.com/en-us/azure/active-directory/hybrid/reference-connect-version-history

Run the Setup Azure Active Directory Connect Server –

Choose Customize and install to see the advance options specifically to choose a specific Organizational Unit . if you see a error to enable TLS1.2.

Use Express settings in some cases .

Choose Install

Enter your Azure Active Directory credentials

Use your Active directory Enterprise Administrator credentials

Choose Password Hash Synchronization.

Connect your Local On-Prem Active Directory and add it.

Service Account Member of Domain Users Only

If your primary domain is .local or not a valid domain and if you cannot verify the same. you can see it. As the azure ad connect doesn’t like UPN and Primary email mismatch.

click continue and choose next.

if you have additional domain suffixes you need to add them using Active Directory domains and trusts or you can bypass for now By Checking “Continue without matching all UPN suffixes to verified domains.”

image

We recommend to choose the Appropriate Organizational Units and not to sync the whole forest.

Choose next. if you are using single Azure AD Connect.

Choose Next .

As we need to do exchange hybrid. Choose Exchange Hybrid deployment if you have one .

Without Exchange On Premises

With Exchange On-premises example

image

Choose Start the synchronization process when configuration completes.

Choose Exit.

Lets see how to enable Active Directory Recycle bin from your Active Directory server. which is recommended to restore Active directory accounts quickly on accidental deletion.

Admin Center is showing sync status now.

To do a force Delta sync . Open PowerShell (Run as Administrator) in AzureADConnect Server

Start-ADSyncSyncCycle -PolicyType Delta

Now you can login to https://admin.microsoft.com/ and all the users should be visible in the cloud.

Automate Enabling Archiving on Hybrid Office 365 Mailboxes

A Simple One Line script on a scheduled task will help you automate enabling archive mailboxes in Office 365. The below example checks for a custom attribute, archive status and enables a set of users in a specific OU. you can change as per your needs. In my case, this custom attribute is mapped to enable licenses dynamically.

# Include Exchange Powershell Module
Add-PSSnapin Microsoft.Exchange.Management.PowerShell.SnapIn

#Lists All Remote Mailboxes
#Checks Archive Status
#Check License
#Enable Archive Mailboxes

Get-RemoteMailbox | Where-Object {($_.OnPremisesOrganizationalUnit -like "azure365pro.com/01 Users*") -and ($_.Ar
chiveStatus -like "None") -and ($_.CustomAttribute15 -like "O365*")} | Enable-RemoteMailbox -Archive

# Exit Exchange Powershell Module
Remove-PSSnapin Microsoft.Exchange.Management.PowerShell.SnapIn

But for new users, every time administrators cannot keep checking to make sure Archive mailbox is enabled for my E3 and E5 users. it would be tiring to do it manually every time. So if require you can run it on a task scheduler so that it enables archive mailbox for all my E3 and E5 users.

Supported on Exchange 2013 or above | On-Premise Exchange Hybrid Server

NOTE: Before running the script run the below commands to check which are the mailboxes it will apply to

You can use Task Scheduler

image

Create Basic Task

Choose Daily

image

Set a time

image

Start a Program

image
  • Powershell
  • C:\Scripts\Enable_Archive_Mailbox.ps1
image

Made to stop the task if it exceeds 4 hours

image

You are already syncing a shortcut to a folder from this shared library

A simple line error when you try to sync a SharePoint site to a user. It says an error. You are already syncing a shortcut to a folder from this shared library

Solution –

You are sharing a folder from that SharePoint site to your one drive. Find that folder and delete that shortcut. Most probably you will see a link icon behind the folder. Once you delete just the shortcut you can try resyncing the SharePoint site.

if you don’t know where is the shortcut – Contributed by Jared Fowkes

I found a much easier way to locate the shortcut.
Go into the offending library using your browser and try to “Add shortcut to OneDrive”. It may say that you have an existing link to a folder within the library and ask if you want to replace it – choose to replace. Then, click on the link it provides to the new shortcut and delete it. You may have to wait a minute for the synchronizations to take place, but once OneDrive removes the shortcut from your computer, you’ll be able to sync the library again.

OneDrive Syncing only for domain-joined causing issue for AAD Machines

Allow Syncing only on computers joined to specific domains option is a starting point to block personal devices from syncing with the domain when the user doesn’t have a intune license. Once a user gains a license for conditional access policies they can start using the conditional access which will give more granularity like exclusions for example.

But at the same time if you have this tenant-level setting. Your Azure Active Directory (AAD) joined machines will start having OneDrive sync issues. you cannot simply turn off this feature and continue with conditional access. it will block One Drive for many devices if the One drive sync client is not running the latest version. this is what we have experienced so far.

You can see this tenant-level setting in Share Point Admin Center

Once you add the GUID. It places the GUID for SharePoint Tenant sync client restriction sync as well. It is just for your knowledge and troubleshooting purposes if someone has played around this setting.

Connect-SPOService -Url https://azure365pro-admin.sharepoint.com/
Get-SPOTenantSyncClientRestriction

To allow the azure AD joined machine to sync you need to add this below registry for example to allow it to sync.

if you wish to use Powershell.

$guid = "df71ba47-0000-4747-0000-dad6f80424f1"
New-Item -ItemType Directory -Path "HKLM:\Software\Policies\Microsoft\OneDrive" -Force
Set-ItemProperty -Path "HKLM:\Software\Policies\Microsoft\OneDrive" -Name "AADJMachineDomainGuid" -Value $guid -Force

Now there is another tenant-level setting for blocking unmanaged devices. The unmanaged device is not
an Intune managed compliant device or not an hybrid Azure AD joined device.

Move for the database was suppressed

Failing over databases within a database availability group too many times in an Exchange server within a short period of time. it stops the database from falling over. You can use the -SkipMoveSuppressionChecks to override it. if it’s an intentional failover.

An Active Manager operation failed. Error: The database action failed. Error: Move for database 'Database' was
suppressed because too many moves have happened recently. 3 moves have happened within 01:00:00. [Database:
Database, Server: EXCH3]
    + CategoryInfo          : InvalidOperation: (Database:ADObjectId) [Move-ActiveMailboxDatabase], AmDbMoveMoveSupp
   ressedException
    + FullyQualifiedErrorId : [Server=EXCH2,RequestId=cfd97ce2-1d07-45a7-b0b2-845d476cfc3d,TimeStamp=8/8/202
   1 2:32:29 PM] [FailureCategory=Cmdlet-AmDbMoveMoveSuppressedException] FE9D0C57,Microsoft.Exchange.Management.Syst
  emConfigurationTasks.MoveActiveMailboxDatabase
    + PSComputerName        : EXCH2

You can use this command to override the check

Move-ActiveMailboxDatabase DatabaseName -SkipMoveSuppressionChecks -ActivateOnServer ServerName
× How can I help you?