This Migration Guide will help you to migrate mailboxes across forest
Its always people go confused when source and target forests are Exchange 2010, I have tried to explain as detailed a possible and covered one method
where “Running .\PrepareMoveRequest.ps1 first and then using ADMT to migrate the Sid History” of the users
Please share your feedback in comments , So that I can update the guide frequently
so lets go ahead
Step 1:
Have Trust in place across forests , In my Situation I created Two way Transitive Trust where I won’t get into any permission constraints
Good to know : We can limit permissions by going for different type of trusts
See –
How to Create Two way Transitive Trust – Windows Server 2008 R2
Step 2:
You need Active Directory Migration Tool to Get your User accounts migrated without any hassle, You can install it in either of the forests but , Have installed in the target forest , where I will be doing most of my work
See –
How to install ADMT 3.2 in Windows Server 2008 R2
Step 3:
If you are planning to Migrate the User account with SID – Which is recommended – where users will still have access to their old forest where they will be recognized like
access to file shares and permission groups . So I would always recommend to get your SID along with the Users
If you are planning to Migrate Users with Password that doesn’t happen by default , You have to Configure “Password Export Server” in the source domain
See –
How to Migrate Users Across forest (Cross Forest) using ADMT 3.2 with sid and Passwords
Step 4:
Enable MRS Proxy on the Source Client Access Server which is going to Facilitate the Remote move from the Source Forest,
I have described Enabling MRS proxy where version is Exchange 2010 Sp1 or later cause enabling in RTM version differs
See-
How to Enable MRS Proxy and Increase timeout In Exchange 2010
Step 5:
Ignore if you are not using a Self Signed Cert.
If you are using a Self Signed Certificate –Where Exchange servers won’t authenticate between each other
Because they won’t trust each of them
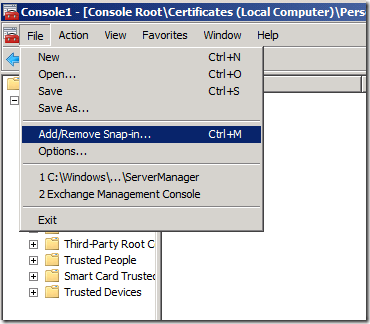
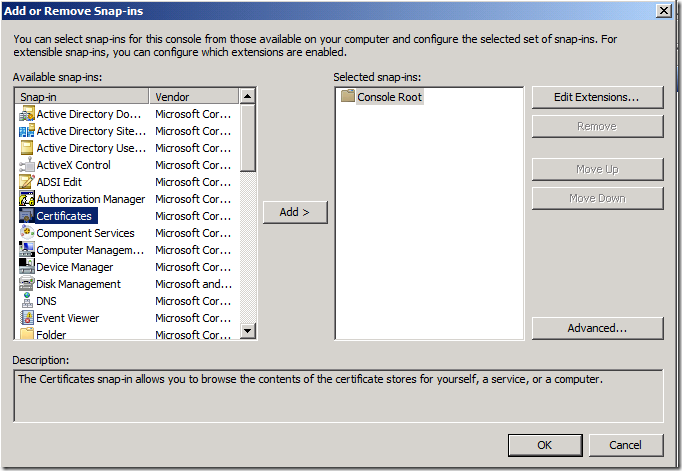
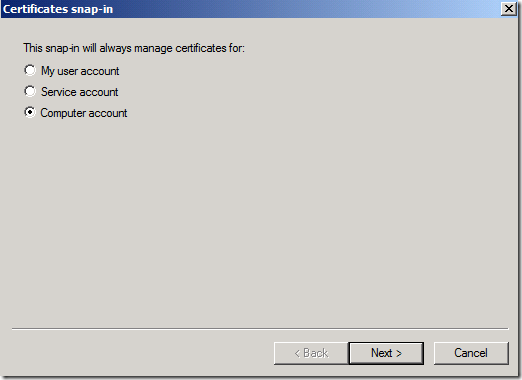
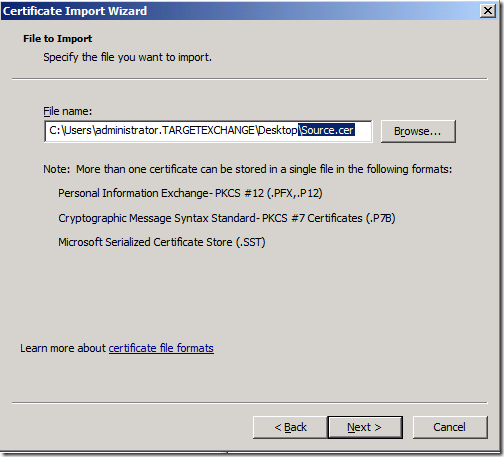
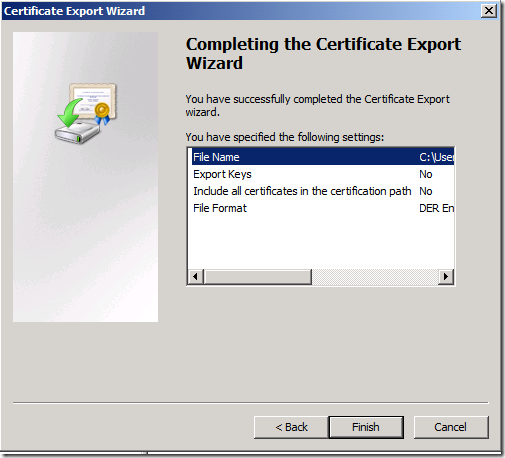
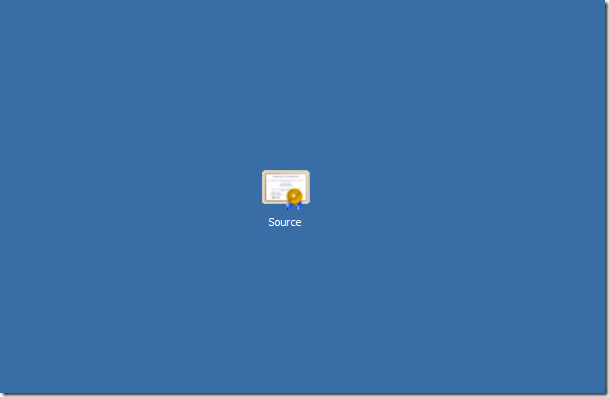
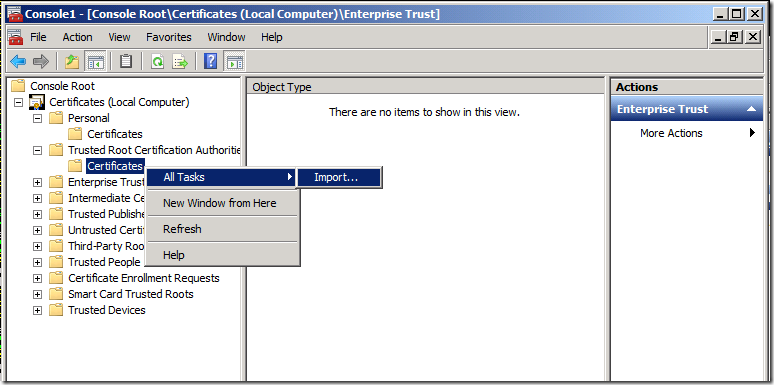
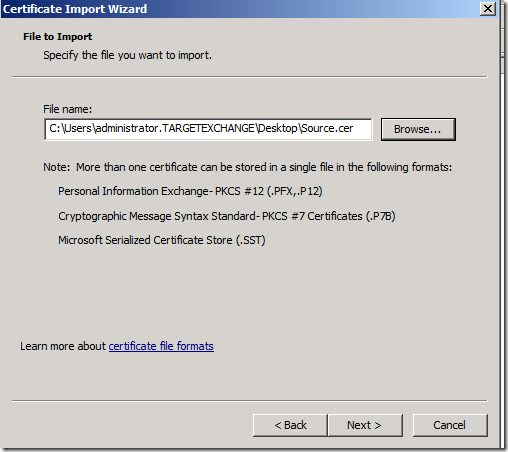
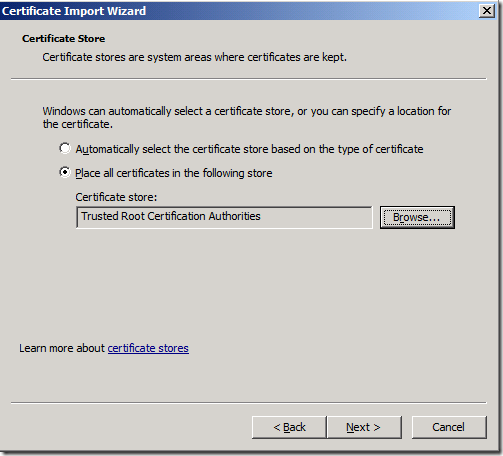
You got to Export the Cert from Source Exchange Server and import it on Target Exchange Server
Vice versa
See –
How to Export a Self signed Server Certificate and Import it on a another Server in Windows server 2008 R2
Step 6:
Check List
- Now Trusts are in place
- ADMT is installed on the Target DC
- MRS Proxy is Enabled on the Source Forest Client Access Server
- Admin User of the Target forest is a member of administrators group in the Source forest – Add vice Versa
- If you are using Self Signed Cert – They have been Exported from the target and imported in source (vice versa)
- If you are planning to migrate passwords as well – Password Export Service is Configured and PES service is Started in the Source Domain
Before starting, There are many methods to Move mailboxes across forest .I will go for the Recommended one .
let us call this method as “Running .\PrepareMoveRequest.ps1 first and then using ADMT to migrate the Sid History”
We will move one mailbox to get a Clear idea , Then we can go for Bulk Migration of mailboxes.
I always recommend to move few mailboxes . Test it as much as you can . they go for bulk migration
Step 7 :
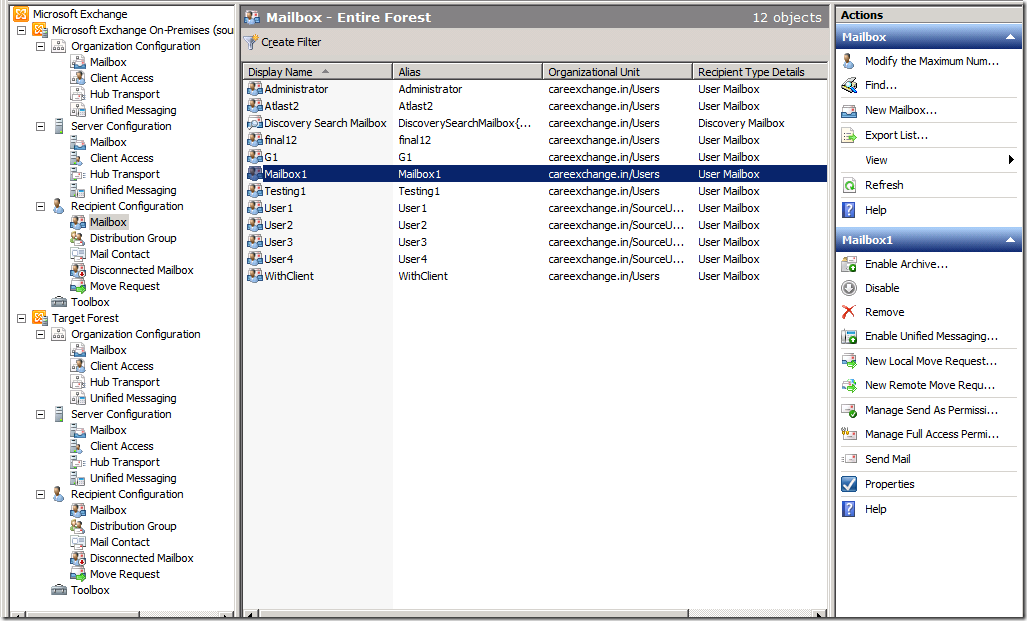
Created a Test Mailbox – Mailbox1
Step 8:
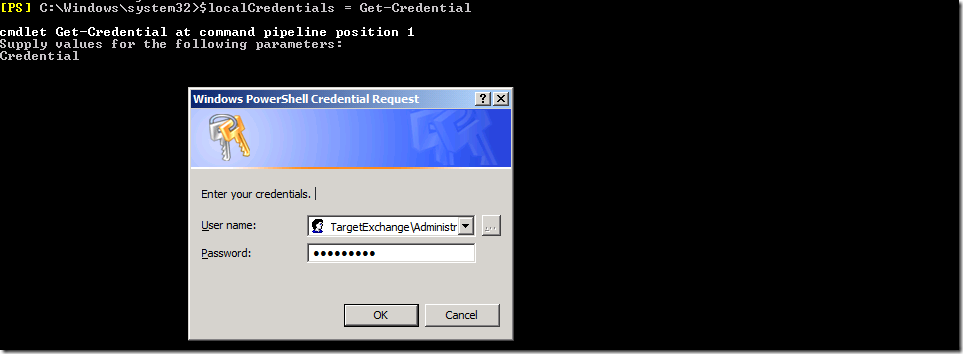
First Store the Access Credentials in the Shell
Please don’t confuse yourself Here.
Am Running this on the Target Forest – $localCredentials Means the TargetForestCredentials
SourceForest – careExchange.in
TargetForest – TargetExchange.in
Please don’t forget to Type the DomainName\UserName (Note:If it fails with Error – Authentication Failed – Try Entering Domain.Com\Username ,.com or .local refers to your local domain)
$localCredentials = Get-Credential
$RemoteCredentials = Get-Credential
Means my Source Forest
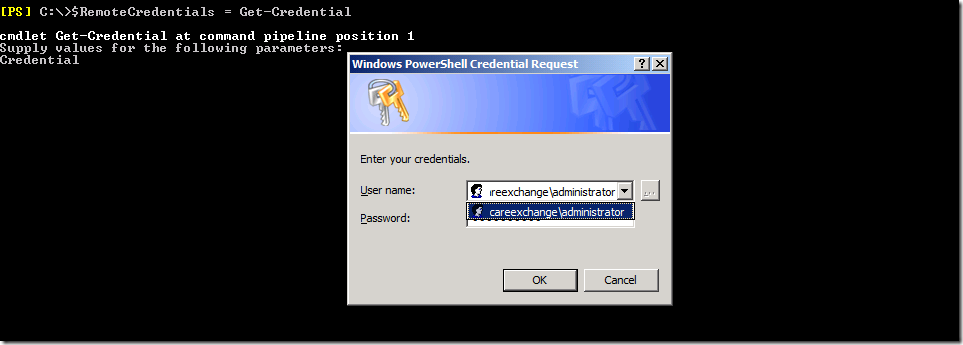
Note : After Storing your Credentials – Do not Close Shell – You got to run the Future Command in the Same Power Shell Session
Step 9:
Now Preparing a Move Request
Browse your Exchange Management Shell into Scripts Folder in your Target Forest , Which will be in Exchange installation Location
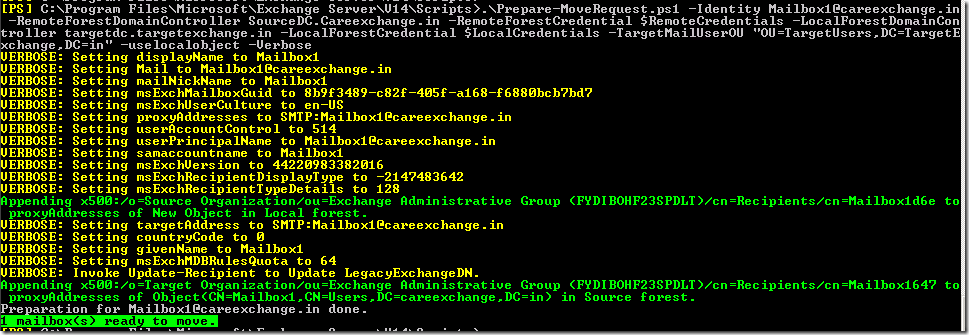
.\Prepare-MoveRequest.Ps1 -Identity EmailAddress -RemoteForestDomainController FQDN of Source DC -RemoteForestCredential $RemoteCredentials -LocalForestDomainController FQDNofTargetForestDC -LocalForestCredential $LocalCredentials -TargetMailUserOU Distinguished name of OU in TargetForest –UseLocalObject -Verbose
Using –Verbose in the end of the Command
You can clearly see what are the Attributes its getting touched
Mail,Display name,Proxy address etc..
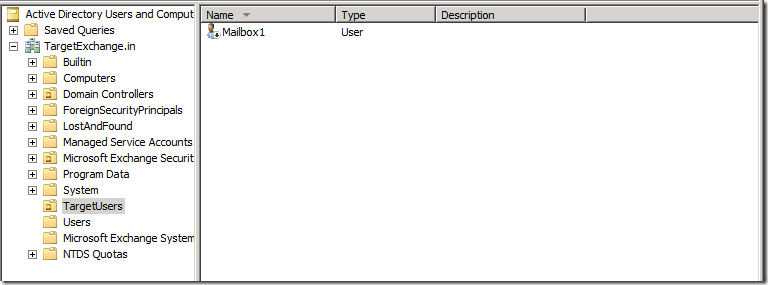
Now you can See a Disabled account which has been Created on the Specified OU
Step 10:
Now use ADMT to migrate the SID and Enable the Target Account which is “Mailbox1” in my Scenario
See-
How to Migrate Users Across forest (Cross Forest) using ADMT 3.2 with sid and Passwords
Now you can find the SID history of the account , Where you can confirm that you did things correctly
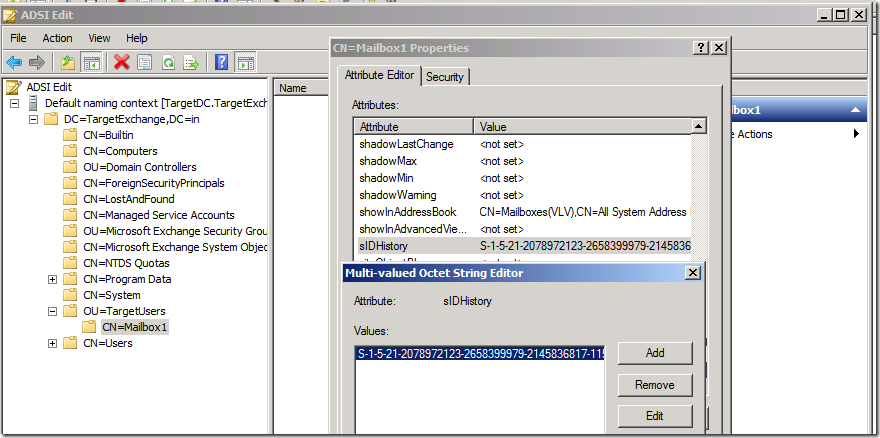
Now your AD account will get Enabled

Step 11:
Now your Account with SID and password as been moved, But still your Content of the mailbox hasn’t moved yet. Which is moved my a remote as below
Now moving the mailbox using a Remote move request
New-MoveRequest –Identity 'Mailbox1@careexchange.in' –Remote –Remotehostname 'sourceExchange.CareExchange.in' -RemoteCredential $RemoteCredentials –TargetDeliverydomain 'targetexchange.in'

Now you can See a Remote move has been Completed

Now you won’t be able logon on the new forest directly as you required to change password as first logon
To avoid that situation
See-
How to Disable “User must change password at next logon” after cross forest move using ADMT 3.2
Open Adsiedit –Set pwdlastset to –1
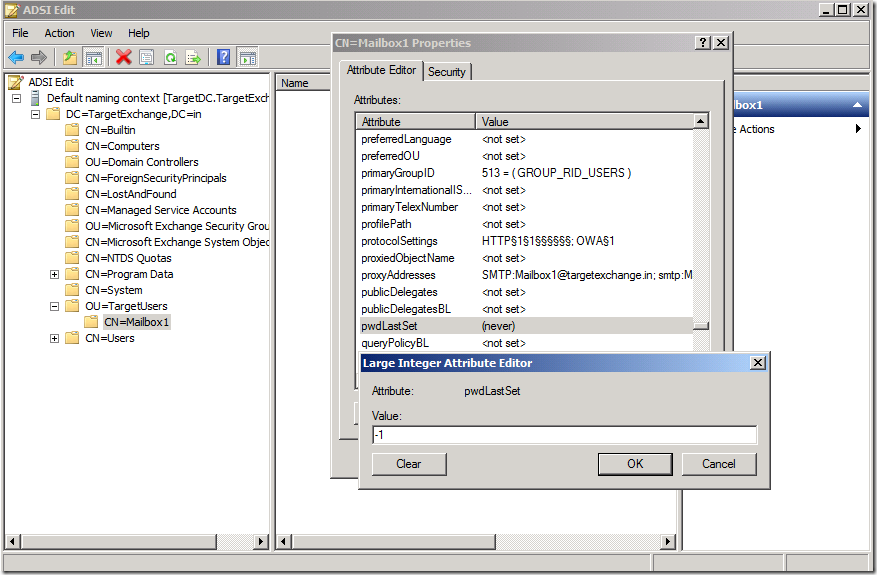
or just login to a client machine and change the password at first logon
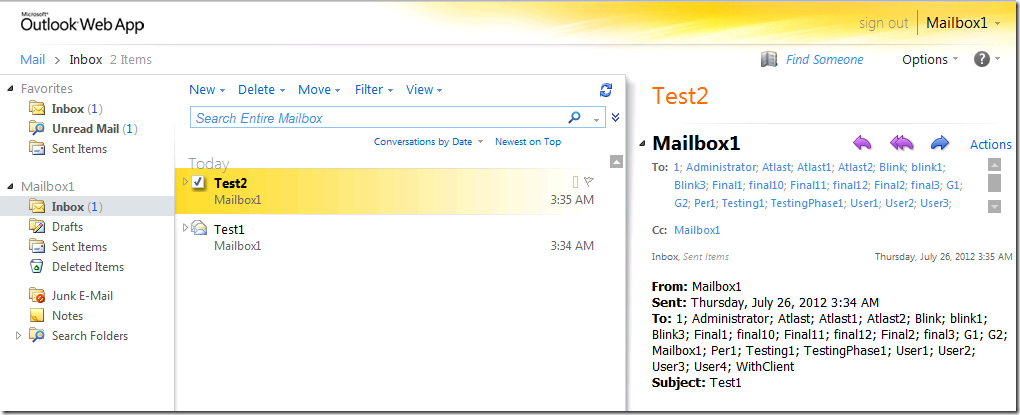
Great !! you able to login in Target Forest Success fully !!
Step 12:
To Move the Users in Bulk
See-
Cross forest Move Mailbox in Bulk – Exchange2010 to Exchange 2010
Step 13:
If you doesn’t want to share free/busy information as of now. Skip it
if you want to share Free/busy information between these forests. If source domain is always going to exist after migration . I would recommend to create Federation Trust which is free of service from Microsoft to share free busy information.
if you doesn’t want to go for Federation you can share free busy using below method
See –
How to Configure Cross forest Availability Service (Free/Busy,Auto discover) – Exchange 2010 to Exchange 2010
Step 14:
Please look into the below link for configuring Cross forest coexistence mail flow
How to Configure Cross forest connectors (Mail flow) Exchange 2010 to Exchange 2010
https://www.azure365pro.com/how-to-configure-cross-forest-connectors-mail-flow-exchange-2010-to-exchange-2010/
Happy Cross forest Migration !!
Hope I made as much simpler as I can !!
Thank you !!


