Installing exchange 2016 step by step on Windows Server 2012 R2.
Before Exchange 2016 Install – Go through the Minimum system requirements below – Note Preview versions are not Production ready.
Minimum System Requirements and Forest Functional Level for Exchange Server 2016
You can Download the Exchange Server 2016 CU2 Setup using the below Link
Download Microsoft Exchange Server 2016
Step 1:
To Prepare Active Directory using the same machine.
Install the Below Feature
Open Windows PowerShell.
Install-WindowsFeature RSAT-ADDS
Step 2:
Am Going to Install all roles in the Scenario
Open Windows PowerShell
Install-WindowsFeature AS-HTTP-Activation, Desktop-Experience, NET-Framework-45-Features, RPC-over-HTTP-proxy, RSAT-Clustering, RSAT-Clustering-CmdInterface, RSAT-Clustering-Mgmt, RSAT-Clustering-PowerShell, Web-Mgmt-Console, WAS-Process-Model, Web-Asp-Net45, Web-Basic-Auth, Web-Client-Auth, Web-Digest-Auth, Web-Dir-Browsing, Web-Dyn-Compression, Web-Http-Errors, Web-Http-Logging, Web-Http-Redirect, Web-Http-Tracing, Web-ISAPI-Ext, Web-ISAPI-Filter, Web-Lgcy-Mgmt-Console, Web-Metabase, Web-Mgmt-Console, Web-Mgmt-Service, Web-Net-Ext45, Web-Request-Monitor, Web-Server, Web-Stat-Compression, Web-Static-Content, Web-Windows-Auth, Web-WMI, Windows-Identity-Foundation
# Run Restart-Computer to Reboot the Server
Step 2.1:
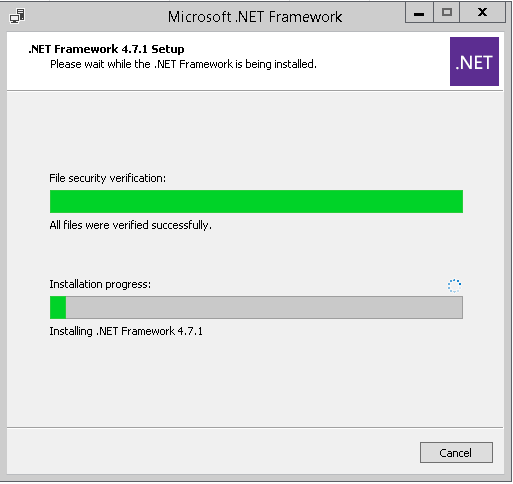
Download and Install Microsoft .NET Framework 4.7.1 (Offline Installer)
https://www.microsoft.com/en-us/download/details.aspx?id=42642
Restart the Computer
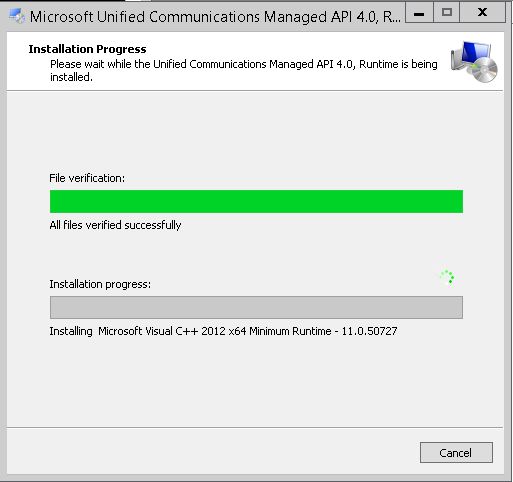
Step 3: Download and Install Unified Communications Managed API 4.0 Runtime
http://www.microsoft.com/en-us/download/details.aspx?id=34992
Step 4:
Preparing Schema Open Windows PowerShell Browse to Setup Location Run as administrator.
.\setup /PrepareSchema /IAcceptExchangeServerLicenseTerms
Step 5:
Preparing Active Directory
Open Windows PowerShell
Browse to Setup Location
Run as administrator.
.\setup /Preparead /IAcceptExchangeServerLicenseTerms /OrganizationName:"Enter Exchange Org Name"
Note : If you are already in a Exchange Organization – Remove /OrganizationName Parameter
Step 6:
Preparing Domain
Open Windows PowerShell
Browse to Setup Location
Run as administrator.
.\setup /Preparedomain /IAcceptExchangeServerLicenseTerms
Note :
If you are in a Child domain Scenario
Run
.\setup /Preparealldomains /IAcceptExchangeServerLicenseTerms
Step 7:
Run the setup.exe
Choose Next,Accept the agreement.
Step 8:
Choose the Roles.
Choose Next
Note :”Edge Transport Role” Which can be installed in DMZ.
Step 9:
Choose Next
Step 10:
Choose Next
If you already Did “Step 4” you won’t see a option to create organization. As Already Exchange Org is already created
Else Enter a Org Name.
Step 11:
Choose “No” for Malware Scanning
&
Choose Next
Step 10:
Choose Install
Step 11:
Microsoft Exchange Server 2016 Build 225.17 – Setup Completed.
Get-ExchangeServer | FT Name,Admin*


Hello
I think you switched Step 4 and 5. PrepareSchema should be done before PrepareAD.
Rgds
Updated Stef. Thank you for the note.
TKS
Good to see you being so active and dedicated. Thank you !
Thank you. 🙂
Thank you for sharing, I didn’t see client access role in installation
Regards
Usman Ghani
No More Client Access Role