
This evolution, which is now in public preview, enables beyond customizing the image or background color, the company logo and an explanatory text to manage:
- A favicon for the browser tab
- A header with a reminder of the organization’s logo
- A footer with links to the terms of use, and a description of privacy and cookies
- A template between a predefined template (either classic or ADFS) or a custom template
This article aims to present how these evolutions will enable you to enhance the initial perception of your Office 365 tenant. The goal will be to adapt the corporate identity to create the best sign-in experience for the end users and the organization’s partners.
A reminder of the legacy company branding
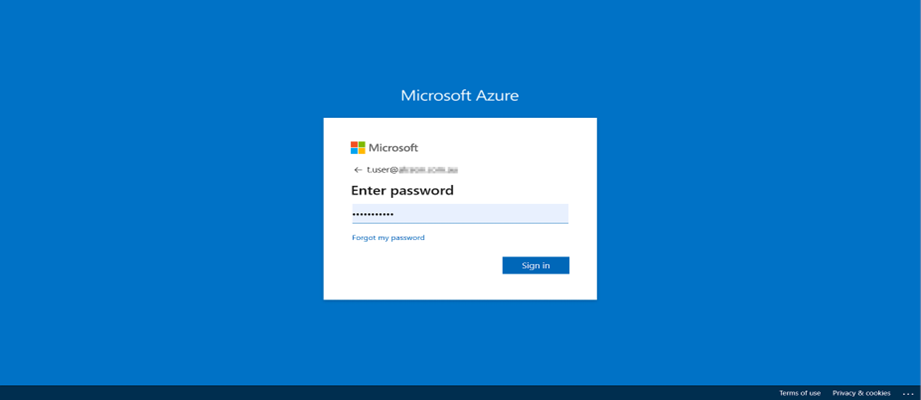
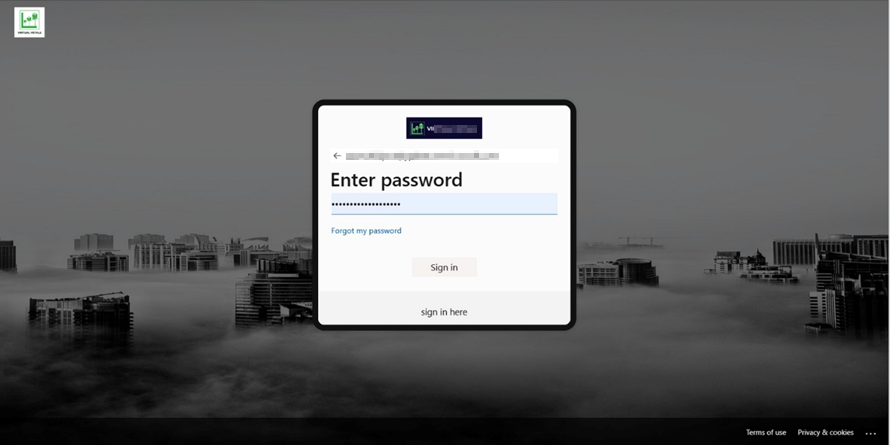
It’s not big news, but the default sign-in page is not very user-friendly
Introduction of the new company branding capabilities
Now let’s deep dive into the new capabilities.
How to switch to the new company branding experience
The first thing to do is to activate the functionality that is still in preview. For this, you have two possibilities:
- Either you are already using the existing functionality and you just have to switch to the preview
- Or you can directly create a new template in the new experience (the latter being activated by default for tenants without company branding).

How to configure the new company branding
To configure the new company branding experience, 5 simple steps are required. The hardest part is to get the images and icons in the right size and format.
1. Basics:
In this first section, we find the main graphic elements:
- Favicon for the icon visible on the web tabs
- Background image for the main background image of the sign-in page
- Background color for the background color in case of failure to load the background image
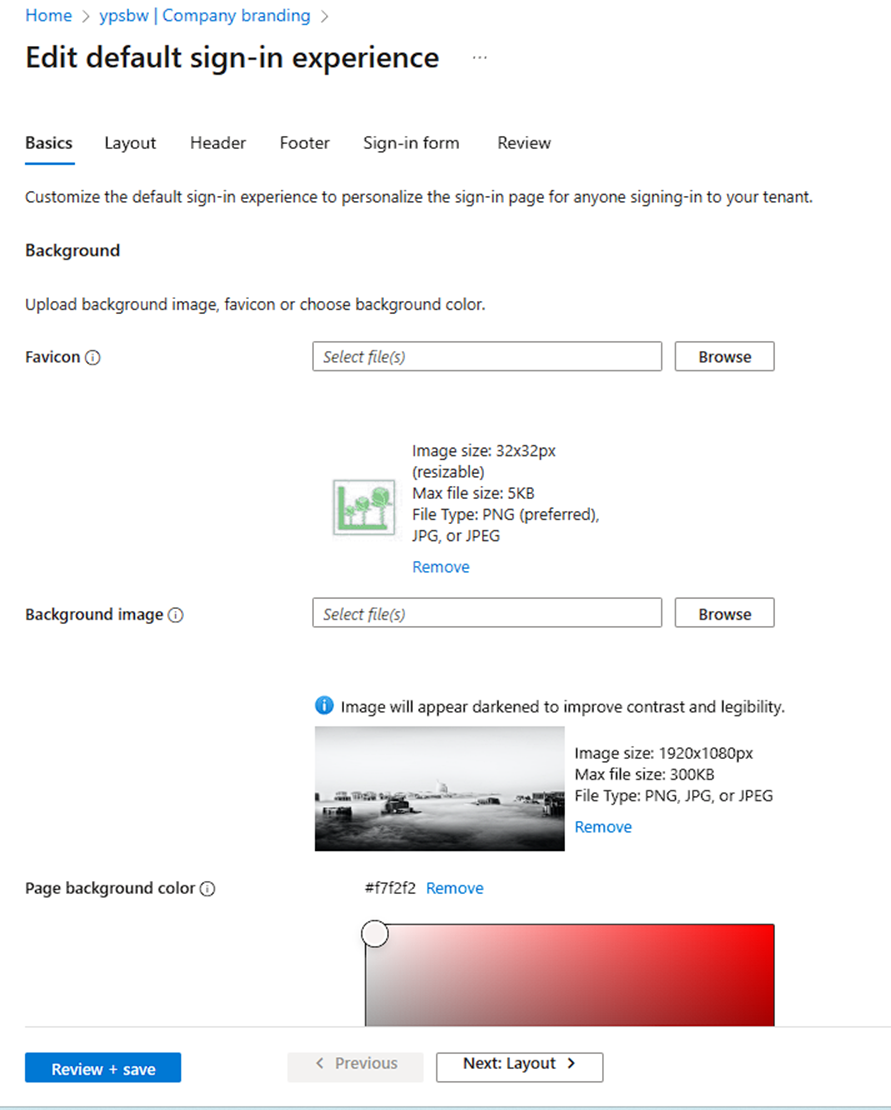
From what I’ve seen, it’s not essential, even if recommended, to follow the dimensions of the images. It is possible to do more or less. On the contrary, the indicated sizes are maximum (even if the error message is not very explicit: “The file type uploaded for this image type is too large”.)
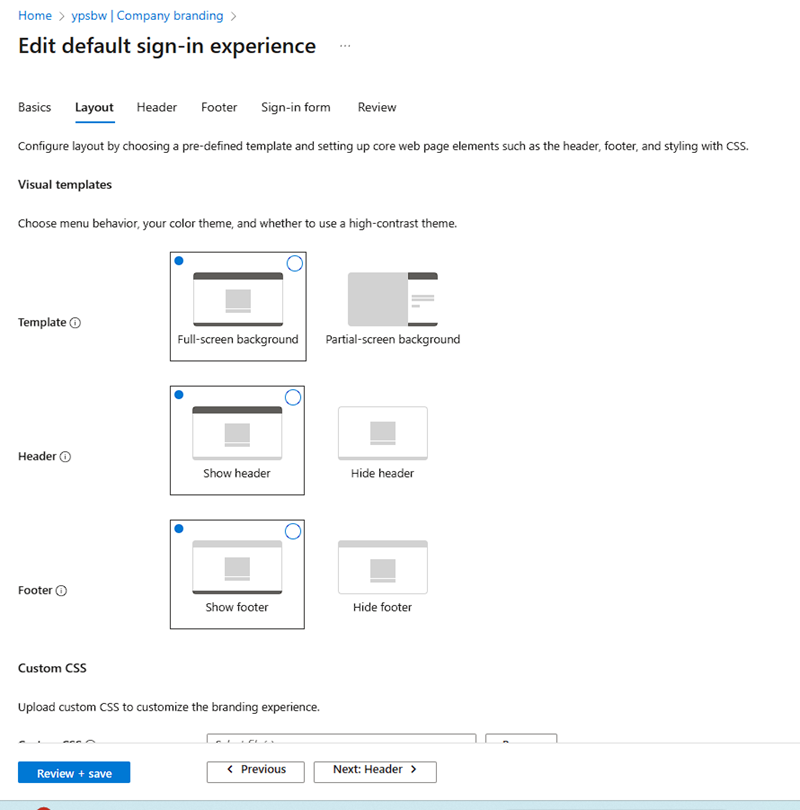
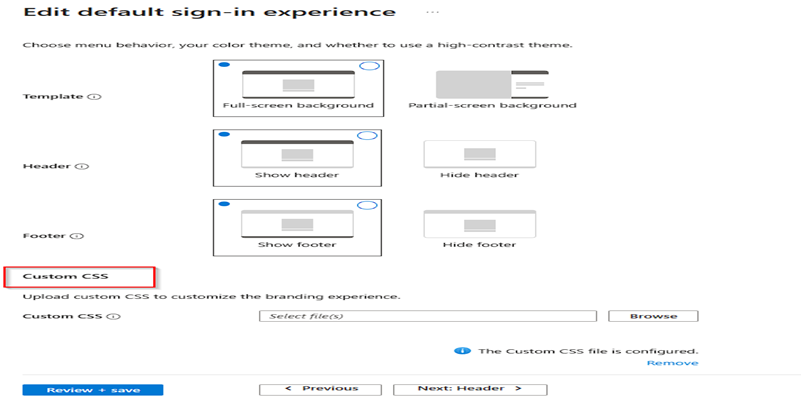
2. Layout
In this new part, 3 parameters are available to manage the layout of the page:
- Template: Choice between the classic Azure AD or ADFS login experience
- Header: Display or hide the header (with the logo)
- Footer: Display or hide the footer (with terms of use and cookies)
It is also possible to upload a CSS file to customize the page layout, but I will return to that at the end of the article.
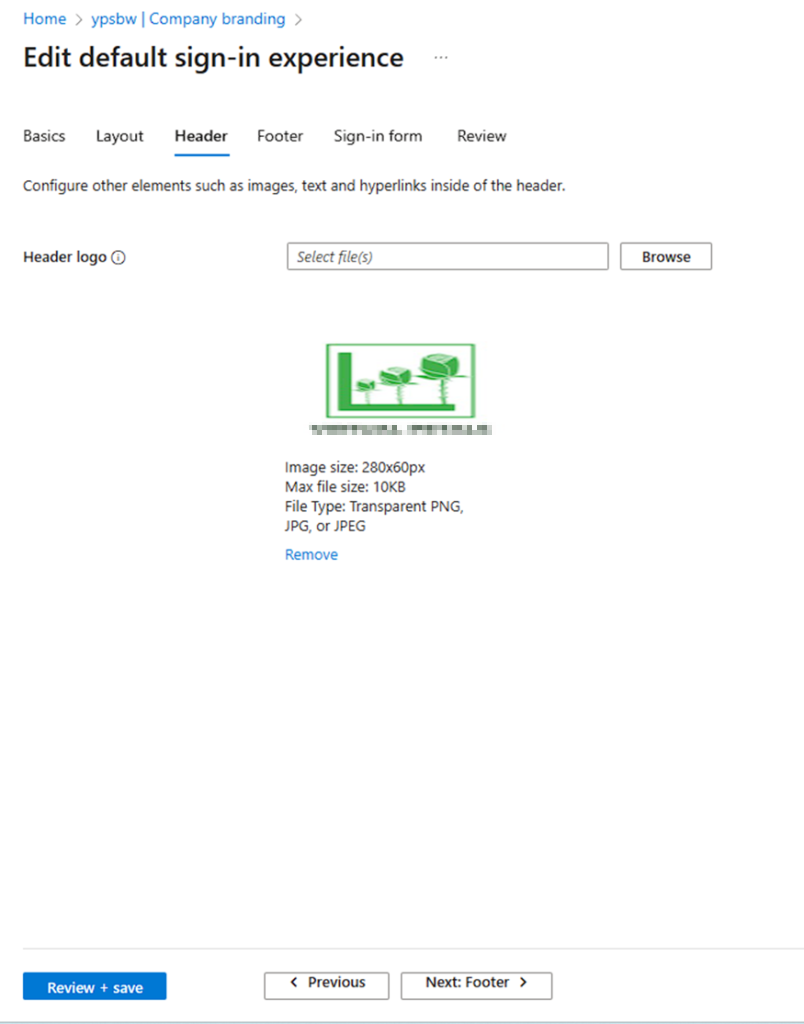
3. Header
The customization of the header is very simple, as it contains only the logo of the page, displayed by default in the upper right corner
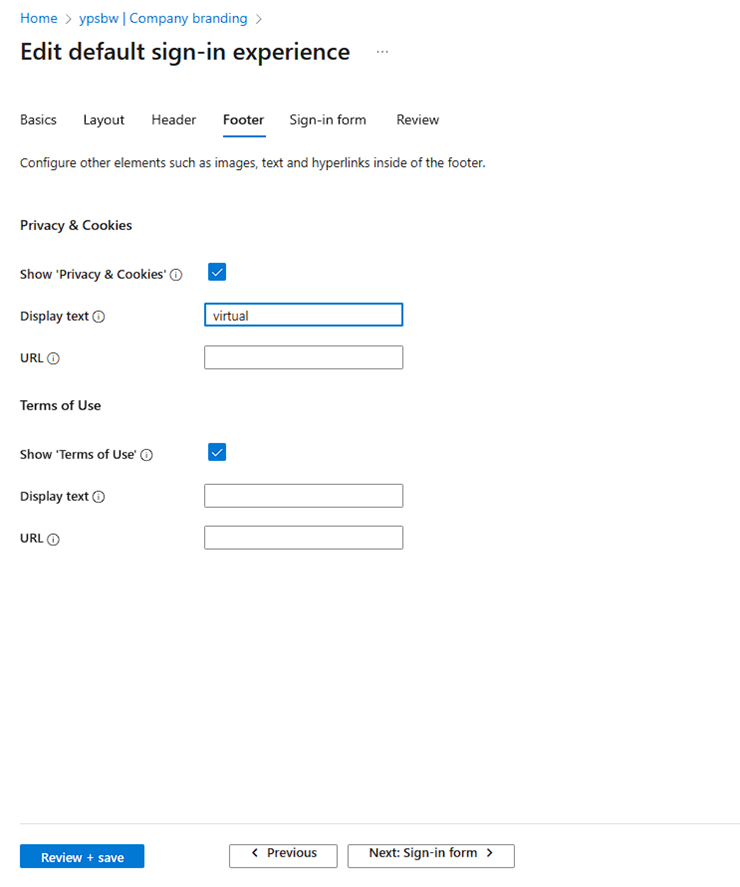
4. Footer
The footer contains the “Terms of Use” and the “Privacy & Cookies” description.
Until now, these two elements were not manageable by the organization and referred to the information of Microsoft :
With the new experience, it is possible to decide whether to display or not these elements and modify the texts or the URL.
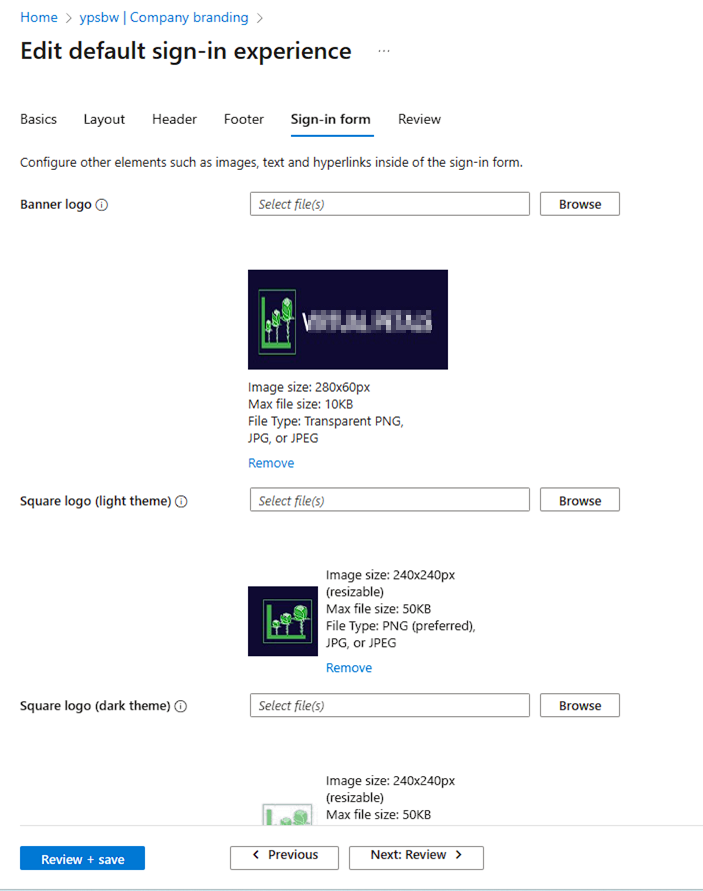
5. Sign In Form
- Banner logo: Select a PNG or JPG image file of a banner-sized logo (short and wide) to appear on the sign-in pages.
- Square logo (light theme): Select a square PNG or JPG image file of your logo to be used in browsers that are using a light color theme. This logo is used to represent your organization on the Azure AD web interface and in Windows.
- Square logo (dark theme) Select a square PNG or JPG image file of your logo to be used in browsers that are using a dark color theme. This logo is used to represent your organization on the Azure AD web interface and in Windows. If your logo looks good on light and dark backgrounds, there’s no need to add a dark theme logo.
- Username hint text: Enter hint text for the username input field on the sign-in page. If guests use the same sign-in page, we don’t recommend using hint text here.
- Sign-in page text: Enter text that appears on the bottom of the sign-in page. You can use this text to communicate additional information, such as the phone number to your help desk or a legal statement. This page is public, so don’t provide sensitive information here. This text must be Unicode and can’t exceed 1024 characters.
To begin a new paragraph, use the enter key twice. You can also change text formatting to include bold, italics, an underline, or clickable link. Use the following syntax to add formatting to text:
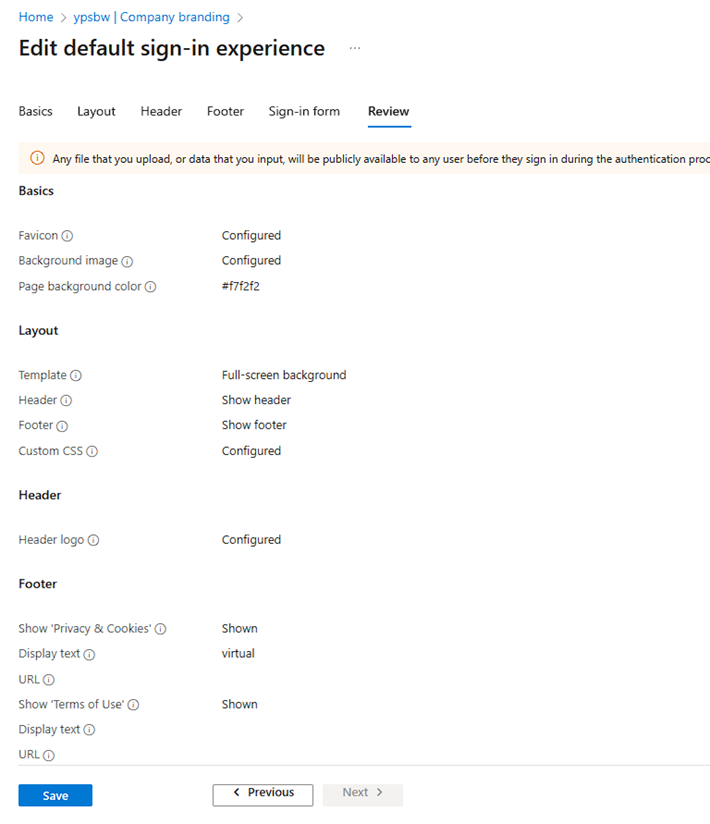
5. Review
The last page usually allows you to review all the parameters defined for the company branding.
How to go further with the custom templates
The improvements introduced in the UI (favicon, default template, header, footer, SSPR customization) are nice. But what is most interesting for the sign-in experience is the custom templates part.
This new feature allows administrators to manage the layout of the page. For this, Microsoft provides a CSS template in which 45 elements can be customized, such as :
- .ext-header-logo: Styles for the header logo at the top of the page
- .ext-sign-in-box: Styles for the sign-in box container
- .ext-banner-logo: Styles for the banner logo displayed inside the sign-in box
- .ext-boilerplate-text: Styles for the custom message text at the bottom of the sign-in box
- .ext-promoted-fed-cred-box: Styles for sign-in options text box
CSS Code :
/* Style the header title (h1) */

.ext-header-logo
{
    max-height: 50px;
}

.ext-sign-in-box
{
    border-radius: 20px;
}

.ext-promoted-fed-cred-box
{
    border-radius: 20px;
}

.ext-banner-logo
{
    max-height: 36px;
    display: block;
    margin-left: auto;
    margin-right: auto;
}

.ext-boilerplate-text
{
    text-align: center;
}
.ext-sign-in-box {
  background-color: #fbfbfb;
  padding: 15px;
  border: 10px solid #141313;
}
.ext-button-field-container {
    margin-top: 20px;
    display: flex;
    justify-content: center;
  }
  .ext-button {
    padding: 10px 20px;
    border: none;
    cursor: pointer;
    margin: 0 5px;
  }
  .ext-button.ext-primary {
    background-color: #f6f2f1;
    color: #0e0101;
  }
  .ext-button.ext-secondary {
    background-color: #f2f7f7;
    color: #050000;
  }
  /* Footer styles */
.ext-footer {
    background-color: #f50a0a;
    color: #fff;
    text-align: center;
    padding: 10px;
  }

  .ext-footer-links {
    margin-bottom: 10px;
  }

  .ext-footer-content {
    margin: 0 10px;
  }

  .ext-boilerplate-text {
    font-size: 12px;
  }

  /* Main content styles */
main {
    max-width: 800px;
    margin: 0 auto;
    padding: 20px;
  }
And here is the result with the customized template :

 provides the identity and access management (IAM) service. You can add company branding that applies to all these sign-in experiences to create a consistent experience for your users.The default sign-in experience is the global look and feel that applies across all sign-ins to your tenant. Before you customize any settings, the default Microsoft branding appears in your sign-in pages. You can customize this default experience with a custom background image and/or color, favicon, layout, header, and footer. You can also upload a custom CSS.)