
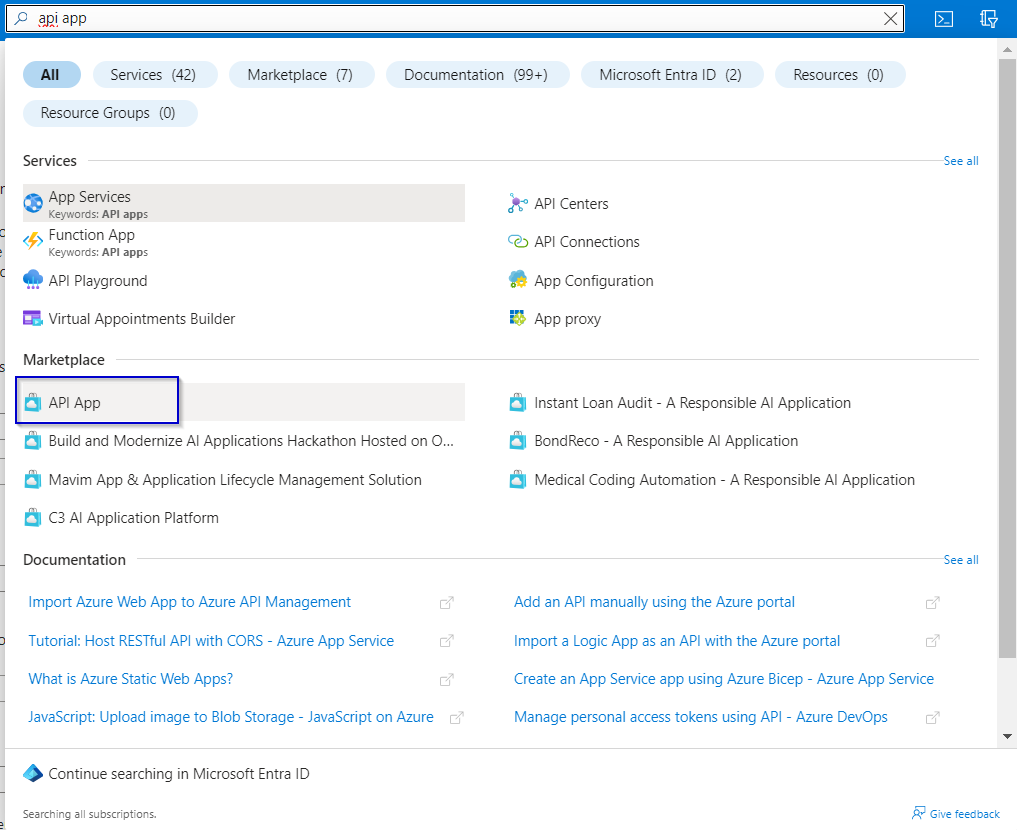
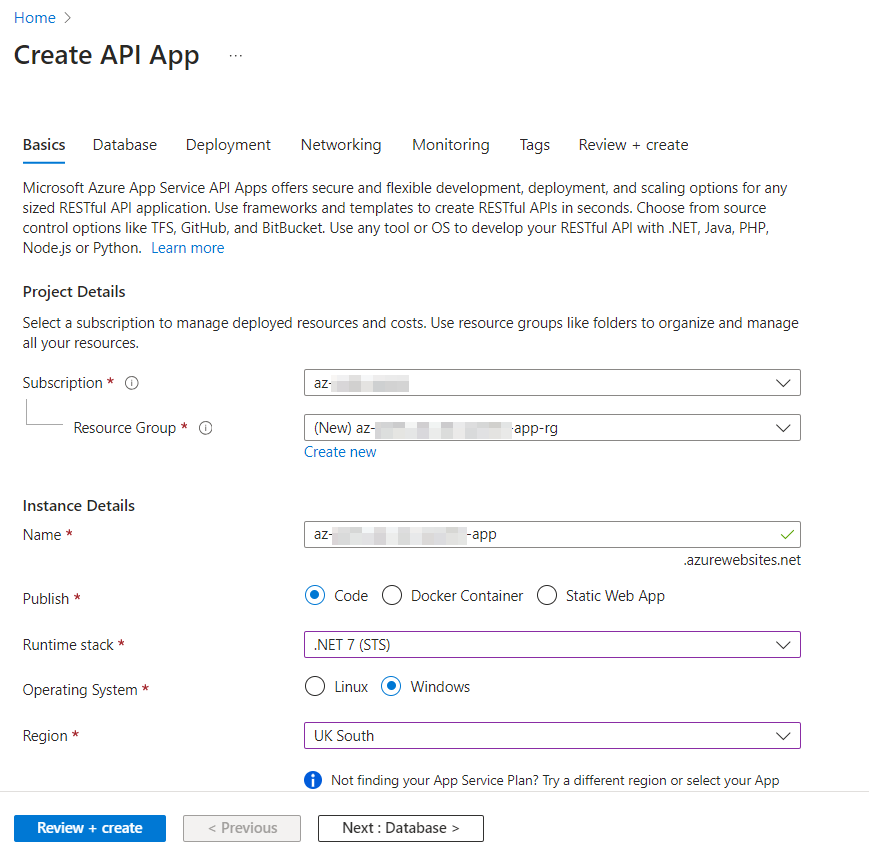
Step 1: Create a API App in Azure through which the application will be Hosted.
.
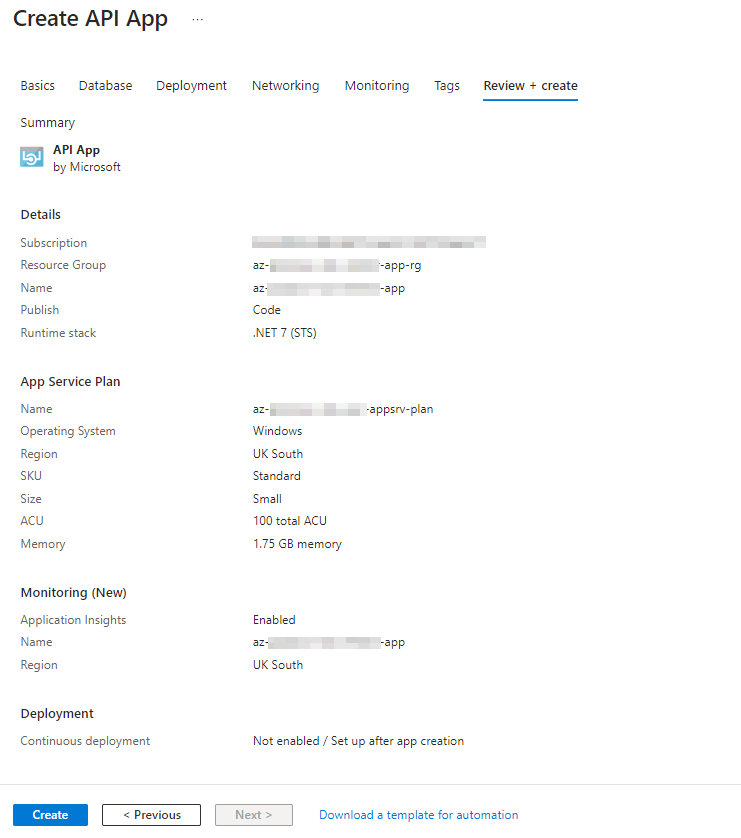
Review the configurations and click on Create.
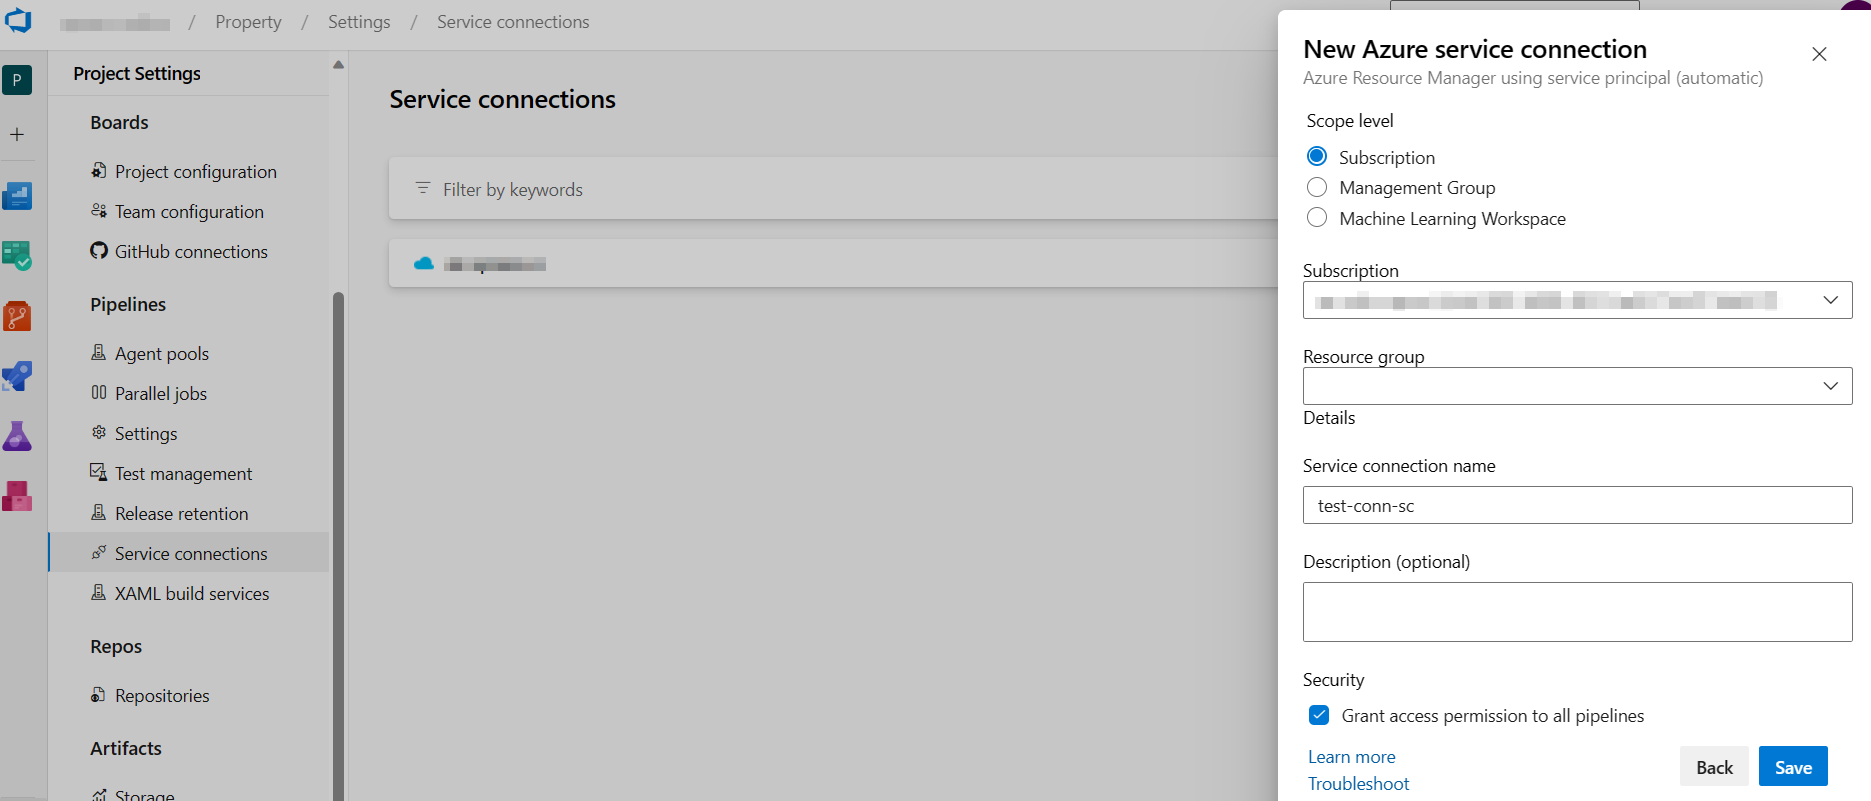
Step 2 : Creating a Service Connection for the pipelines to push the code to the API App
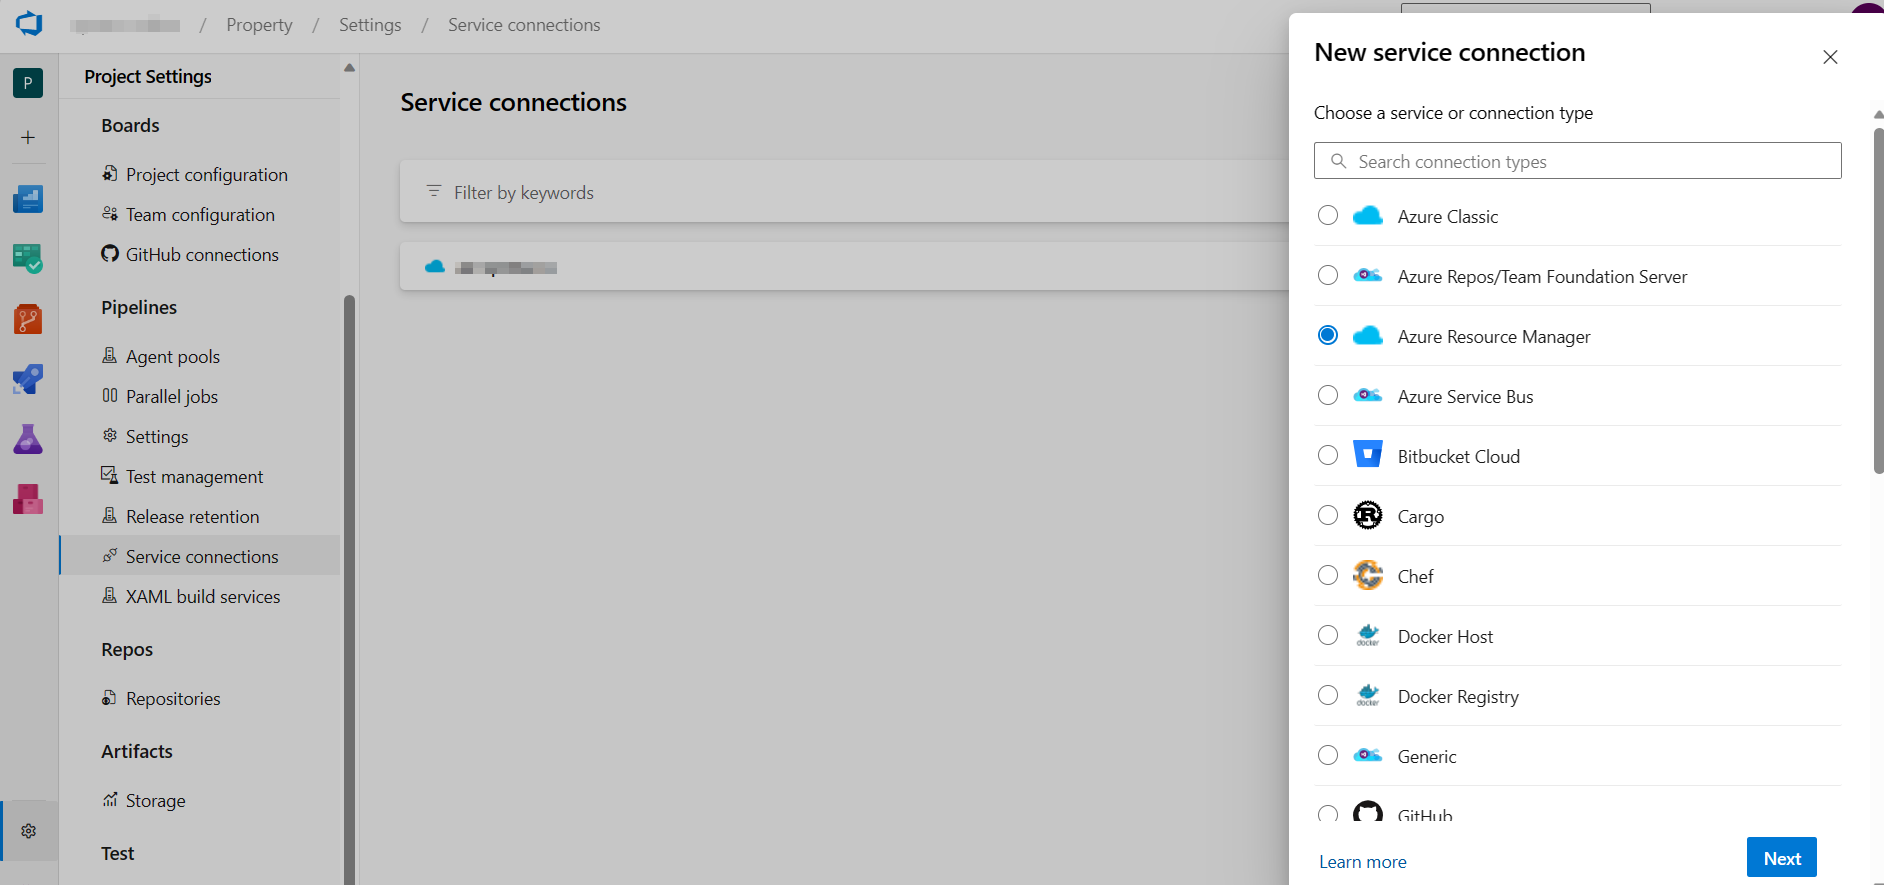

Select the Subscription and Click on Save.
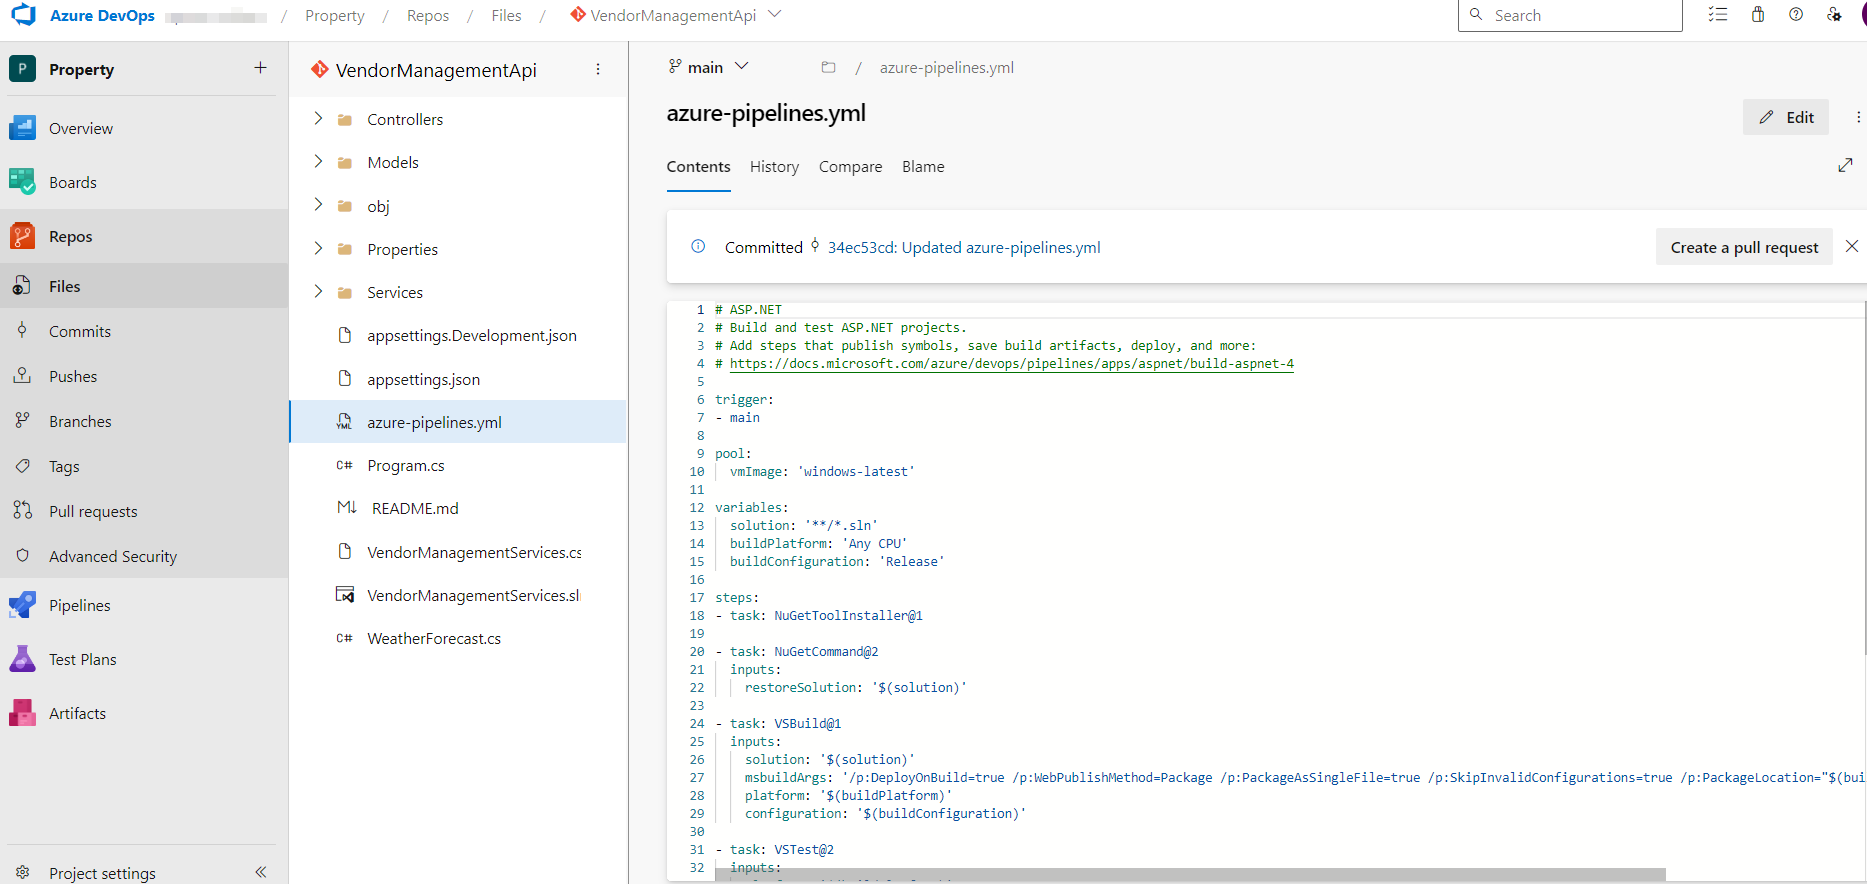
Step 3 : In the Source folder of the Application add a yml file and configure the deployment for the application.
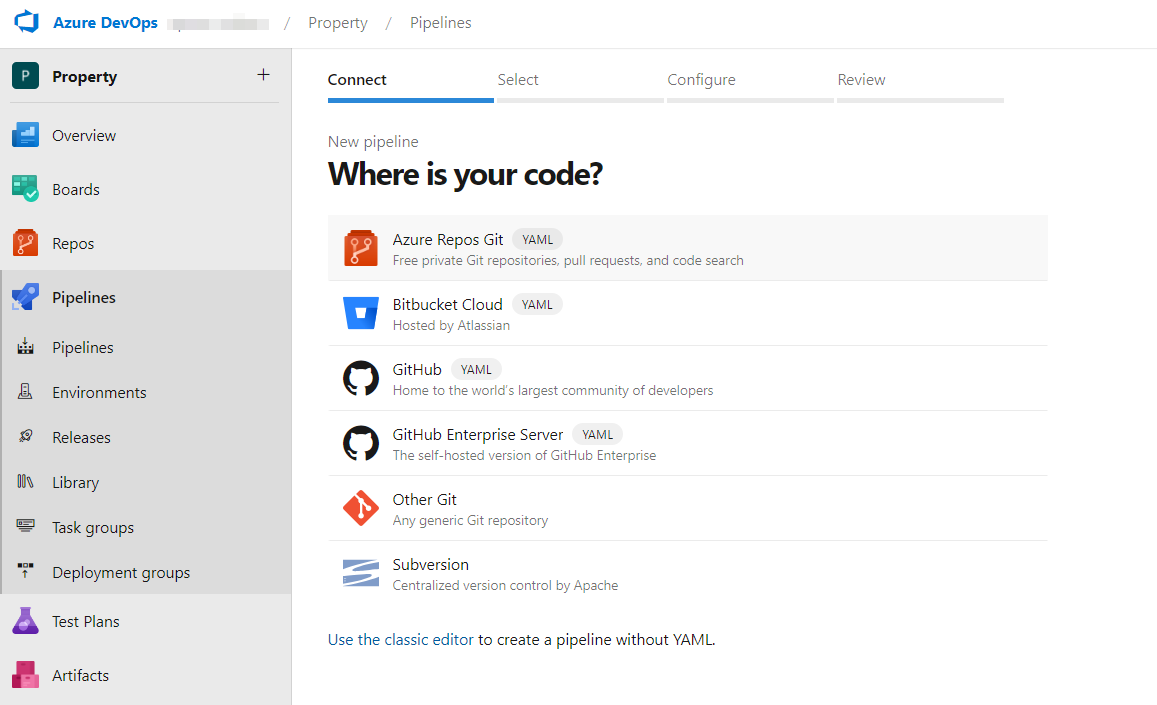
Step 4 : Now lets start creating a Pipeline. Click on Pipelines and select the type which stores the application. Here I am using Azure Repos Git, which has my application.
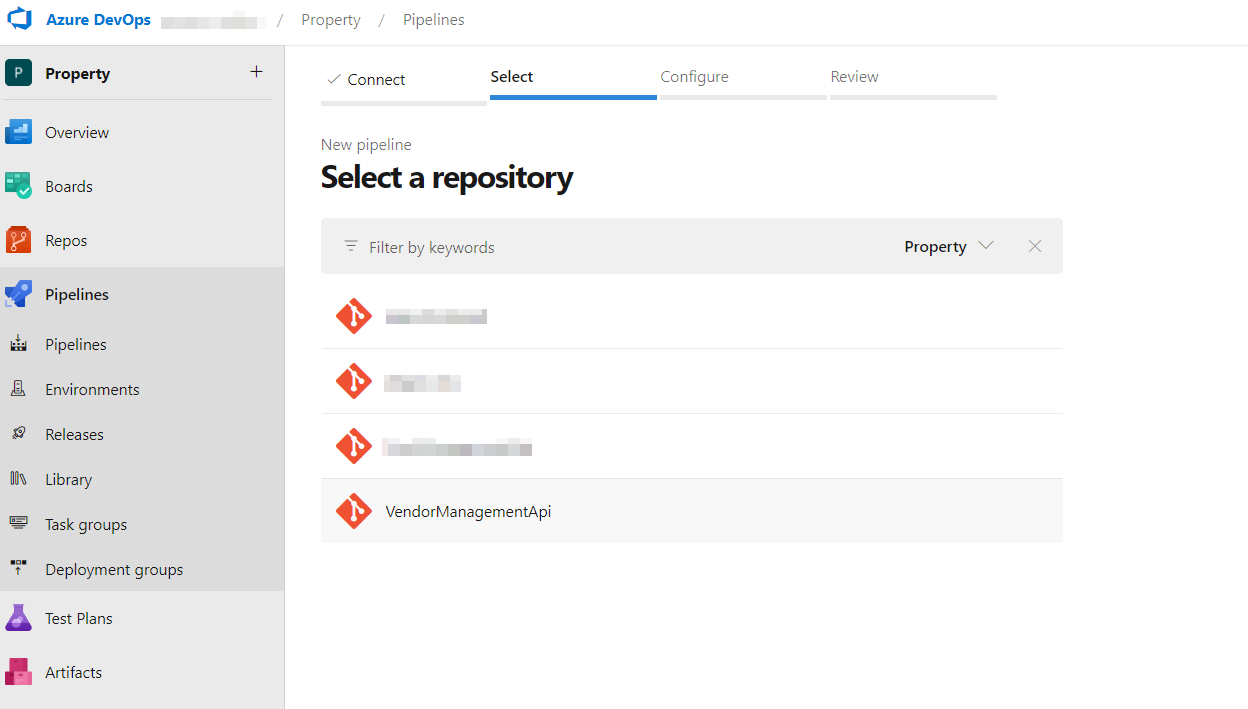
Select the Repository in which the Application is Stored.
Select the YAML file that we have added previously to the source code.


Use the below code that I used during this deployment. Change the API App name and Service Connection name according to the one that you create.
trigger:
- main

pool:
  vmImage: 'windows-latest'

variables:
  solution: '**/*.sln'
  buildPlatform: 'Any CPU'
  buildConfiguration: 'Release'

stages:
- stage: Build
  displayName: 'Build Stage'
  jobs:
  - job: BuildJob
    displayName: 'Build Job'
    steps:
    - task: NuGetToolInstaller@1
    - task: NuGetCommand@2
      inputs:
        restoreSolution: '$(solution)'
    - task: VSBuild@1
      inputs:
        solution: '$(solution)'
        msbuildArgs: '/p:DeployOnBuild=true /p:WebPublishMethod=Package /p:PackageAsSingleFile=true /p:SkipInvalidConfigurations=true /p:PackageLocation="$(build.artifactStagingDirectory)\WebApp.zip"'
        platform: '$(buildPlatform)'
        configuration: '$(buildConfiguration)'
    - task: VSTest@2
      inputs:
        platform: '$(buildPlatform)'
        configuration: '$(buildConfiguration)'
    - task: DotNetCoreCLI@2
      inputs:
        command: 'build'
        projects: '$(solution)'
        arguments: '--configuration $(buildConfiguration)'
    - task: DotNetCoreCLI@2
      inputs:
        command: 'test'
        projects: '**/*Tests/*.csproj'
        arguments: '--configuration $(buildConfiguration)'
    - task: PublishBuildArtifacts@1
      inputs:
        pathtoPublish: '$(Build.ArtifactStagingDirectory)'
        artifactName: 'drop'
        publishLocation: 'Container'

- stage: Deploy
  displayName: 'Deploy Stage'
  dependsOn: Build
  jobs:
  - deployment: DeployJob
    displayName: 'Deploy Job'
    environment: 'az-test-app-app'
    pool:
      vmImage: 'windows-latest'
    strategy:
      runOnce:
        deploy:
          steps:
          - task: DownloadBuildArtifacts@0
            inputs:
              artifactName: 'drop'
              downloadPath: '$(System.DefaultWorkingDirectory)'
          - task: AzureRmWebAppDeployment@4
            inputs:
              ConnectionType: 'AzureRM'
              azureSubscription: 'az-conn-sc' #Reclace with Service Connection Name
              appType: 'apiApp'
              WebAppName: 'az-test-app-app' # Replace with Api App Service Name.
              packageForLinux: '$(System.DefaultWorkingDirectory)/drop/WebApp.zip'
Step 5 : Run the Pipeline, here Build and Release Pipelines are together configured in a single YAML file.
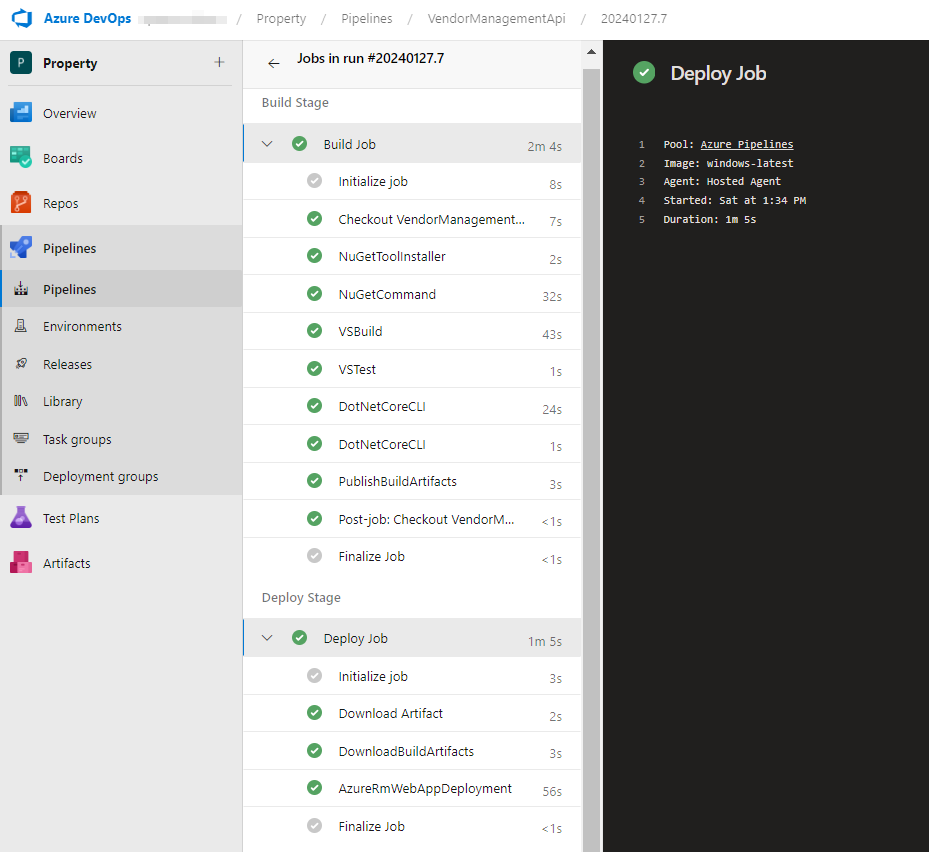
Step 6 : Once the Build and Deploy process is successful, check whether the application is published API App. Use the API apps URL to verify the application deployment.
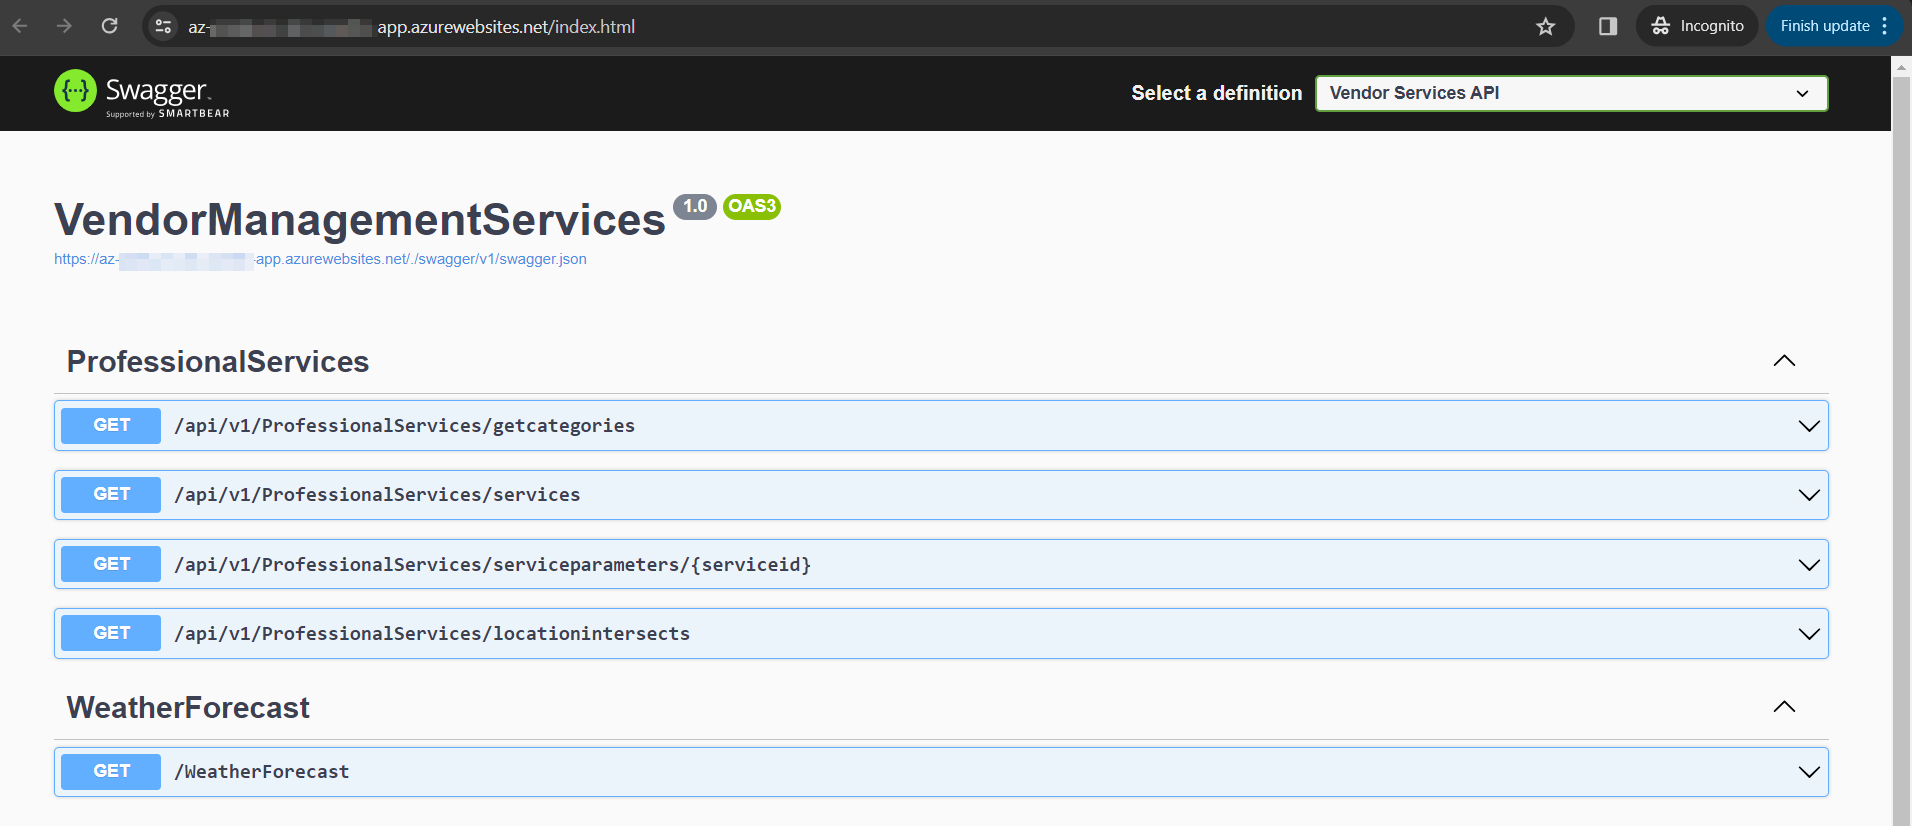
The application is successfully deployed to API app, via Azure DevOps Pipeline.
