
In Azure, a specialized VM image refers to a virtual machine image that has been pre-configured and customized for specific tasks or roles within an application or system. It typically includes a specific operating system, software configurations, and other settings tailored to meet the requirements of a particular workload or application. Specialized VM images are designed to streamline the deployment process and ensure consistency in the infrastructure, reducing the time and effort required to set up virtual machines for specific purposes.
Custom Configurations: Specialized VM images in Azure are crafted with customized configurations, including operating system settings, software installations, and specific application setups, tailored to meet the unique needs of a particular workload.
Consistent Environments: By using specialized VM images, organizations can ensure consistent and standardized environments across their infrastructure. This reduces the likelihood of configuration errors and enhances overall system reliability.
Version Control and Updates: Specialized VM images can be versioned and updated, allowing for efficient maintenance and management. When there are changes or updates to the configuration, a new version of the specialized image can be created, ensuring that all future deployments incorporate the latest improvements.
Step 1 : Lets create a Virtual Machine and add a Custom Script in it to install Internet Information Services(IIS). So we can use this Virtual machine as a base machine to create a Specialized Image.
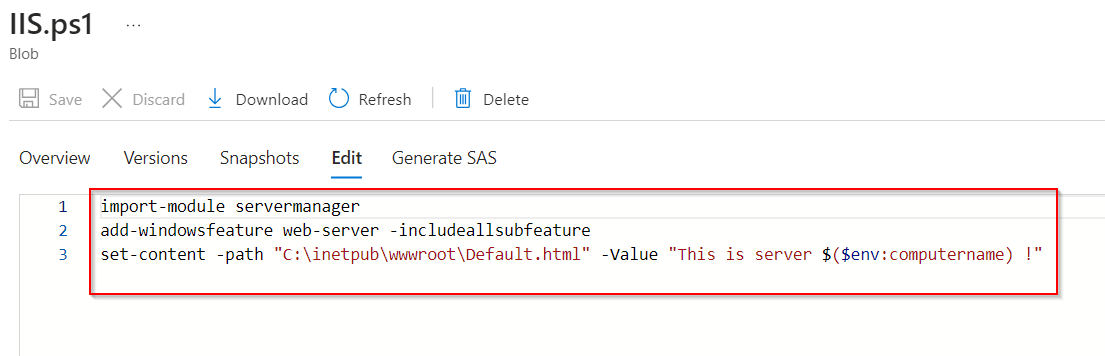
In Advance section select on Custom Script Extension and upload the script to install Internet Information Services.
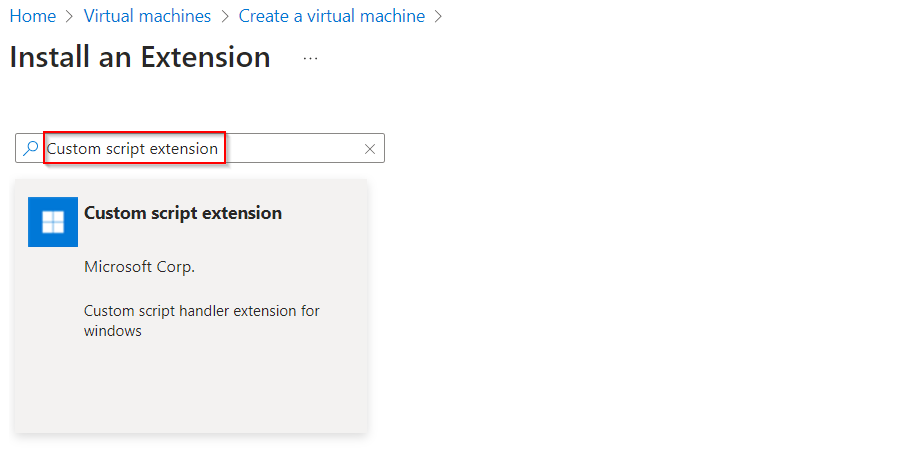
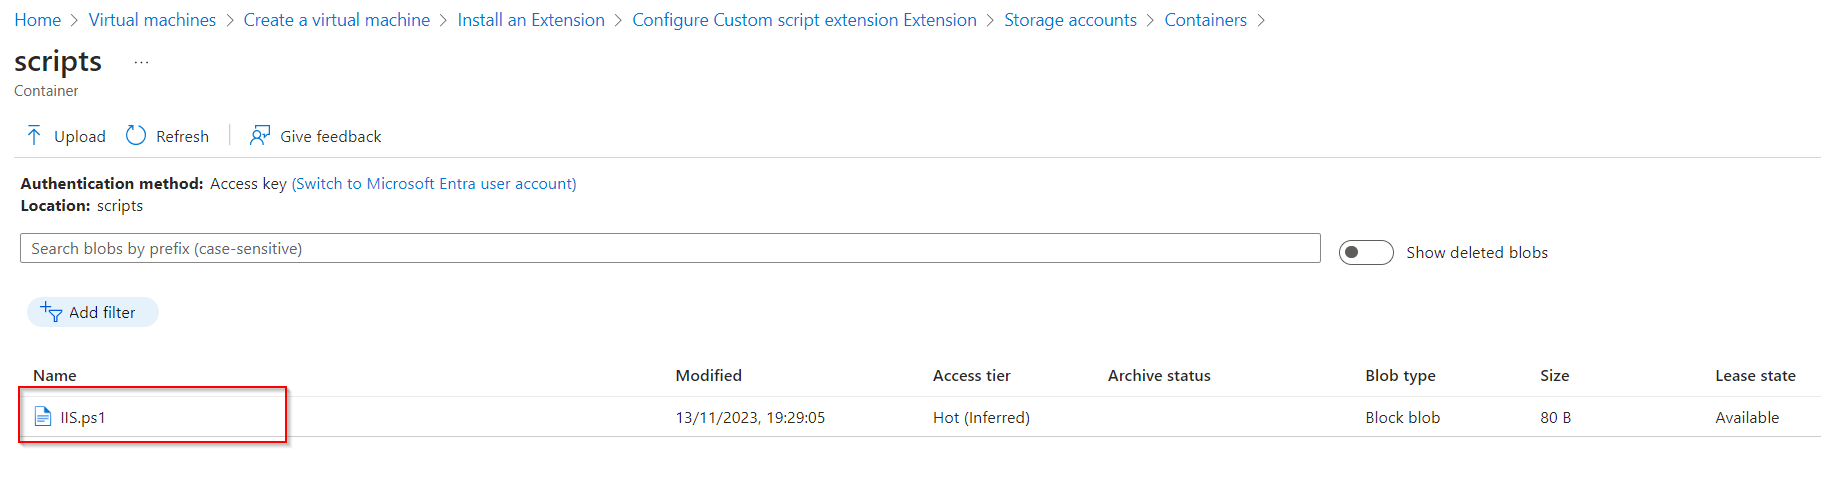
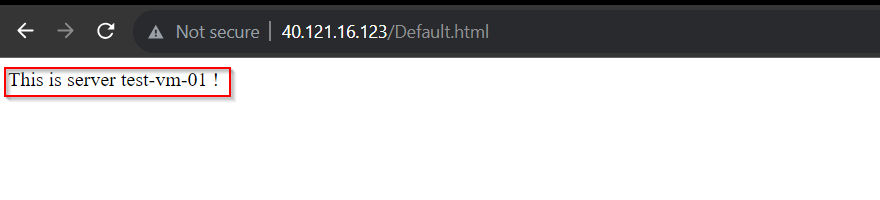
The script contains info to install IIS and create a Defalut.html page in it.
Step 2 : Check the deployed Virtual Machine contain IIS installed on it and also to have a Script to produce computer name.
Step 3 : Lets start creating Specialized VM Image out of the base virtual machine. In the overview page of the Virtual machine, click on Capture to create a Specialized Image.

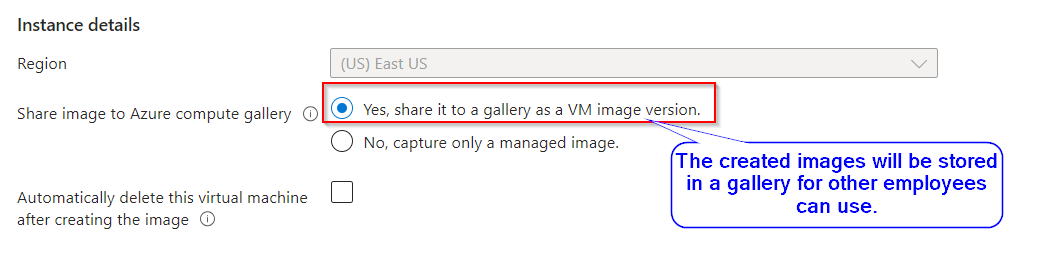
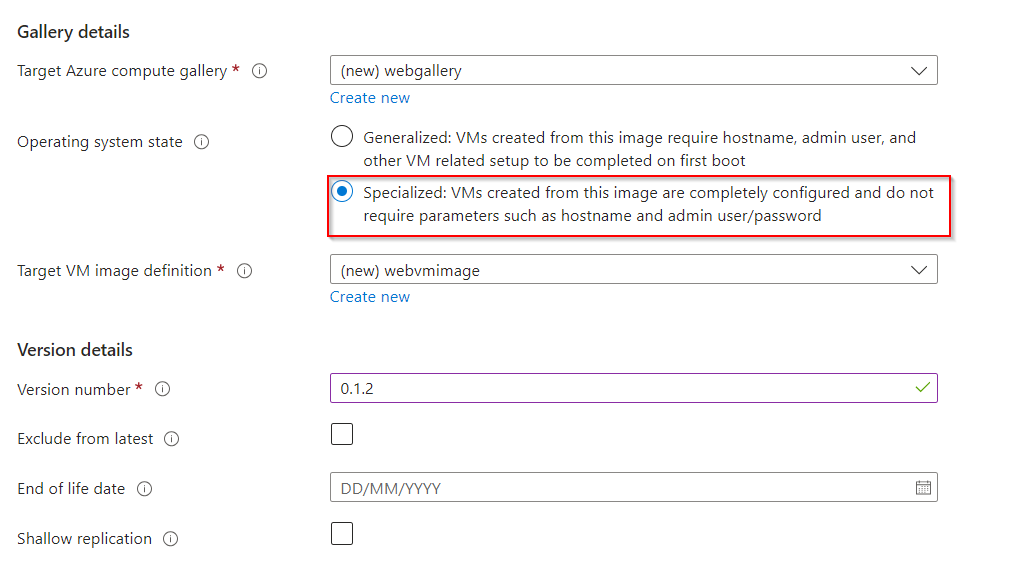
Select the Image type, provide a Target Definition and version number.
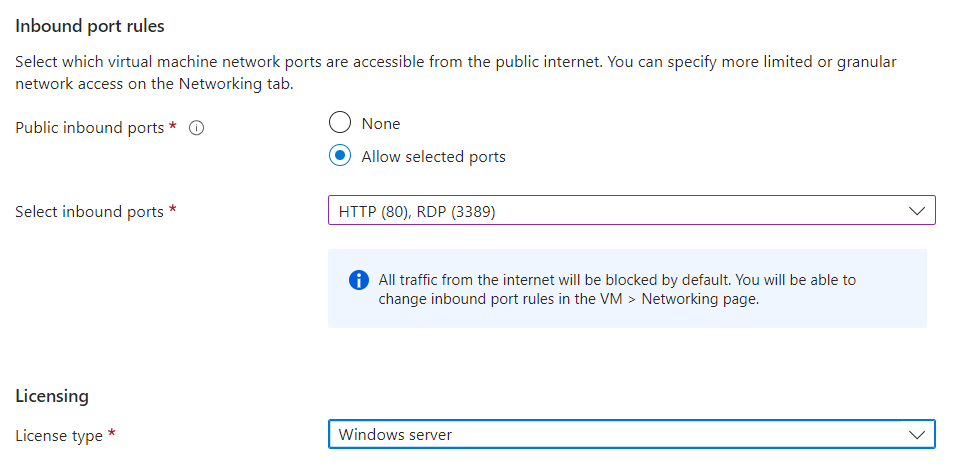
Step 4 : Once the image is created lets create VM from the Specialized Image.
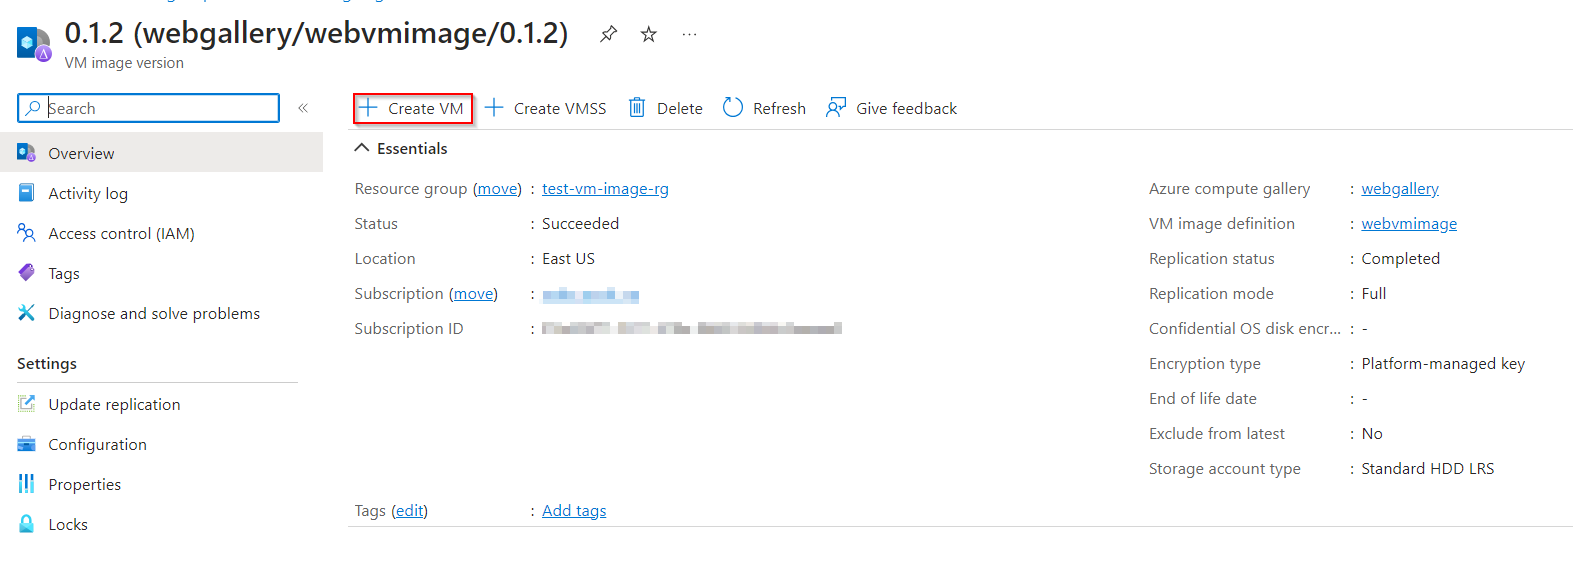
Select the Specialized VM Image the we have created already.

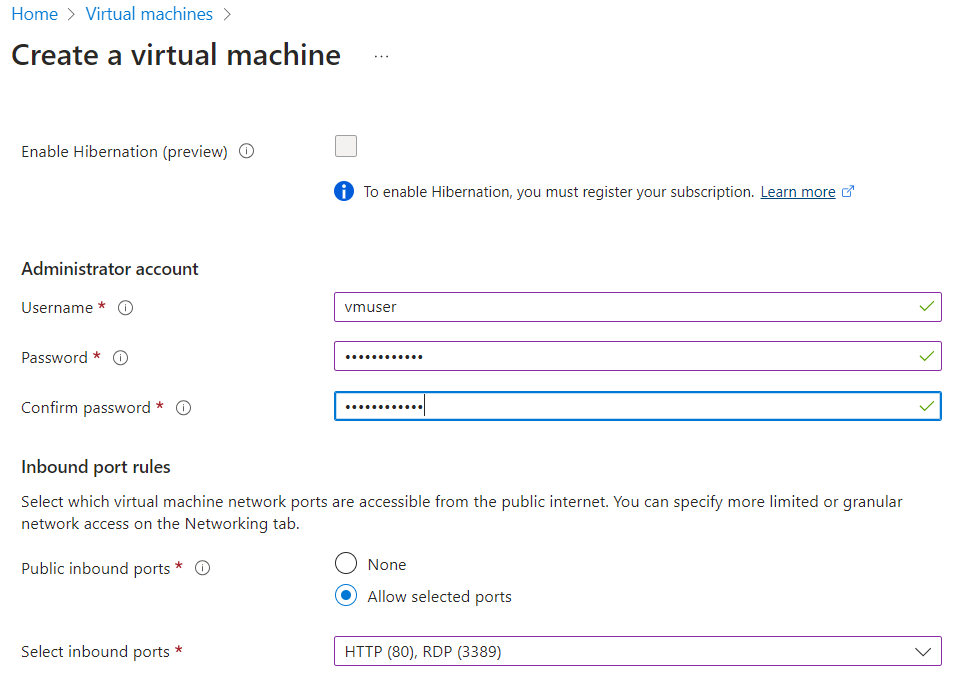
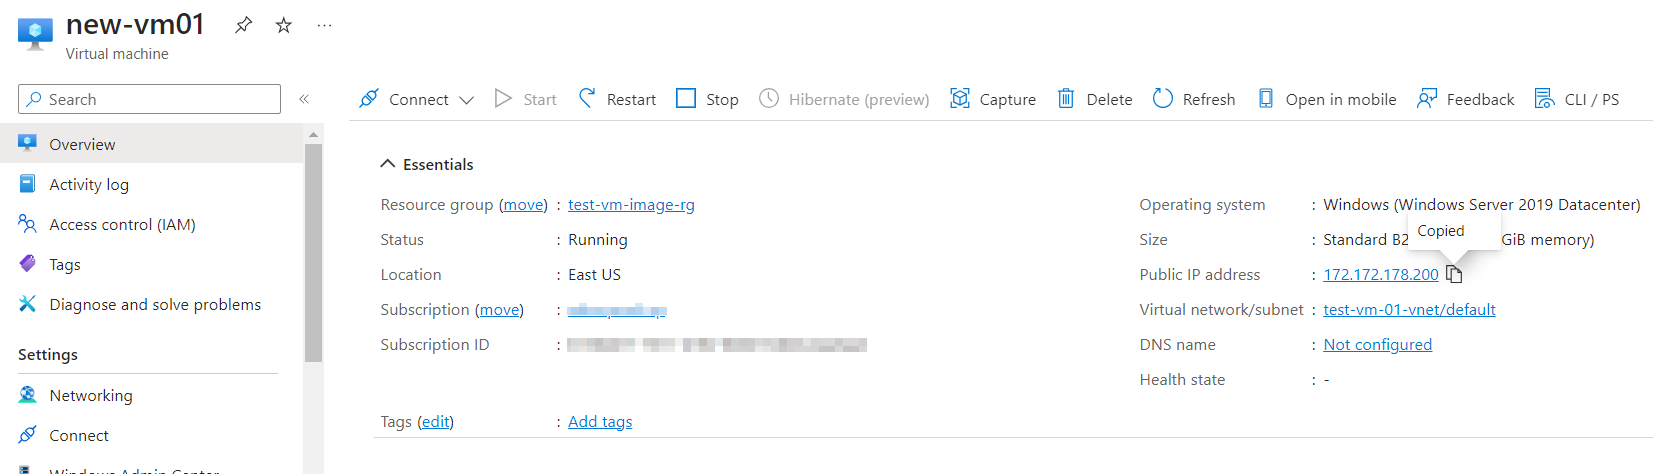
Note : The ability to create Username and Password for Administrator in creating a Specialized Image, the information’s about Admin login’s and the Computer name is embedded in the image. So we cannot create new user name and password for the Virtual Machine.
We have to user the same VM credentials which we have created for the base virtual machine.
This is the key difference between the Specialized image and a Generalized image(we can new create user name and password).
Step 5 : Lets check weather the IIS is install and also check for the Default Html page.
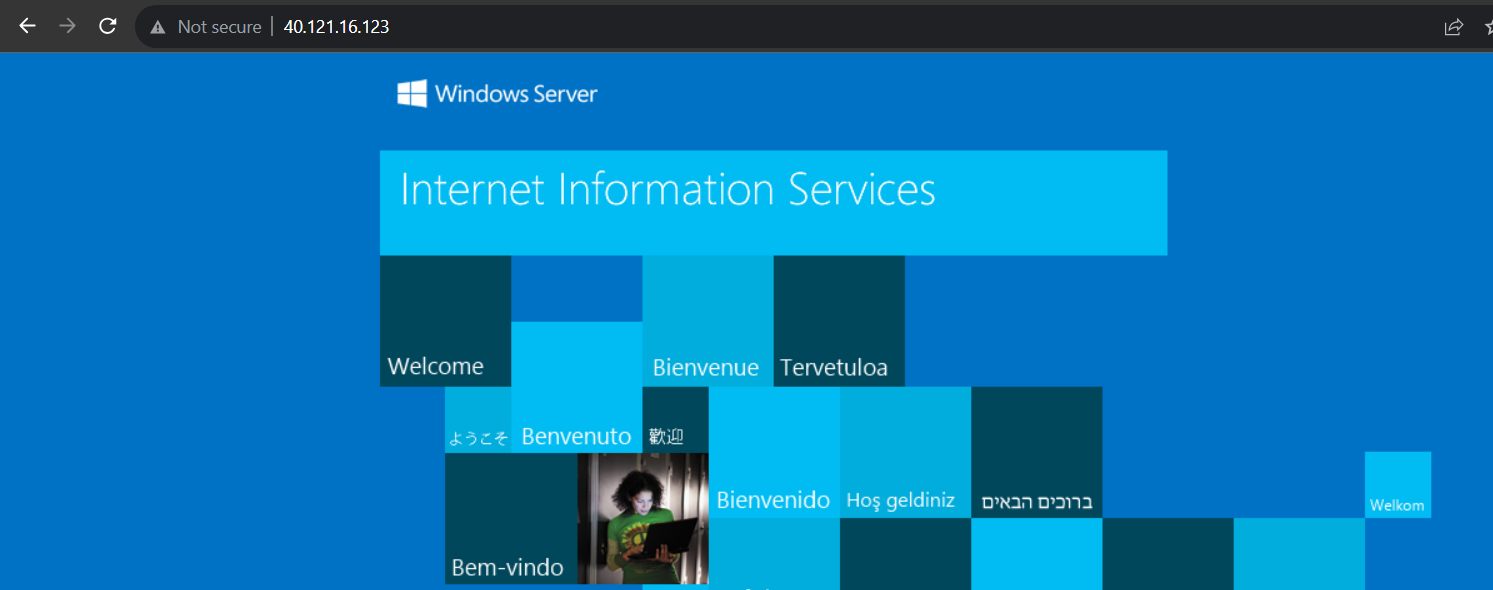
Internet Information Services:
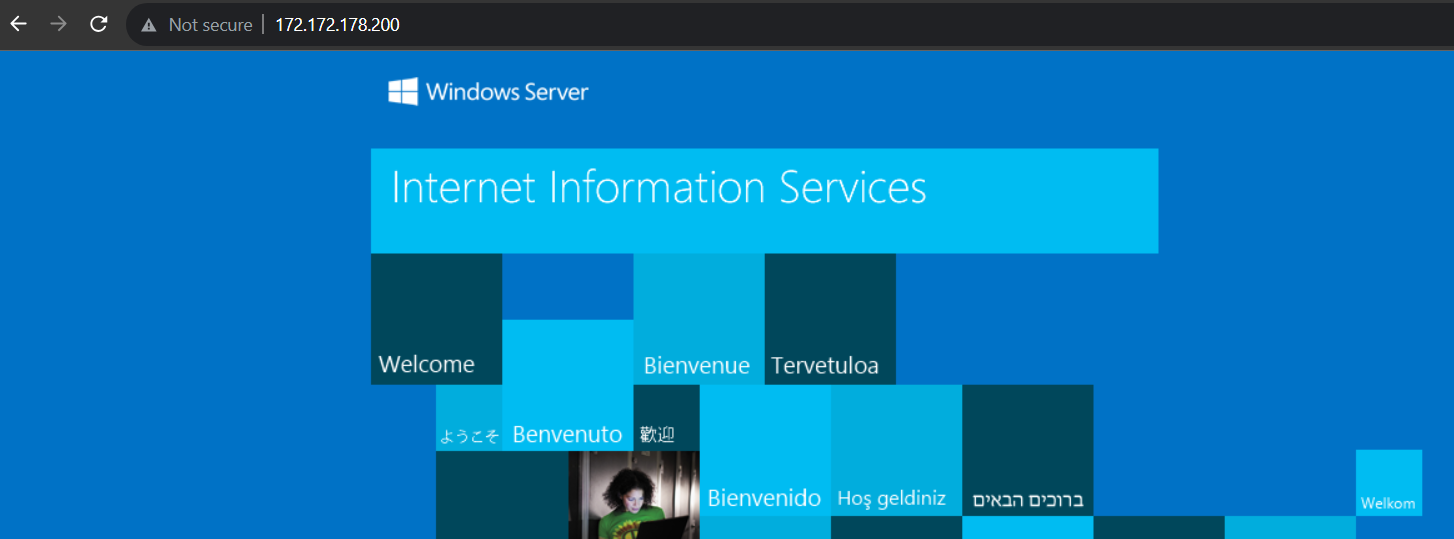
Default Html Page:
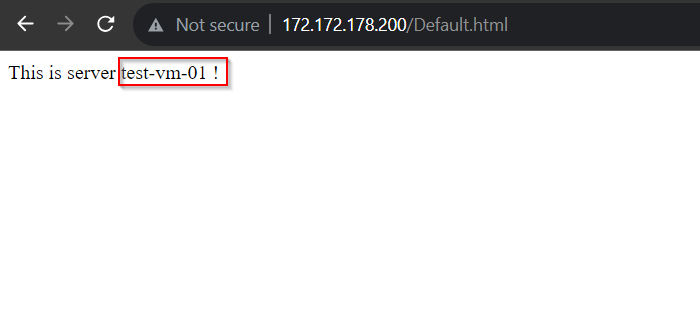
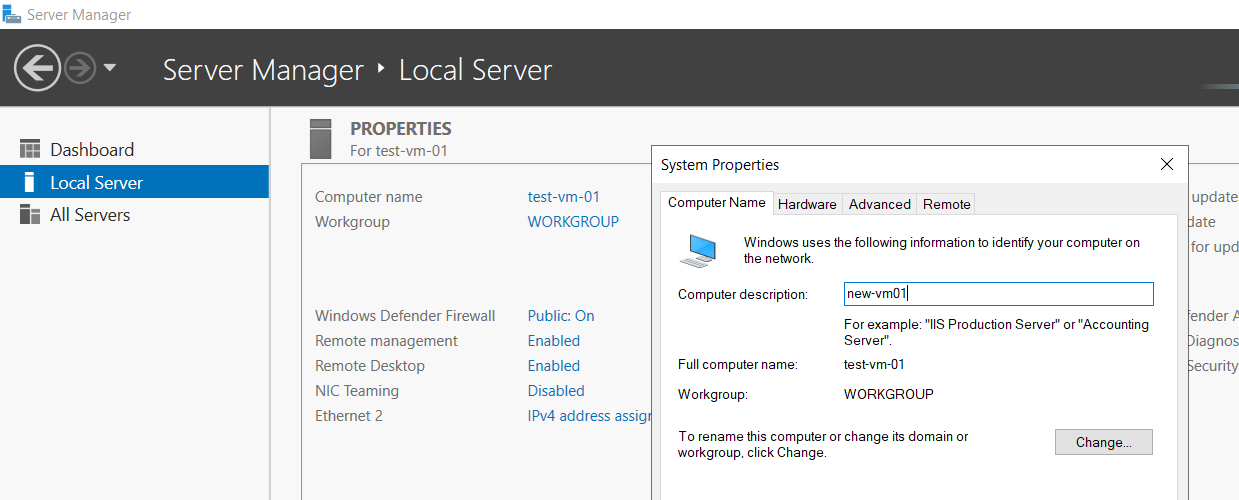
Note : The Computer name is still embedded in the New Virtual Machine.
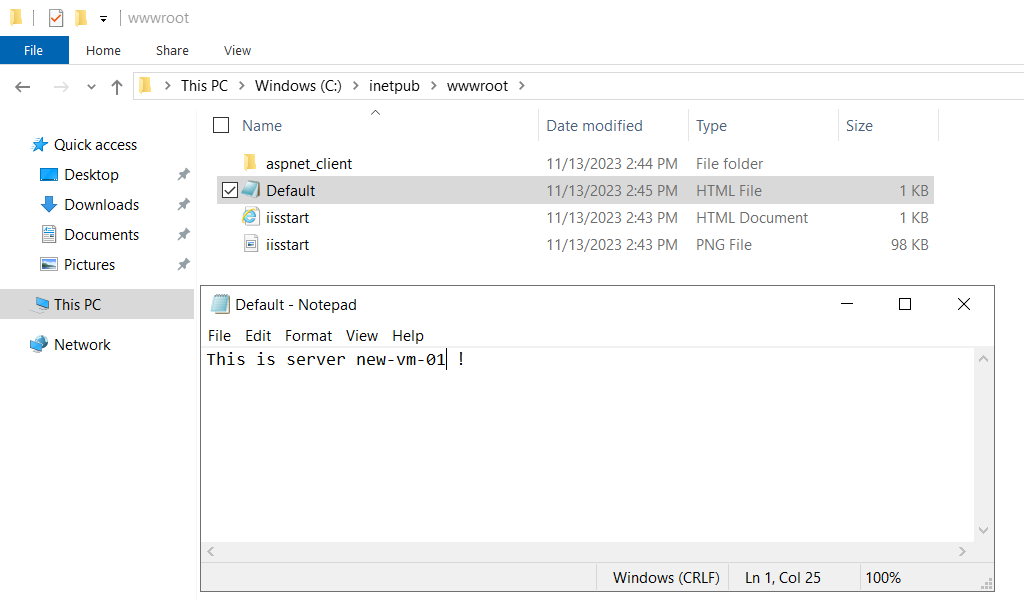
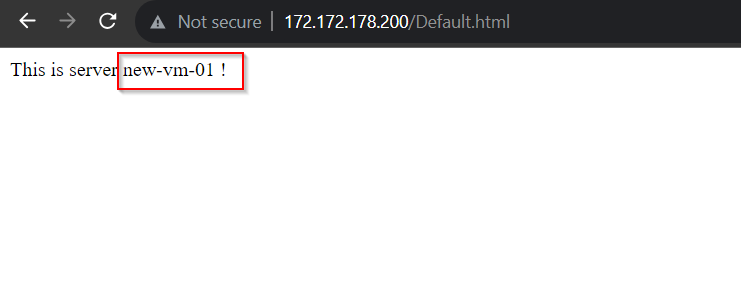
To change the Computer name, we should login the VM and do it manually. But the New computer name will be reflected in the Default Html page only if we edit that page.
