I hope you had this successful LAB for the IMAP migration using Part 1 Blog Series and will move on to our next migration option called Cutover Exchange Migration.
Cutover Exchange Migration.
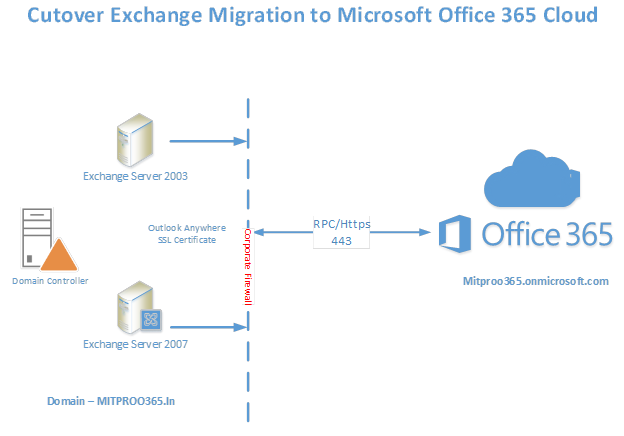
Cutover Exchange migration is the approach when you want to migrate from a legacy (Exchange 2003 & 2007) Exchange environment having maximum number of mailboxes to 1000. When you actually perform a CEM the migration service on cloud provisions users/contacts/groups automatically for each accounts on on premise Exchange organization. There are certain prerequisites which needs to be taken care before starting migration batch and post migration too which will be seeing soon below step by step.
Let us have the LAB ready and setup in place.
1. Virtual Machine – In my lab I have configured in below steps.
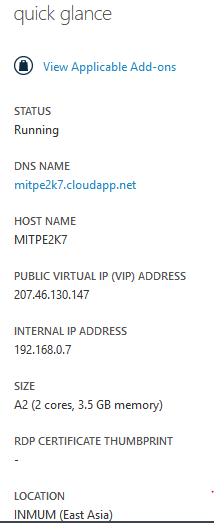
a) Created a Virtual machine on Windows Azure trial subscription under the Virtual Network 192.168.0.0 network address range with cloud service selecting as mitpe2k7.cloudapp.net. The VM config consist of 2 Core, 3.5 GB RAM with Windows 2008 R2 SP1 Operating System
b) Installed Domain Controller services with mitproo365.in namespace having DNS AD integrated.
c) A reverse lookup zone for the subnet 192.168.0.0 and made sure the records are populated for DC.
2. Installing and Configuring Exchange 2007 SP3
a) Downloaded the Exchange 2007 SP3 from the Microsoft Download Center and extracted the setup in C:\Exchange 2007 folder
b) Installed prerequisites like dot net framework 3.5 using windows features
c) The Organization preparation will be done during the Exchange 2007 Installation setup.
d) Run through the Exchange 2007 setup installation, provided the organization name as MITPROO365. Post Exchange 2007 Installation rebooted the server.
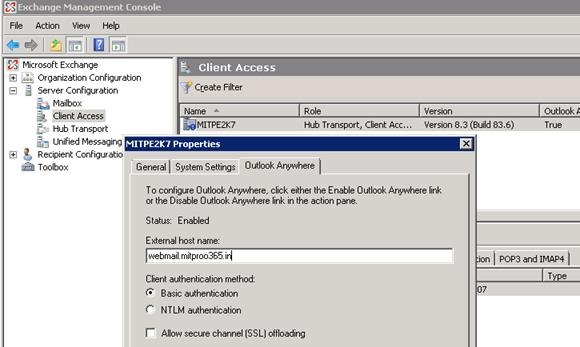
e) Enabled Outlook Anywhere with the FQDN – webmail.mitproo365.in
3. Configured the Exchange Virtual Directories – AutodiscoverServiceInternalURI / Web-Services / OAB / OWA / EAS Virtual Directories
4. Configured OWA virtual directory for /OWA redirection
5. Imported SAN certificate using power shell and enabled Exchange service like IIS on to the certificate. (Certificate should have minimum 2 records webmail/autodiscover)
6. Create an endpoint rules for SMTP (25) and SSL (443) services so that exchange can send / receive emails.
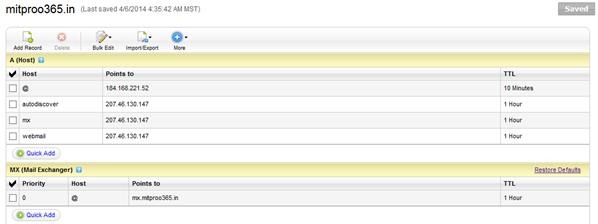
7. Create internet / intranet DNS record like webmail.mitproo365.in / autodiscover.mitproo365.in
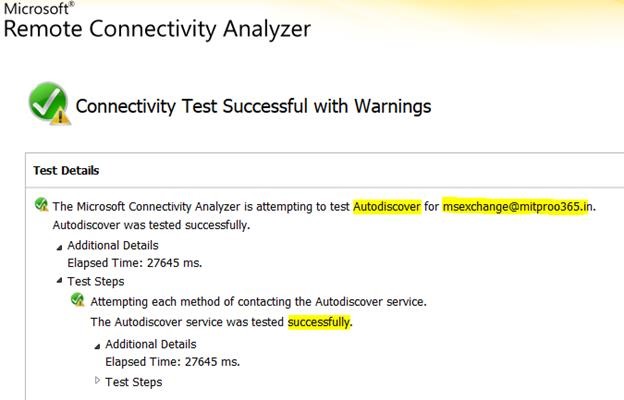
8. Test the Exchange 2007 Outlook anywhere functionality @ https://testconnectivity.microsoft.com/ and verify the test is successful.
9. Office 365 Subscription and tenant verification:
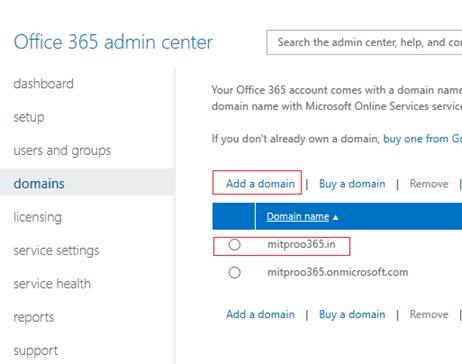
We have already configured the Office 365 tenant for the domain MITPROO365.in in our previous part of the blog series.
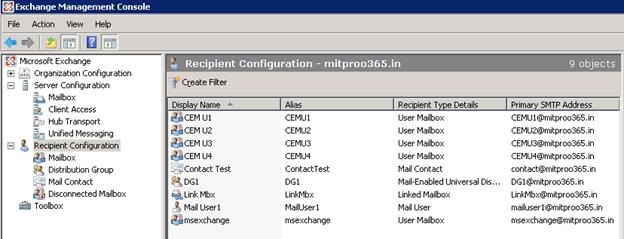
10. Let us create some test mailboxes, groups and contacts at on premise Exchange organization so that we can test the successful migration.
11. Migration Batch – Since we are done with the prerequisites and setup configuration we will now perform CEM using Office 365 portal
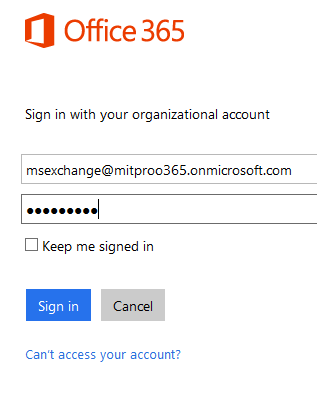
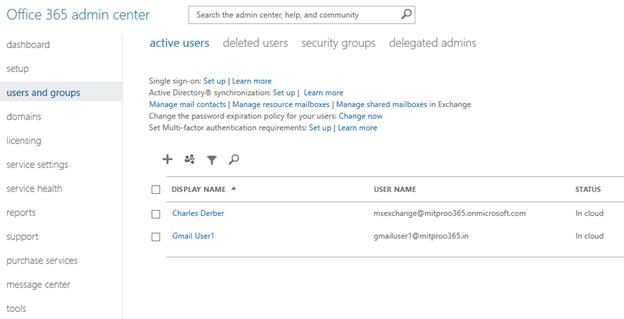
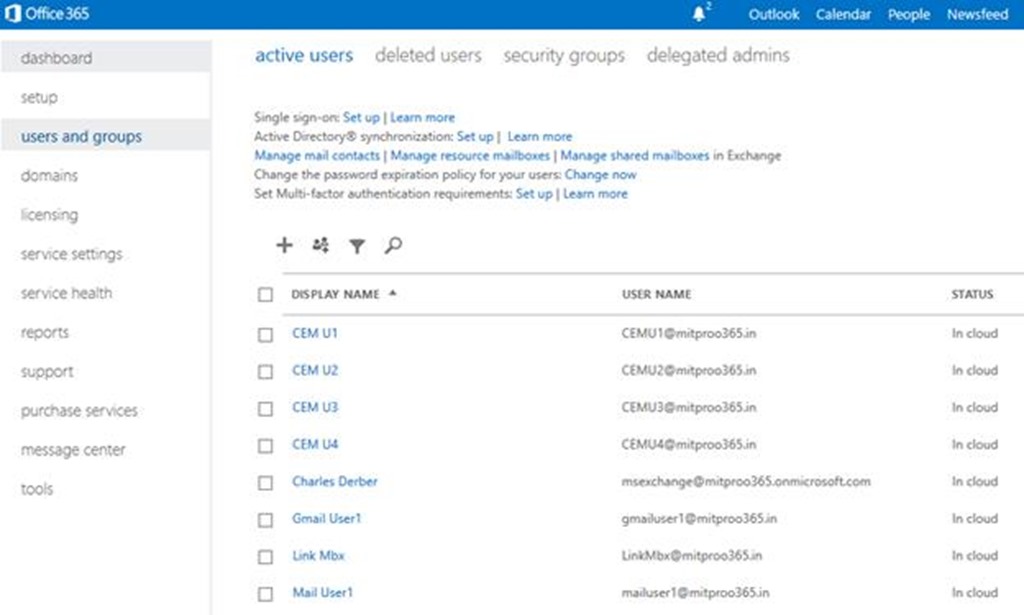
12. Let us verify we don’t have any users of on premise on Office 365 Cloud
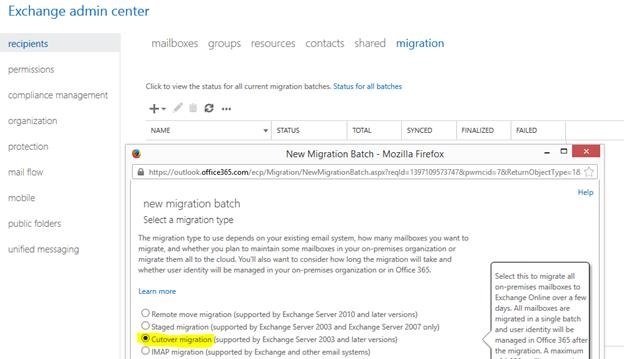
13. Using Exchange Admin Center will migrate with Cutover migration option
a) Provide the on premise delegated Full Access Permission credentials to migrate the mailboxes.
b) Since we have setup / configured the Exchange 2007 environment properly it has automatically fetched the Exchange Server information.
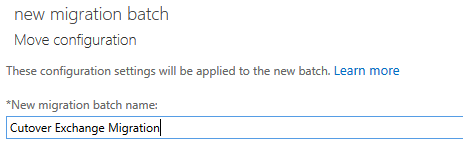
c) Provide the Batch migration name as desired
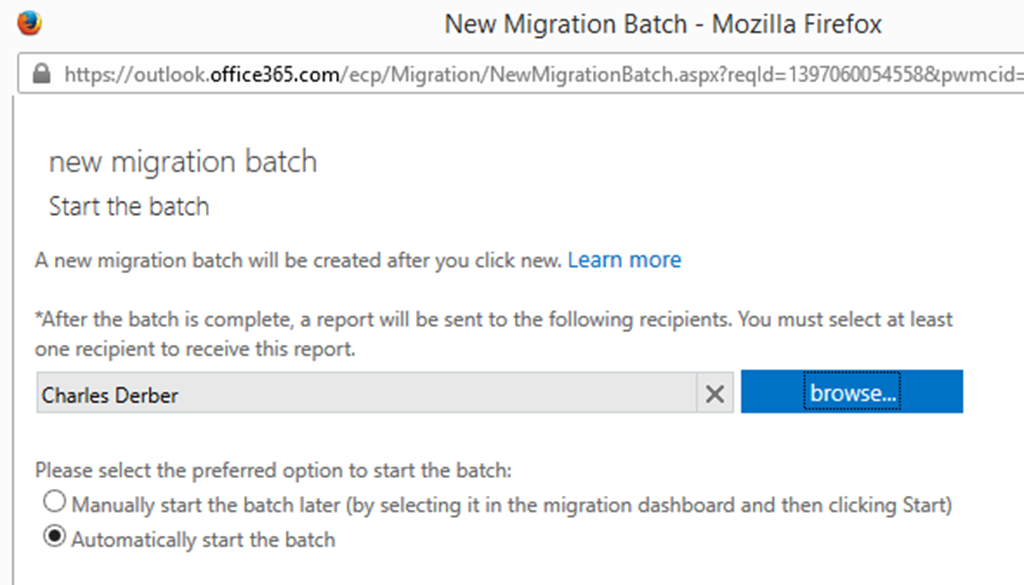
d) Select the admin mailbox to send migration report & you could start the migration right away or later as per your convenient.
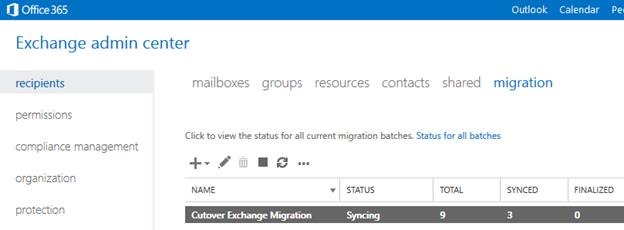
e) We can monitor the progress of the migration happening as mentioned below
f) You will further see the Exchange recipient was provisioned automatically with the help of migration service.
All looks good J successful migration and you can check the admin inbox for the detailed report.
Post successful migration
Ø Assign licenses migrated users on Office 365 – be aware of the grace period
Ø Configure an MX / Autodiscover DNS record to point it to cloud
Ø Implement a single sign-on solution
Ø Decommission on-premises Exchange servers
Note:
§ There was good question brought up by the participants which I wasn’t aware whether linked mailbox can be migrated or not but logically I answered yes and replied would get back to him shortly as I never had that scenario. Later no sooner I had this cross forest setup on Azure lab with msexchangeasia.in domain was able to successfully migrate the Linked Mailboxes as well. In this blog series I had we had also migrated the Linked mailbox called Link Mbx whose account resides in the forest msexchangeasia.in. If you need the detailed step just buzz me and I will email you the entire steps as I have documented it.
§ Make sure you don’t enabled Directory Synchronization enabled on Office 365 portal or else the cutover migration option will be disabled via migration wizard.
Hope this have been informative and stay tuned for our next last LAB scenario on Hybrid (Exchange 2010) Migration.








Hi Charles,
Can you share me the detailed steps that you have documented for knowledge purpose.
Thanks,
If you are asking one from the note points – here is the details I’ve posted for linked mailbox migration http://community.office365.com/en-us/f/156/p/188985/724434.aspx#724434
The above link does not work, can you post again, as I need to do Linked Mailboxes. Many Thanks
Thanks again