")
A Step-by-Step Guide to Creating an Amazon EC2 Instance with Key Pair
Amazon Elastic Compute Cloud (EC2) is a powerful cloud computing service that allows you to create and manage virtual servers, known as instances, on the Amazon Web Services (AWS) platform. One important aspect of securing your EC2 instances is by using key pairs, which provide secure access to your instances. In this blog post, we will walk you through the process of creating an EC2 instance with a key pair, ensuring a robust security setup for your cloud infrastructure.
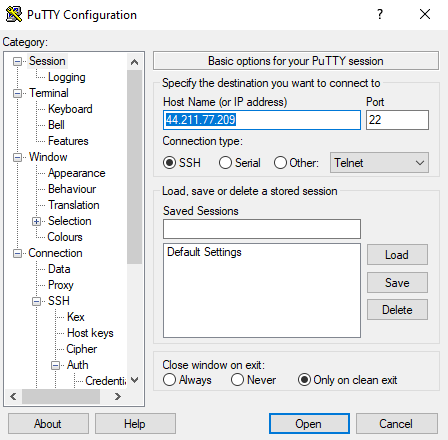
Step 1: Log in to the AWS Management Console
To get started, log in to the AWS Management Console using your AWS account credentials. If you don’t have an account, you can sign up for one on the AWS website.
Step 2: Navigate to the EC2 Dashboard
Once you’re logged in, navigate to the EC2 Dashboard. You can find the EC2 service by searching for it in the AWS Management Console’s search bar.

Step 3: Launch an Instance
On the EC2 Dashboard, click on the “Launch Instance” button to start the instance creation process. This will launch the EC2 instance wizard, which will guide you through the configuration steps.
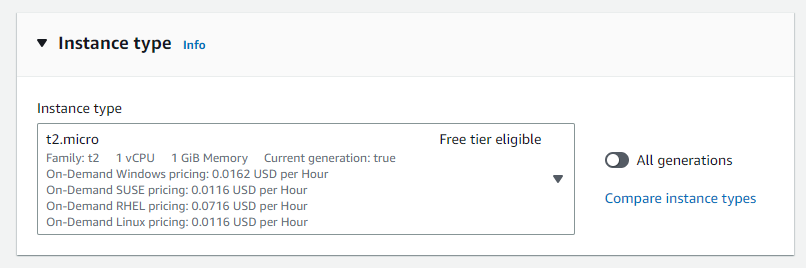
Step 4: Choose an Amazon Machine Image (AMI)
Select the AMI that best suits your requirements. An AMI is a pre-configured template that contains the operating system and other software for your instance.
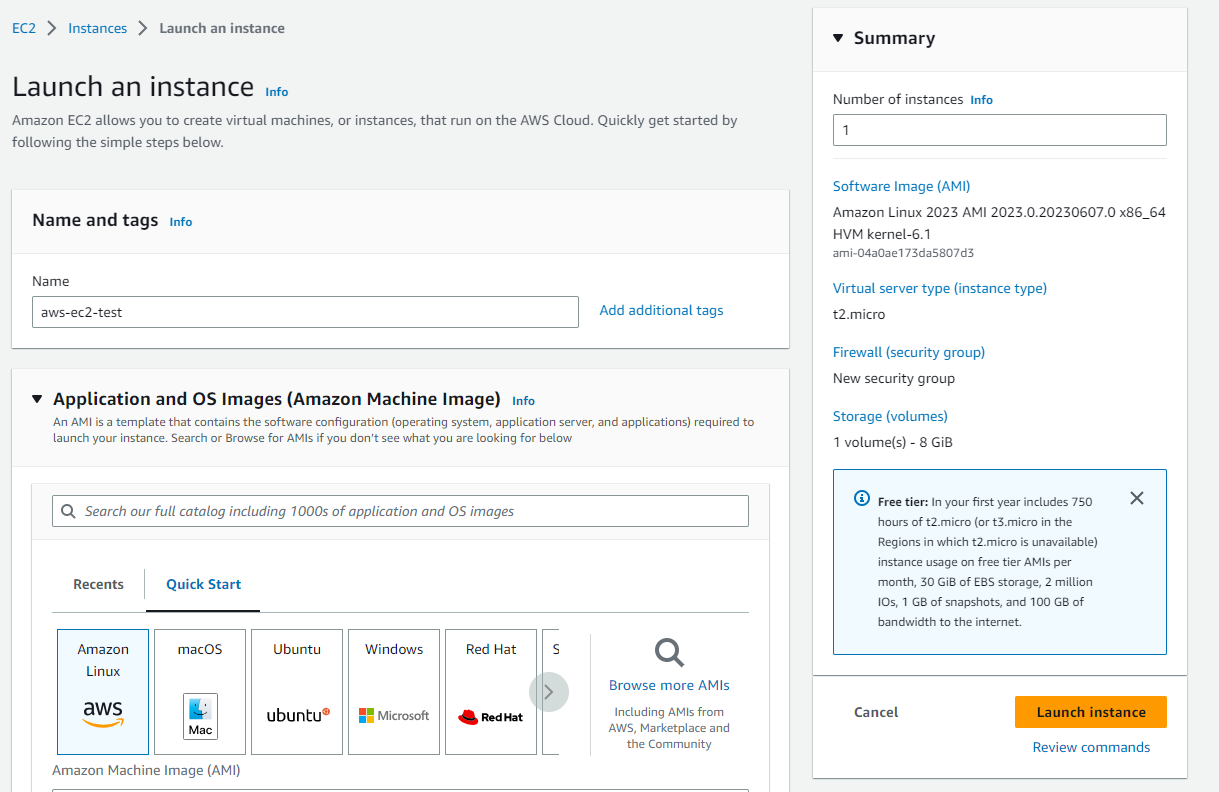
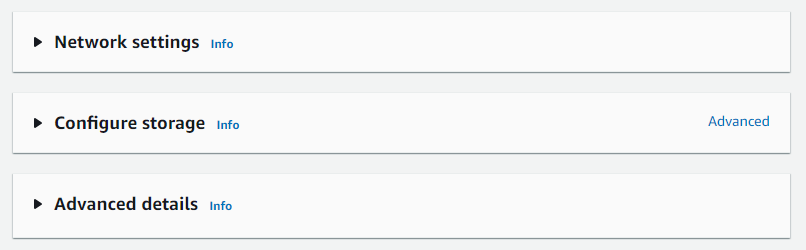
Step 7: Add Storage
Specify the storage requirements for your instance. You can choose between Amazon Elastic Block Store (EBS) volumes and instance store volumes based on your needs.
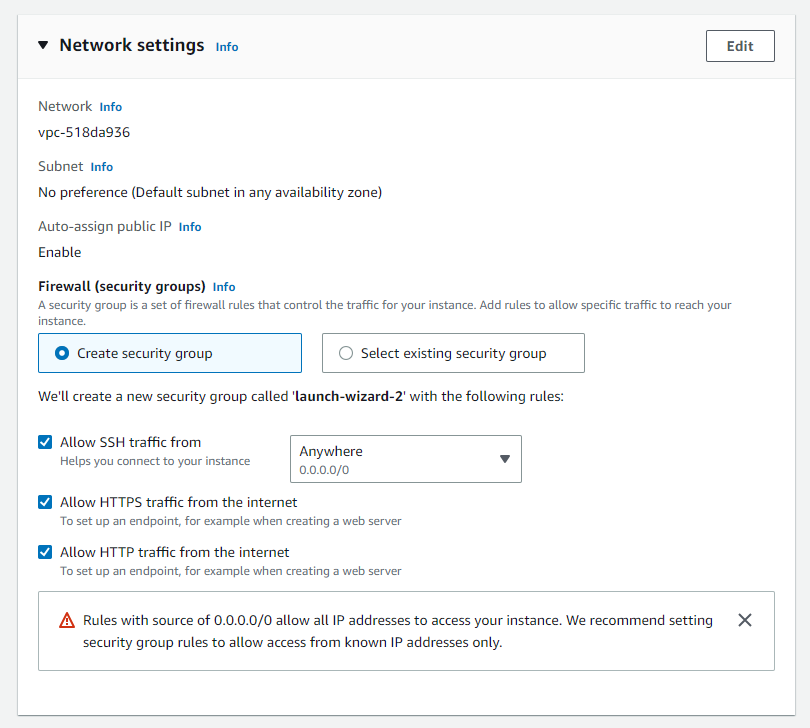
Step 8: Configure Security Groups
Security groups act as virtual firewalls for your instances, controlling inbound and outbound traffic. Configure the security groups to allow access to the necessary ports and protocols.
Step 9: Review and Launch
Review all the instance details you have configured so far. Once you are satisfied, click on the “Launch” button to proceed.
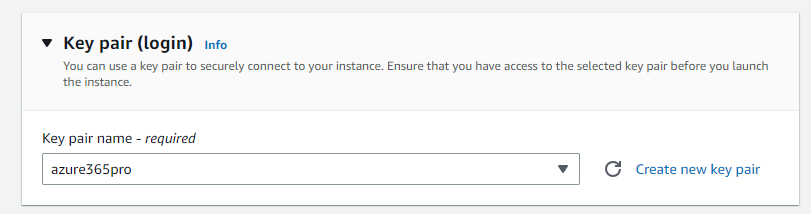
Step 10: Create a Key Pair
In the “Launch Instance” wizard, you will be prompted to create a new key pair or choose an existing one. Select the “Create a new key pair” option and provide a name for your key pair.
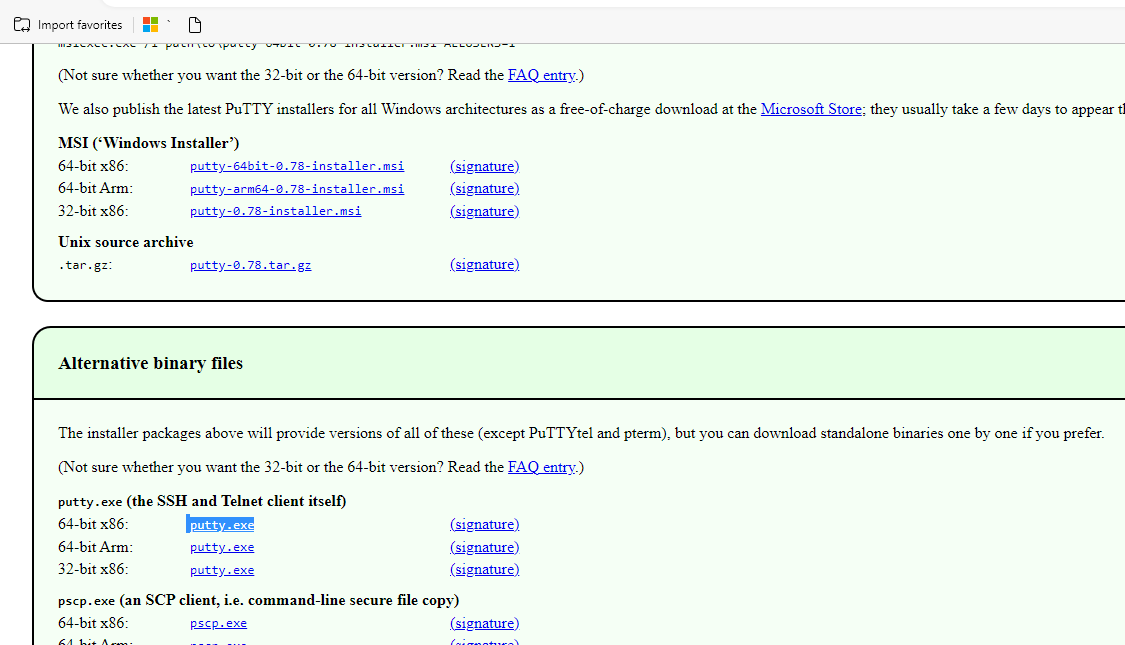
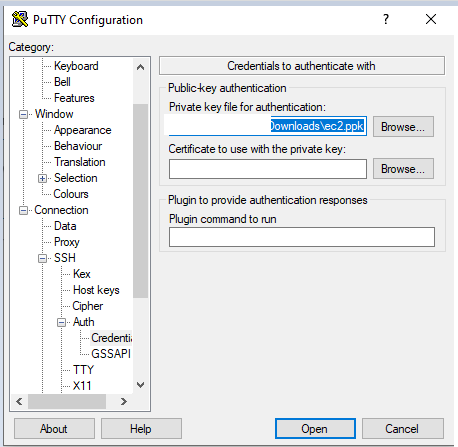
Choose .ppk – if you are planning to use putty to connect.
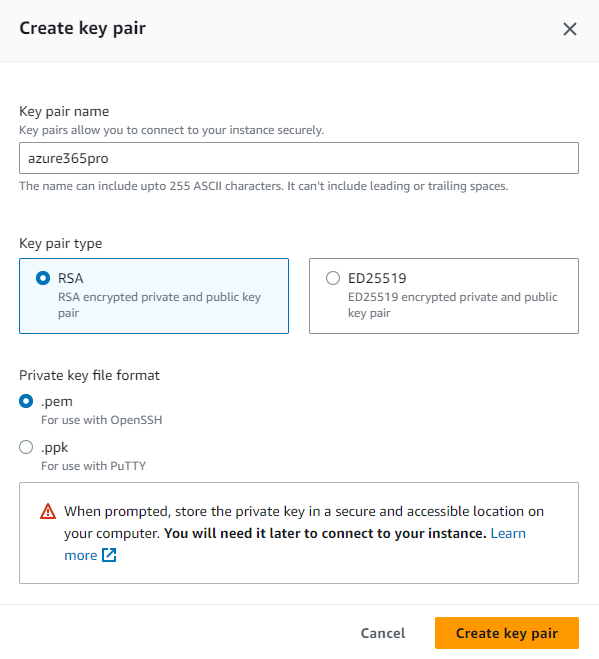
Step 11: Download the Key Pair
After creating the key pair, AWS will generate a private key file and allow you to download it. Make sure to store this file in a secure location, as it will be needed to access your instance.
Leaving everything default for testing
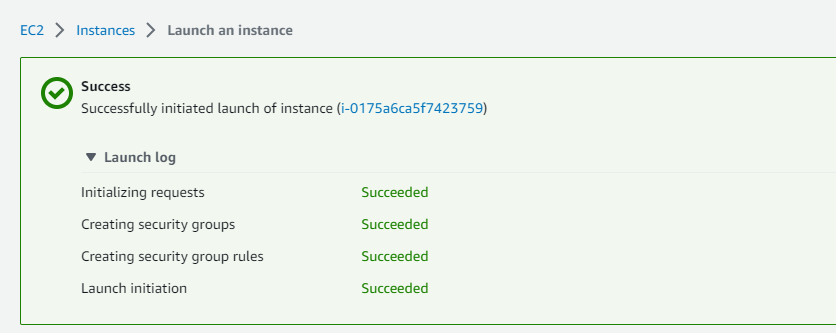
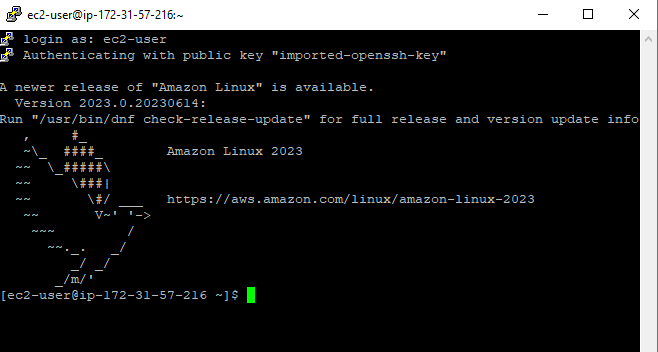
Instances is running

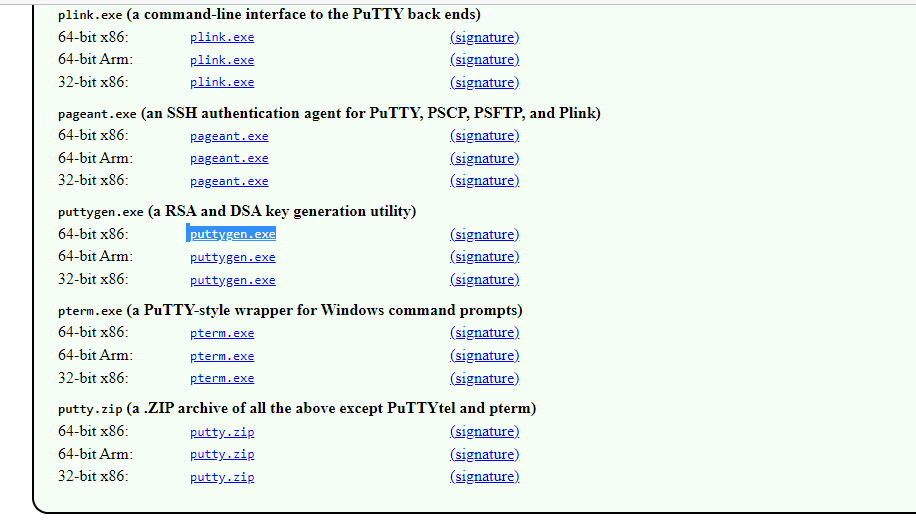
Download Putty
Load the pem file
Accept
Load PEM – By choosing all files
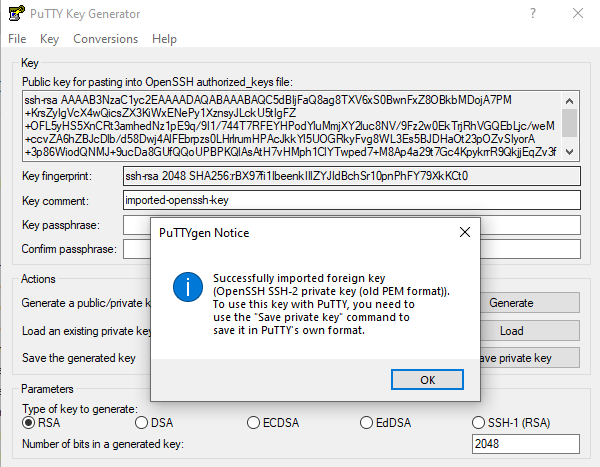
Save Private Key


Step 12: Launch the Instance
Once you have downloaded the key pair, click on the “Launch Instances” button to start the EC2 instance. AWS will now provision your instance using the selected configuration options.
Conclusion:
Creating an Amazon EC2 instance with a key pair is an essential step towards securing your cloud infrastructure. By following the step-by-step guide outlined in this blog post, you can confidently launch EC2 instances while ensuring that only authorized users have access. Key pairs provide a secure method of authentication and play a crucial role in safeguarding your valuable data and resources in the AWS cloud environment. Start using key pairs today and enhance the security posture of your EC2 instances on Amazon Web Services.

 is a powerful cloud computing service that allows you to create and manage virtual servers)