")
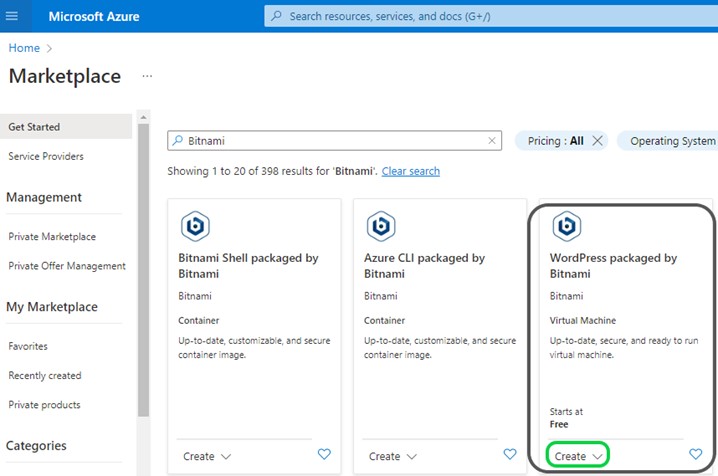
Go to Azure Market Place & Search for Bitnami
Find, WordPress Package by Bitnami
Click Create
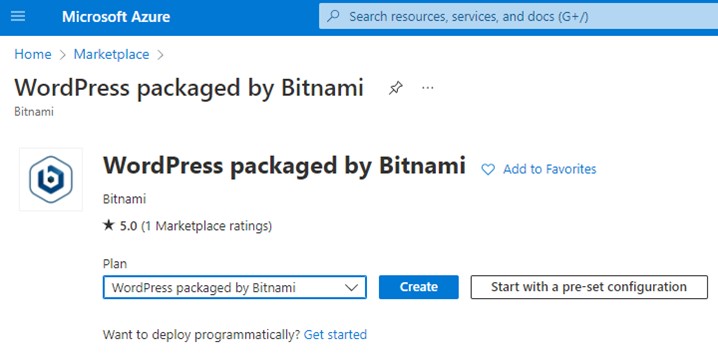
Check the package overview & click Create
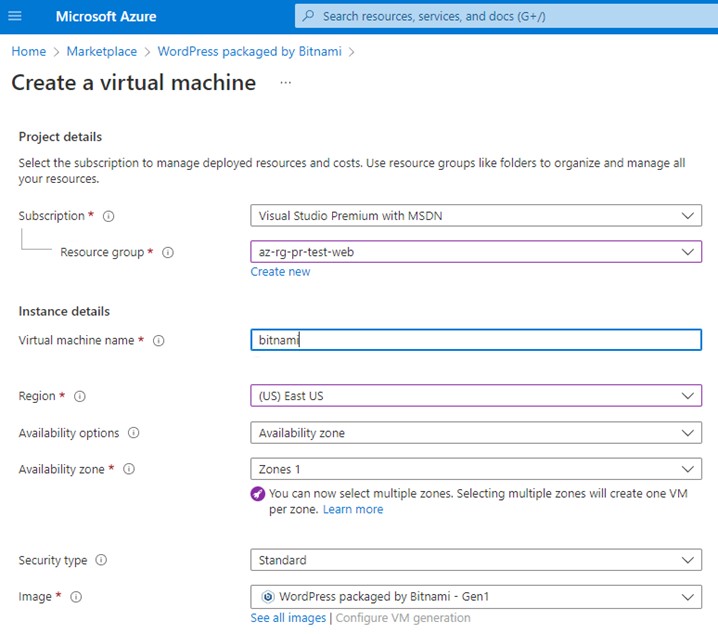
Create Resource Group Name
Virtual Machine Name & Select Region
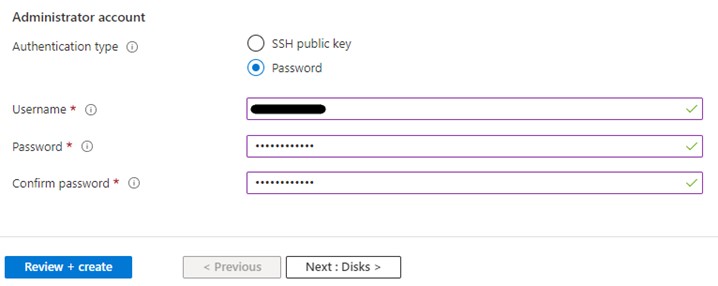
Authentication Type Select Password & Create VM Login Credentials & Click Next: Disk>
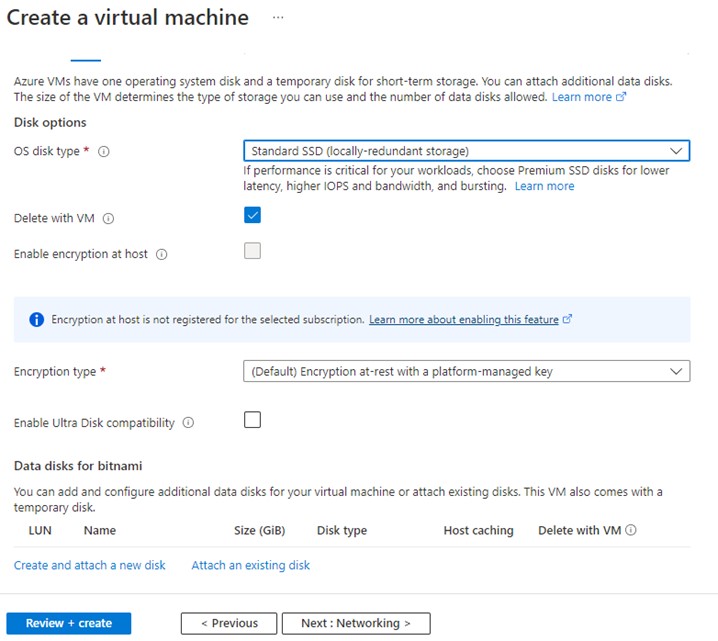
Select OS disk Type as Standard SSD (Depends on your budget) & Click Next: Networking
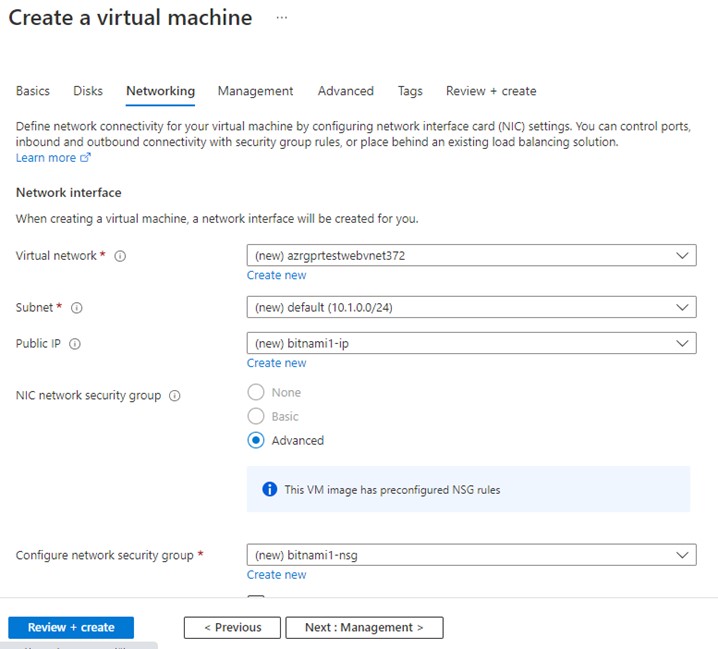
Review Networking, Default, or Your managed network & click Next: Management
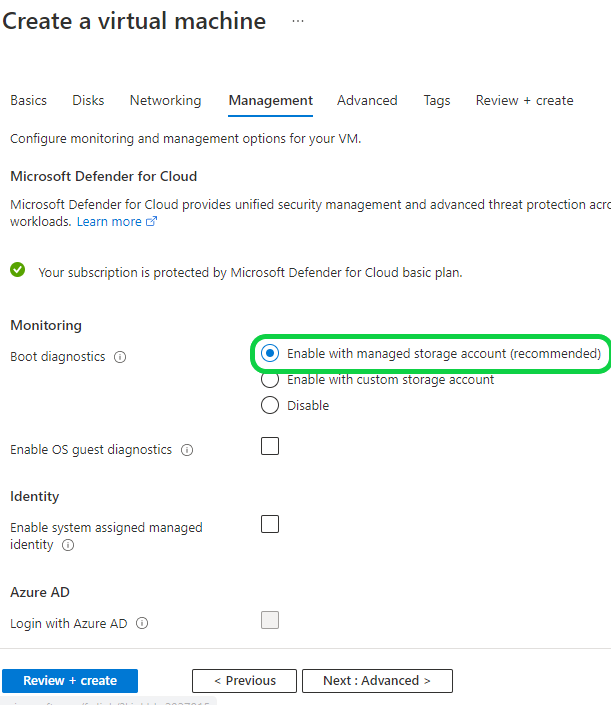
On Management, Enable Boot Diagnostics
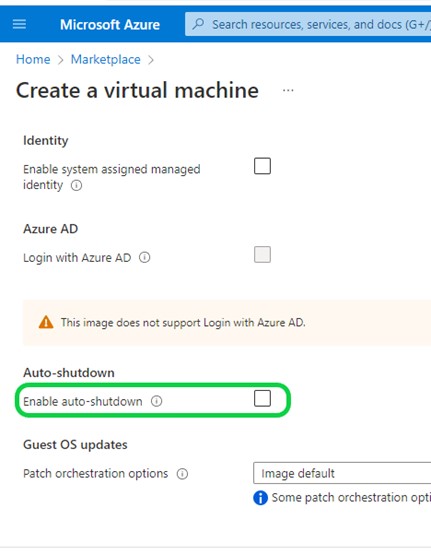
Since it is a Web Instance, Un-Check Enable auto-shutdown & Click Review & Create
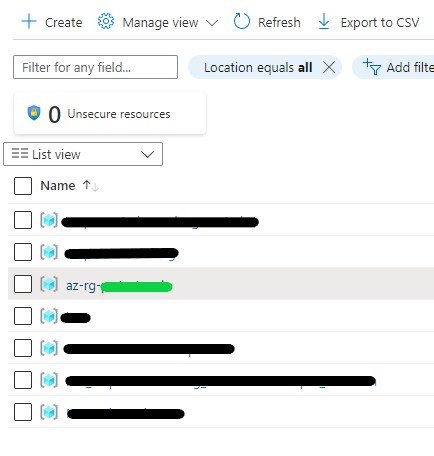
Go to Resource Group & Open the Bitnami Resource, which is created
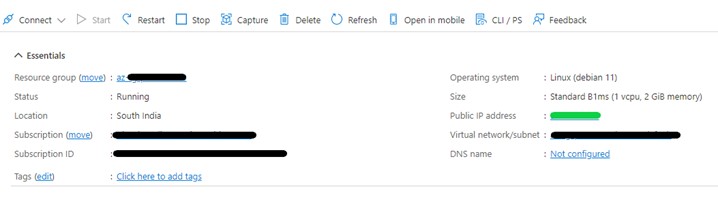
Open the VM,
Find the Public IP to Open the WordPress in the Browser.

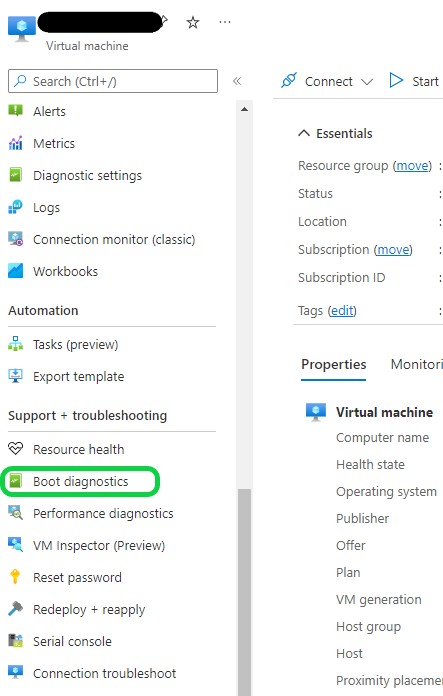
Find the default password
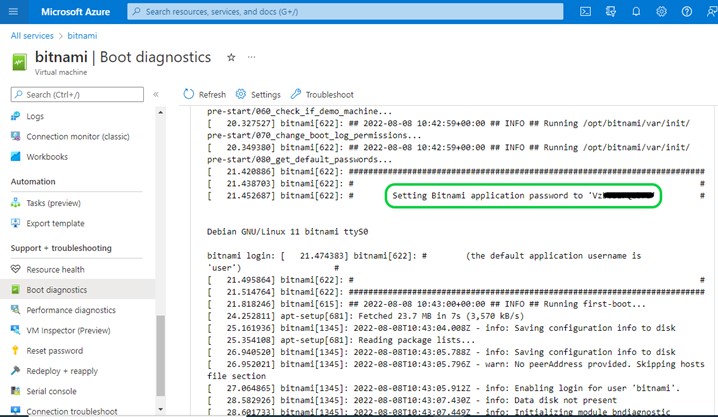
On the VM left panel, scroll down to Support + troubleshooting & click Boot diagnostics
Default Password for WordPress Login
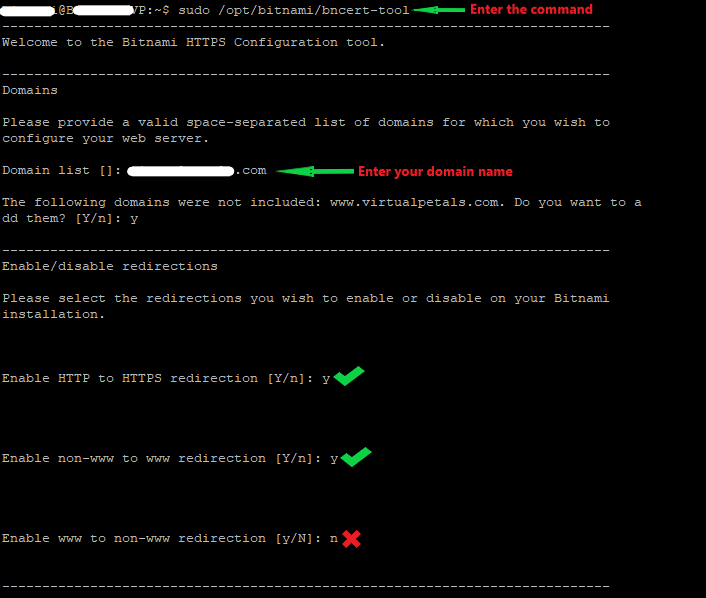
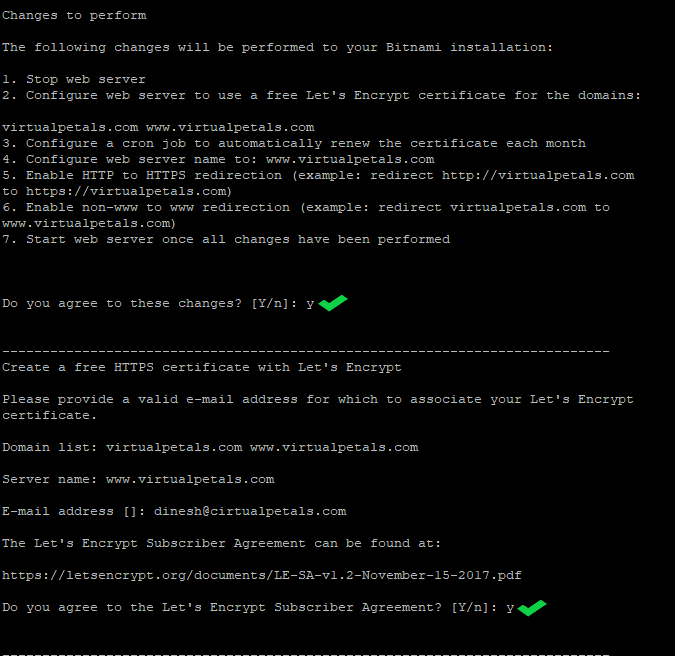
HTTP to HTTPS & non-www to www Redirection
Connect to the VM using SSH
Login using the Credential (Created during bitnami configuration)
Enter the Below Command
sudo /opt/bitnami/bncert-tool
Follow the steps as per the below screenshots
