
Prerequisites
- An Azure account with active subscription.
- Azure DevOps (https://dev.azure.com/)
- Code editor (Vscode.)
- Download Python 3.12.0
Step 1: Creating the Python App and Test Locally.
This quick start can be completed using either Flask or Django. A sample application in each framework is provided to help you follow along with this quick start. Download or clone the sample application to your local workstation
git clone https://github.com/Azure-Samples/msdocs-python-flask-webapp-quickstart
Application folder
cd msdocs-python-flask-webapp-quickstart
Create a virtual environment for the app for window :
py -m venv .venv
.venv\scripts\activate
Install the dependencies
pip install -r requirements.txt
Run the Application
flask run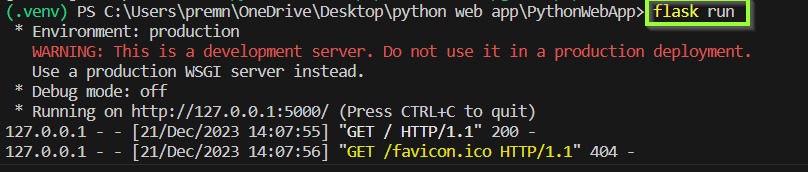
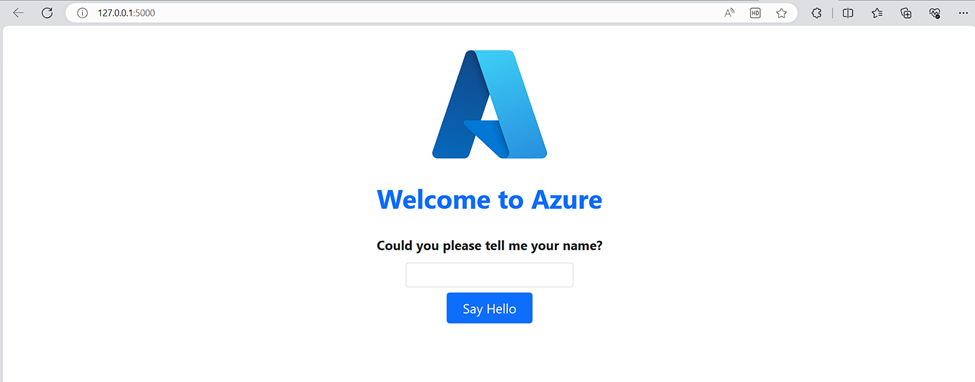
Sample Application at http://localhost: http://127.0.0.1:5000 in a web browser
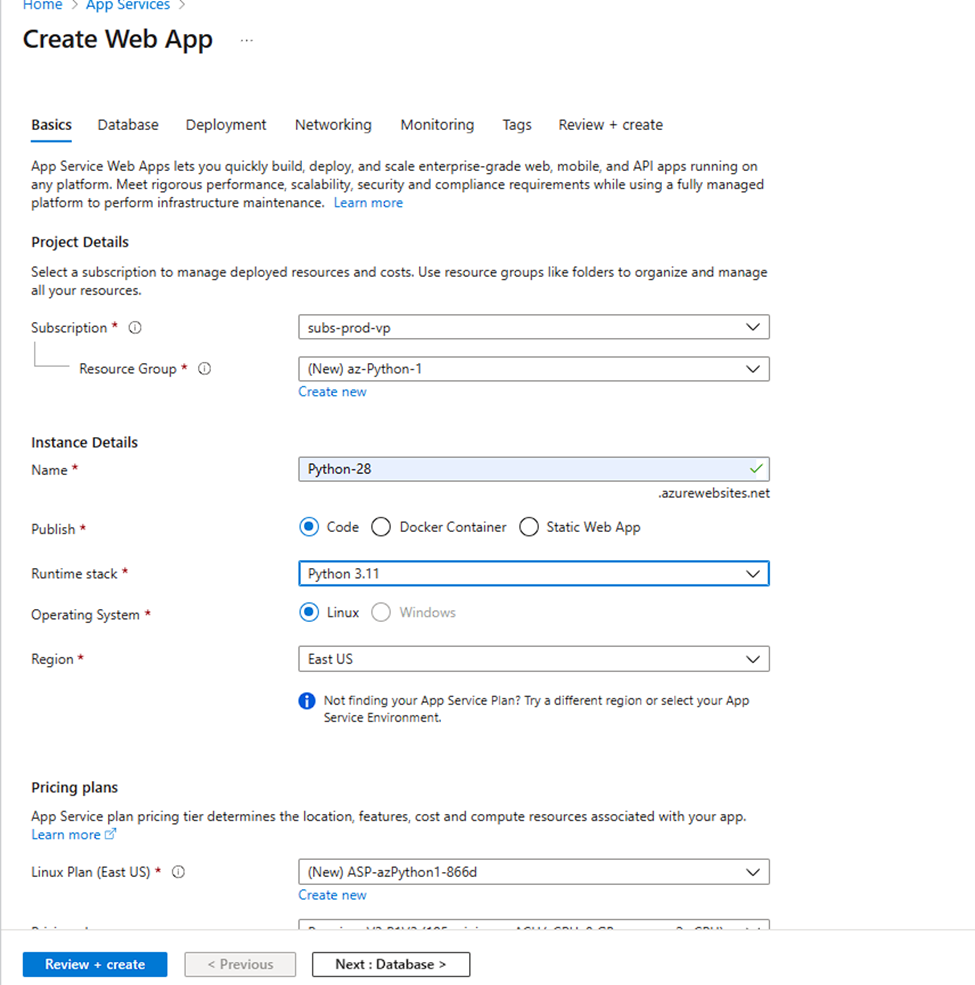
Step 2: Configure Azure App Service
Login into https://portal.azure.com
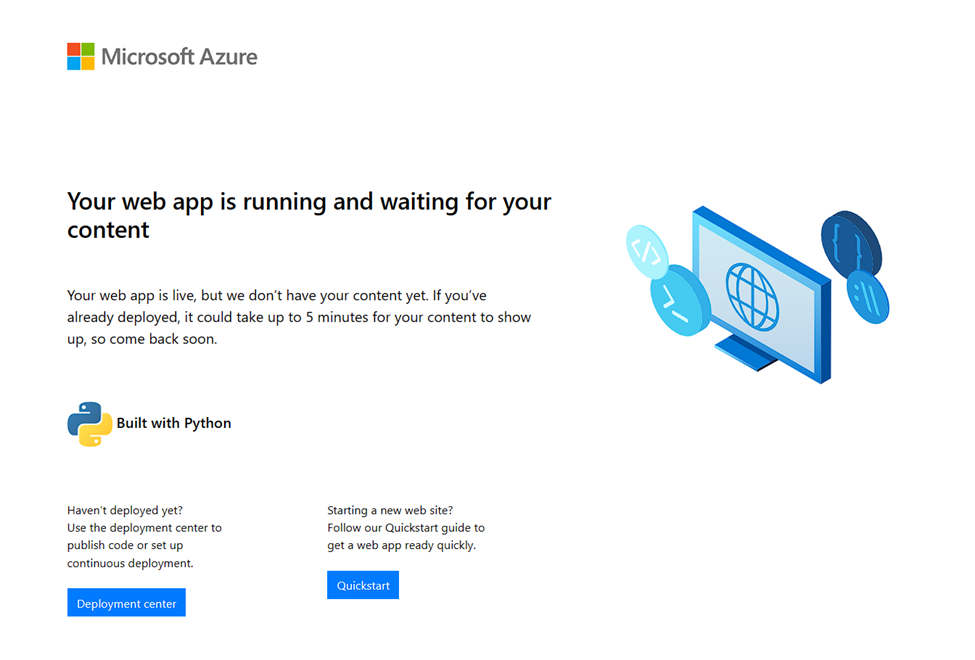
- Create an App Service with a basic B1 App service Plan.

Step 3: Create the Azure DevOps Project and connect to the App service instance
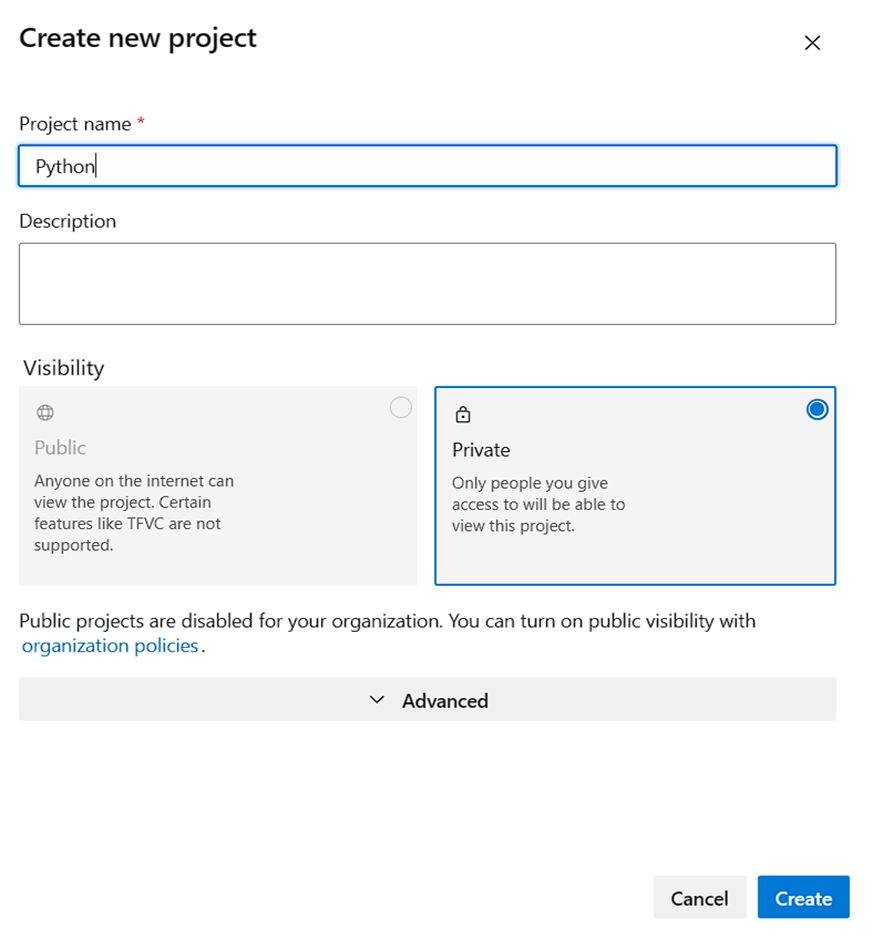
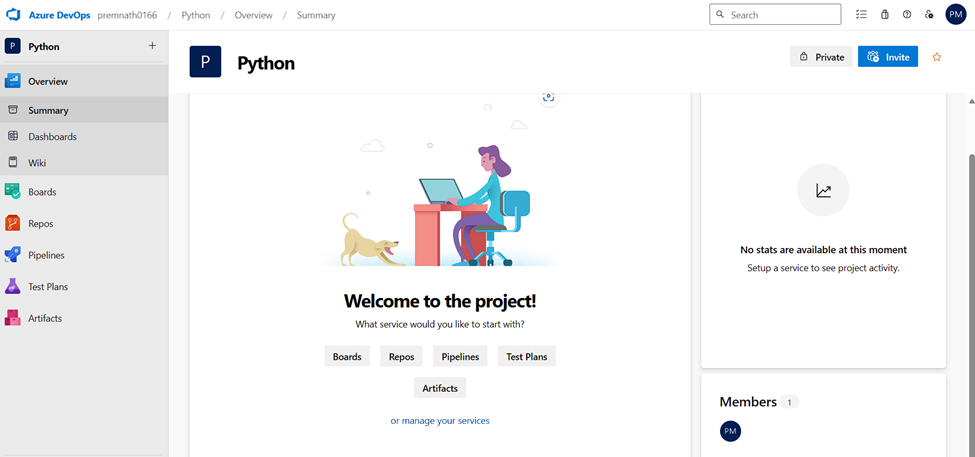
- Login into https://dev.azure.com/ and create a new project
Copy HTTPS link clone
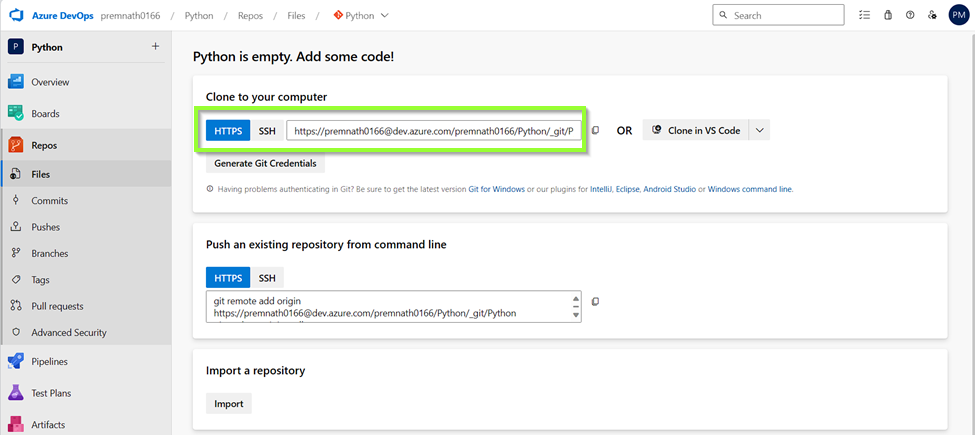
- Push from the local to remote repository using the below git commands on Git bash.
git init
 git add

Code: git commit -m “<commit message>”
git push 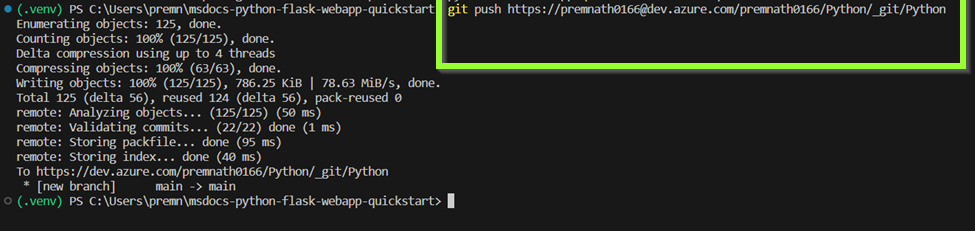
- This brings a prompt, login into your Azure DevOps portal then this shows that the App has been push to the Azure repo
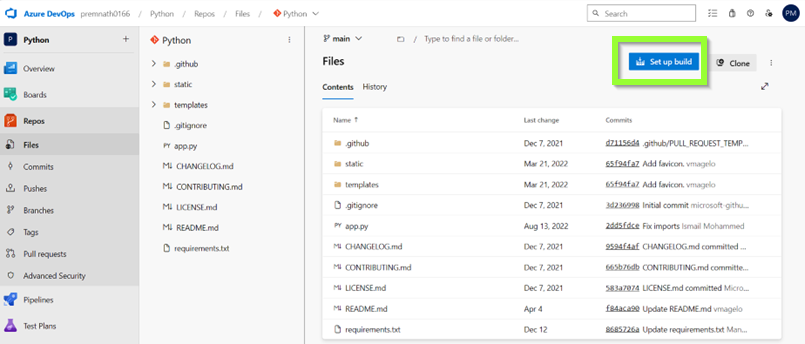
Step 4: Create a build pipeline, release pipeline, and deploy to Azure
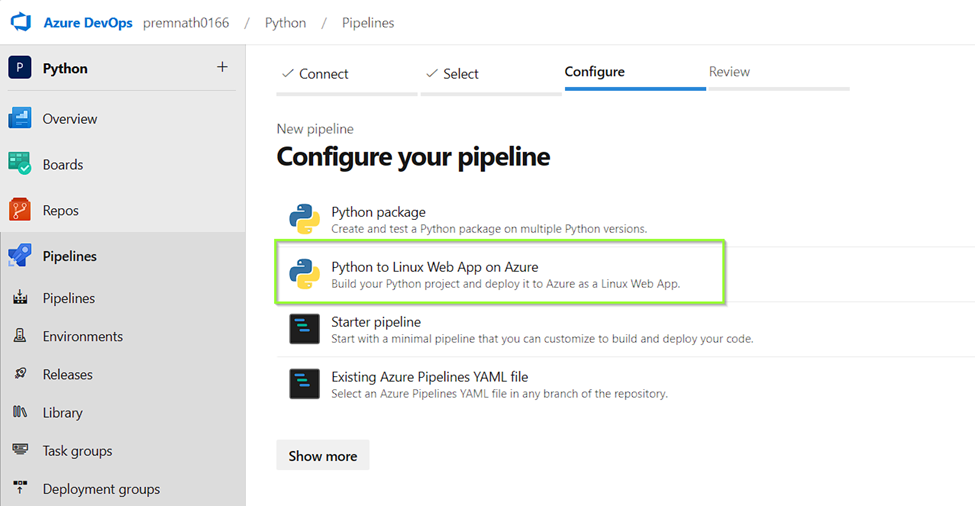
- Click ‘Setup build automated’; it will prompt you to configure your pipeline. On the configuration page, Azure Pipelines has detected the language from the repository as Python, which is correct. Select ‘Python to Linux Web App on Azure’ as the desired configuration
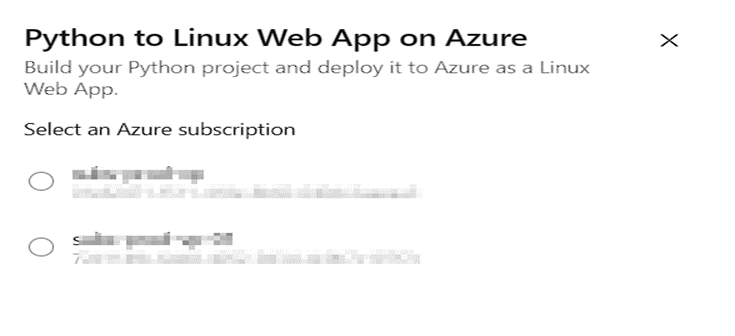
- In the pop-up for Python to Linux Web App on Azure, select your Azure subscription
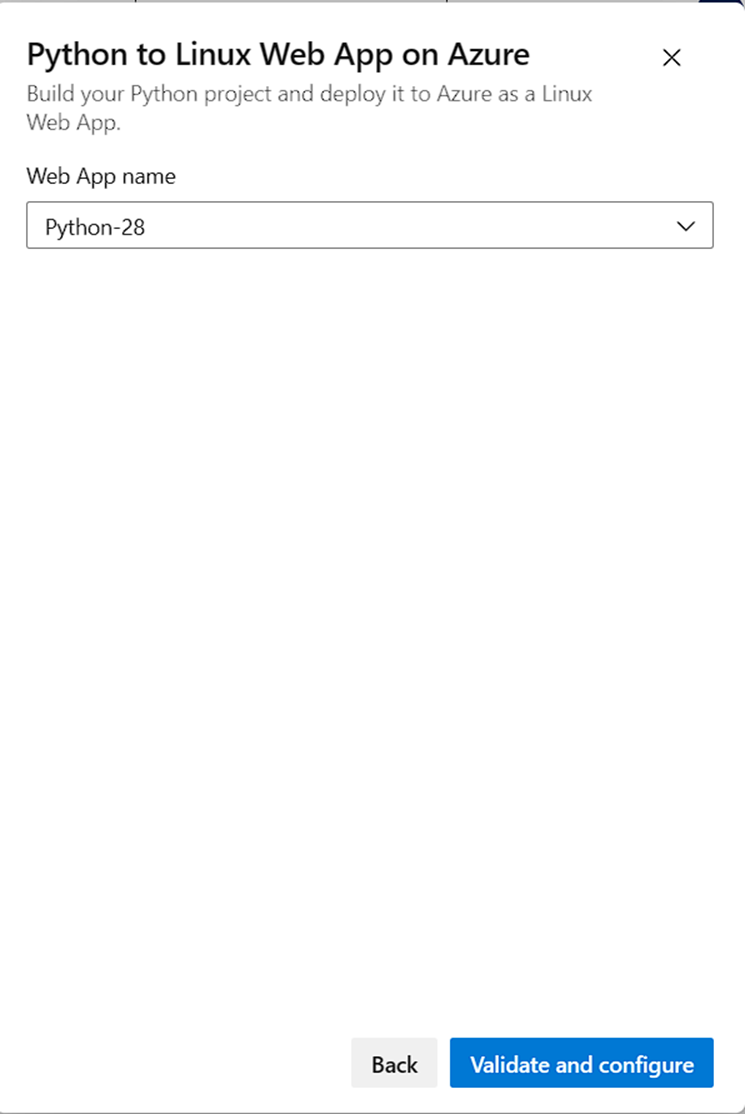
- Select the Web App previously created, then click on “Validate and configure”
Trigger and Variables
trigger:
- main

variables:
  # Azure Resource Manager connection created during pipeline creation
  azureServiceConnectionId: 'XXX-0000-xyxyx-0000'

  # Web app name
  webAppName: 'python28'

  # Agent VM image name
  vmImageName: 'ubuntu-latest'

  # Environment name
  environmentName: 'pythonwebappstanley'

  # Project root folder. Point to the folder containing manage.py file.
  projectRoot: $(System.DefaultWorkingDirectory)

  # Python version: 3.7
  pythonVersion: '3.7'
- The trigger element indicates which branch in the repository should activate the pipeline when commits are made to that branch.
- The variables element contains various variables used in the build and deploy stages, such as the Web App name, the VM image set to use an ‘ubuntu-latest’ distro, and the Azure Service Connection ID that connects the pipeline to the App service instance.
Build stage
The yaml file contains two stages, a build stage and the deploy, the code snippet below is of the build stage
stages:
- stage: Build
  displayName: Build stage
  jobs:
  - job: BuildJob
    pool:
      vmImage: $(vmImageName)
    steps:
    - task: UsePythonVersion@0
      inputs:
        versionSpec: '$(pythonVersion)'
      displayName: 'Use Python $(pythonVersion)'

    - script: |
        python -m venv antenv
        source antenv/bin/activate
        python -m pip install --upgrade pip
        pip install setup
        pip install -r requirements.txt
      workingDirectory: $(projectRoot)
      displayName: "Install requirements"

    - task: ArchiveFiles@2
      displayName: 'Archive files'
      inputs:
        rootFolderOrFile: '$(projectRoot)'
        includeRootFolder: false
        archiveType: zip
        archiveFile: $(Build.ArtifactStagingDirectory)/$(Build.BuildId).zip
        replaceExistingArchive: true

    - upload: $(Build.ArtifactStagingDirectory)/$(Build.BuildId).zip
      displayName: 'Upload package'
      artifact: drop
- The build stage comprises two tasks. The first task,
-task: UsePythonVersion@0, specifies the Python version to be used on the build agent—a virtual machine employed by Azure to execute the steps within the pipeline, operating as a pool. This task also executes the-script, establishing a virtual environment in the build agent and installing the requirements outlined in therequirements.txtfile in the repository. If your web app has specific requirements, you can also include them. The second task in the build stage is-task: ArchiveFiles@2, responsible for creating the build artifact—a .zip file. This artifact is stored in the project root folder and will be utilized in the deploy stage
Deploy stage:
- Just like the build stage, the deploy stage has two tasks, the code snippet below is of the deploy stage
- stage: Deploy
  displayName: 'Deploy Web App'
  dependsOn: Build
  condition: succeeded()
  jobs:
  - deployment: DeploymentJob
    pool:
      vmImage: $(vmImageName)
    environment: $(environmentName)
    strategy:
      runOnce:
        deploy:
          steps:

          - task: UsePythonVersion@0
            inputs:
              versionSpec: '$(pythonVersion)'
            displayName: 'Use Python version'

          - task: AzureWebApp@1
            displayName: 'Deploy Azure Web App : pythonwebappstanley'
            inputs:
              azureSubscription: $(azureServiceConnectionId)
              appName: $(webAppName)
              package: $(Pipeline.Workspace)/drop/$(Build.BuildId).zip
- The deployment stage relies on the successful completion of the build stage; only upon a successful build will a deployment be triggered. The initial task, “task: UsePythonVersion@0,” also specifies the Python version to be used in our environment.
- The subsequent task, “task: AzureWebApp@1,” instructs the pipeline to utilize the artifact generated in the build stage and deploy it to our previously created web app.
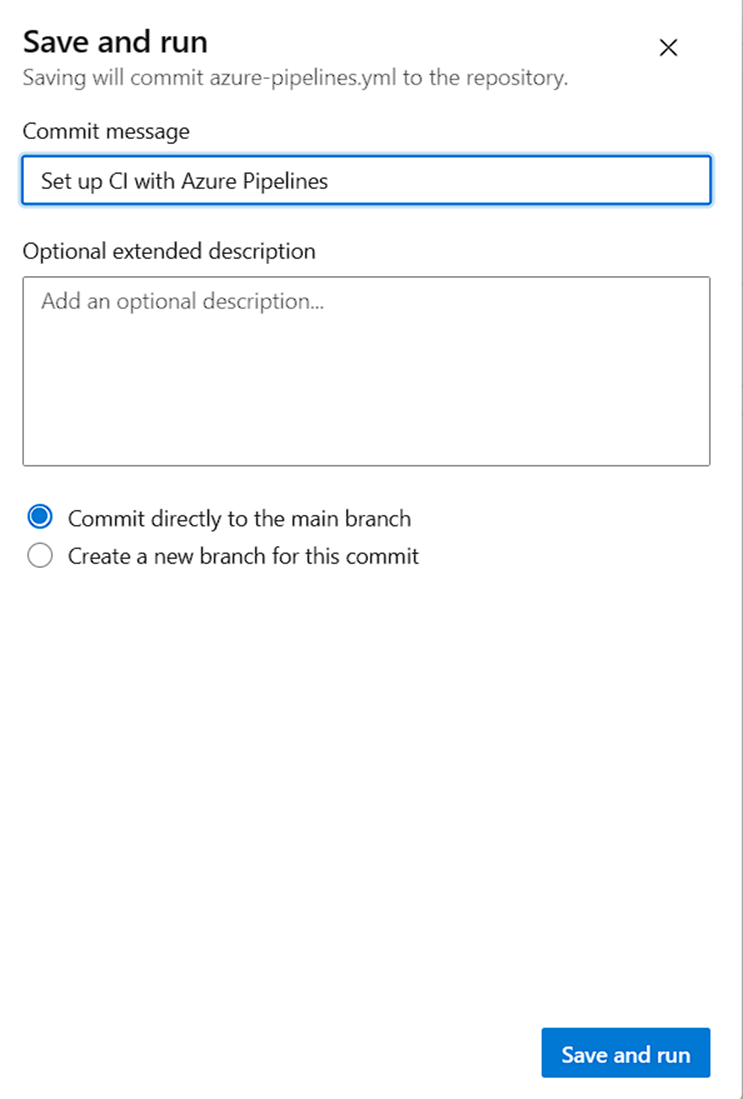
- Now that we comprehend the file’s contents, navigate to the pipelines page, click on “Save and run,” enter a commit message, and select “Save and run” again. This action will promptly initiate the pipeline
- Grab a cup of coffee ? or your favorite drink, come back when the deployment is completed
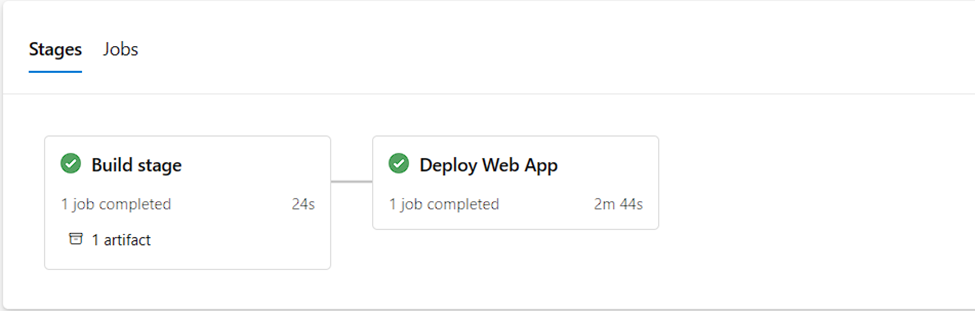
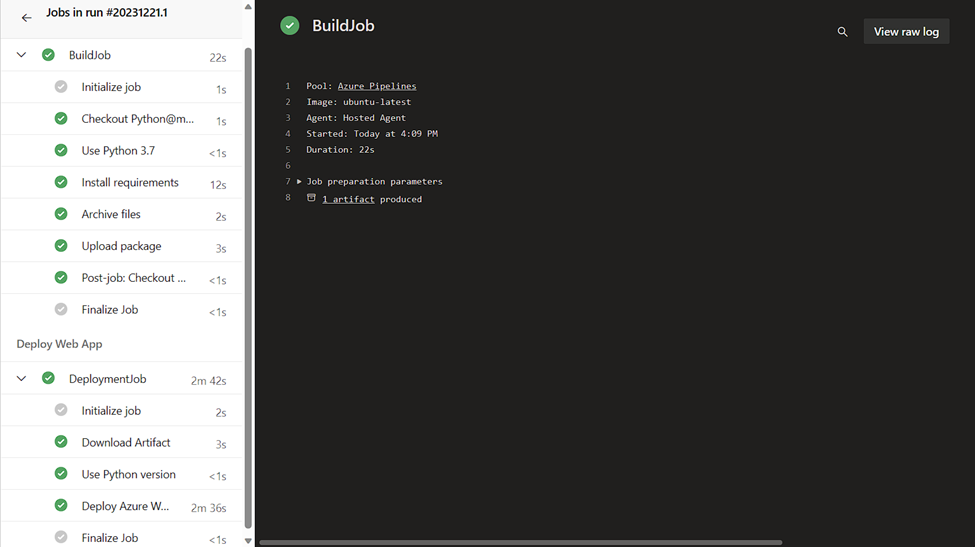
Step 5: Reviewing the pipeline
Once the build and deployment is completed, you can review the pipeline stages and the logs for any errors
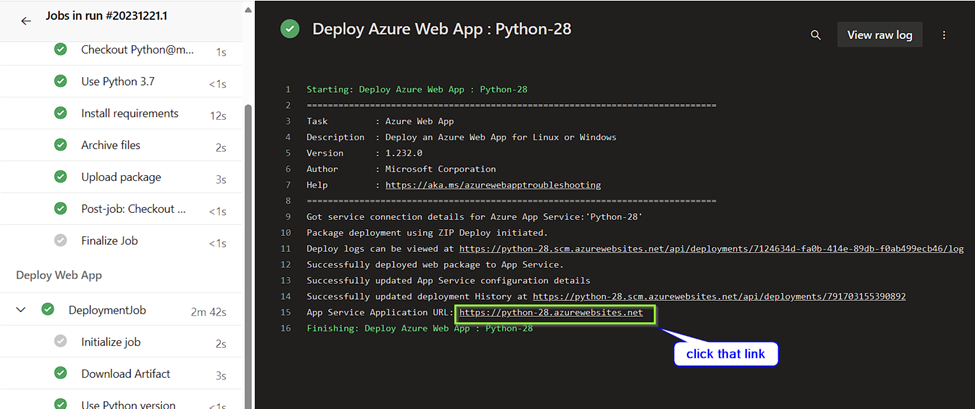
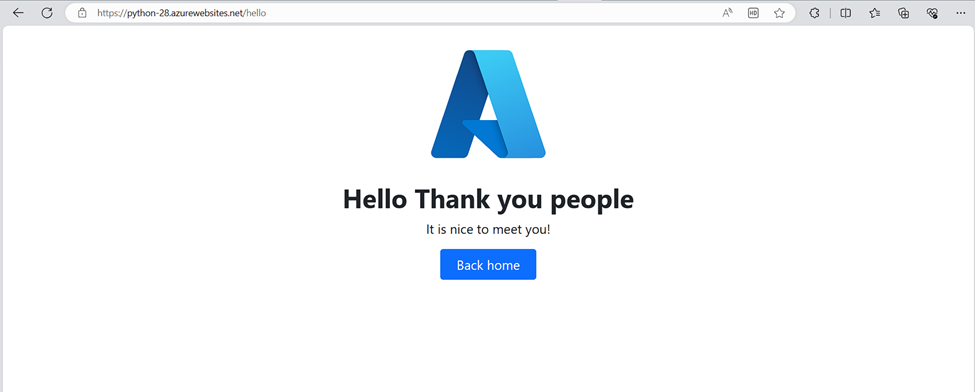
With a successful deployment, we can now visit the running Python Quick Start at the Web App URL (python-28.azurewebsites.net).

 and communicates the value proposition ("Mastering," "Step-by-Step"). The meta description provides a brief overview, encouraging users to engage with the content. Remember to tailor these suggestions to fit the specific focus and details of your article %)