
In today’s hyperconnected world, responding to emails promptly is essential — but manually replying to every message can be overwhelming. Fortunately, with Power Automate and Azure AI Studio, you can automate intelligent email responses that go beyond simple out-of-office replies.
In this blog, we’ll walk you through how to build an AI-powered auto-email responder using Microsoft’s low-code automation and AI tools.
Azure AI Studio:
Azure AI Studio is Microsoft’s integrated platform for building, testing, and deploying AI-powered applications, especially those using generative AI models like GPT. It brings together powerful tools, prebuilt models, and seamless Azure integration to help developers and data scientists work smarter and faster with AI.
Power Automate:
Power Automate is Microsoft’s workflow automation platform that helps individuals and businesses save time and boost productivity by automating repetitive tasks. Whether it’s syncing files, sending notifications, or integrating with hundreds of apps — Power Automate makes it seamless, with little or no code.
Overview:
This guide outlines how to create an automated email response system using Microsoft Power Automate and Azure AI Studio. The solution automatically analyzes incoming emails, generates appropriate responses using AI, and replies to the sender.
Prerequisites:
- Microsoft 365 subscription (with Outlook)
- Access to Power Automate
- Azure subscription with access to Azure AI Studio
- A deployed language model or Azure OpenAI resource
- Basic familiarity with Power Automate and Azure services
STEP 1: Set Up Azure OpenAI in Azure AI Studio
[This step helps you prepare the AI brain (like ChatGPT) that will generate auto-replies to your emails.]
1.1 Go to Azure Portal
- Open your browser.
- Go to: https://portal.azure.com
- Sign in with your Azure account.
1.2 Create an Azure OpenAI Resource
[This is like creating a space in Azure where you’ll run your AI model]
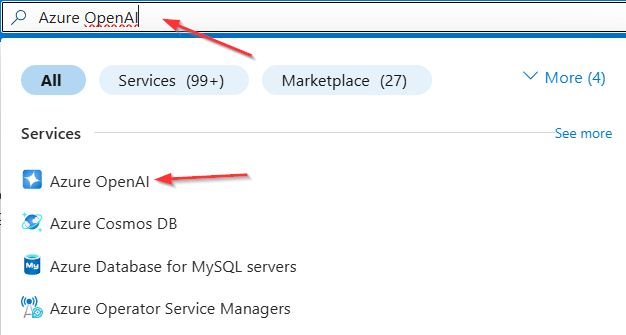
- In the Azure search bar (top), type “Azure OpenAI”.
- Click “Azure OpenAI” from the list.
- Click the + Create button.


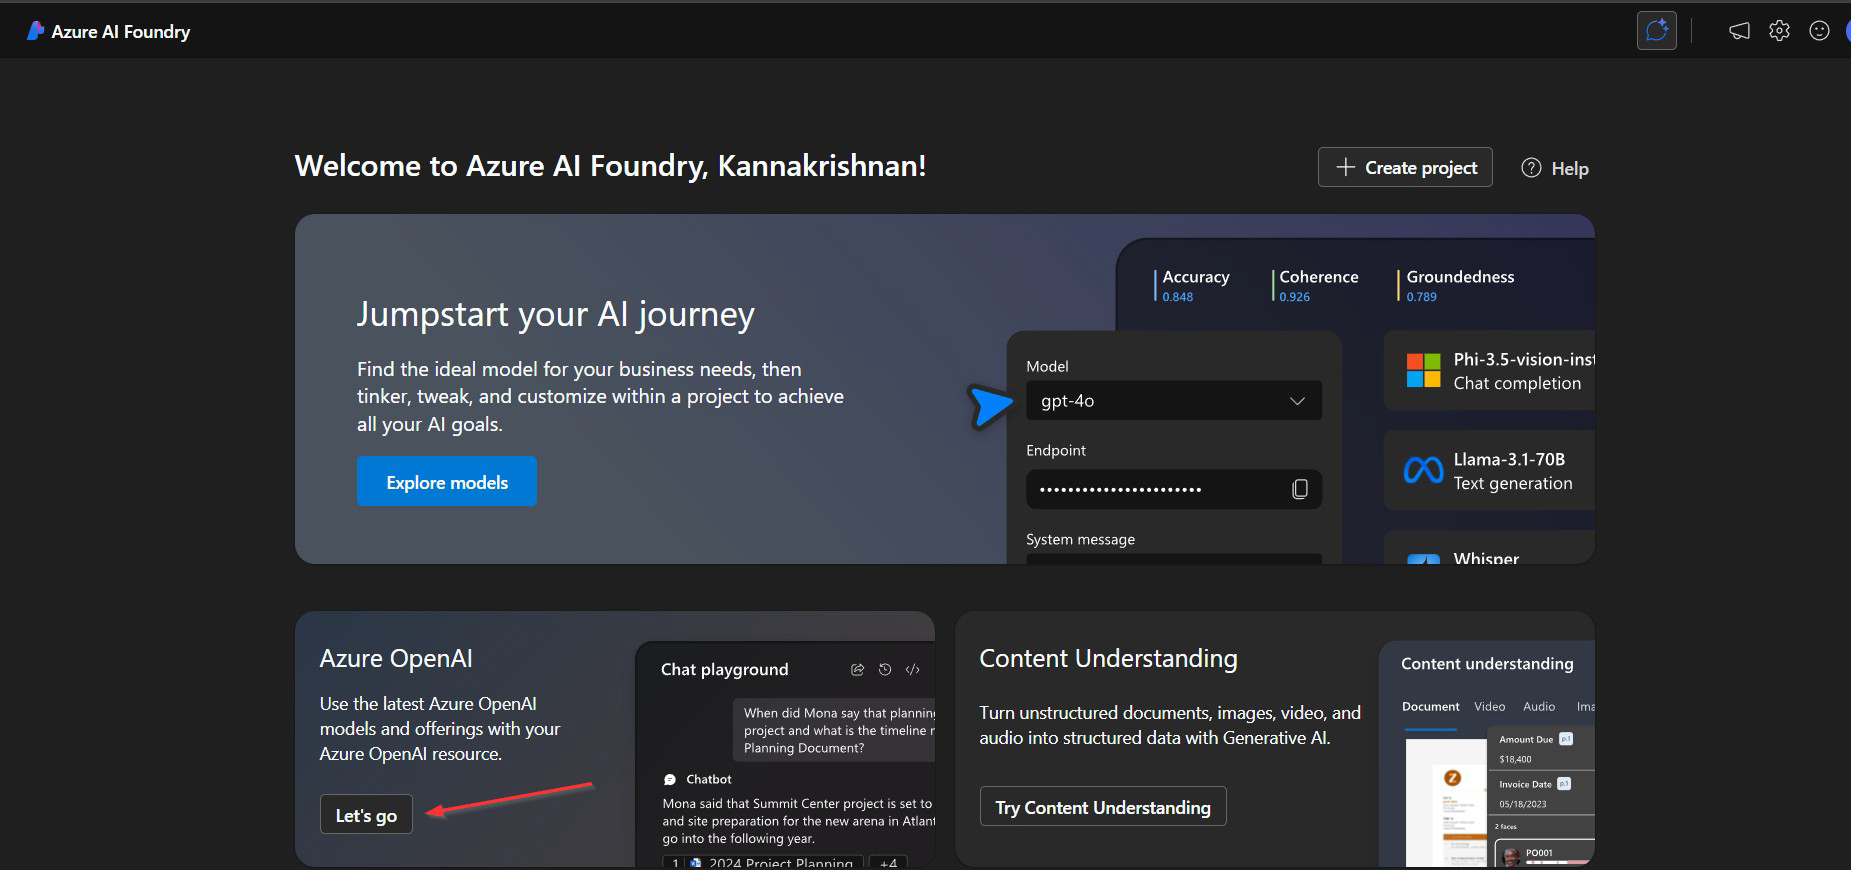
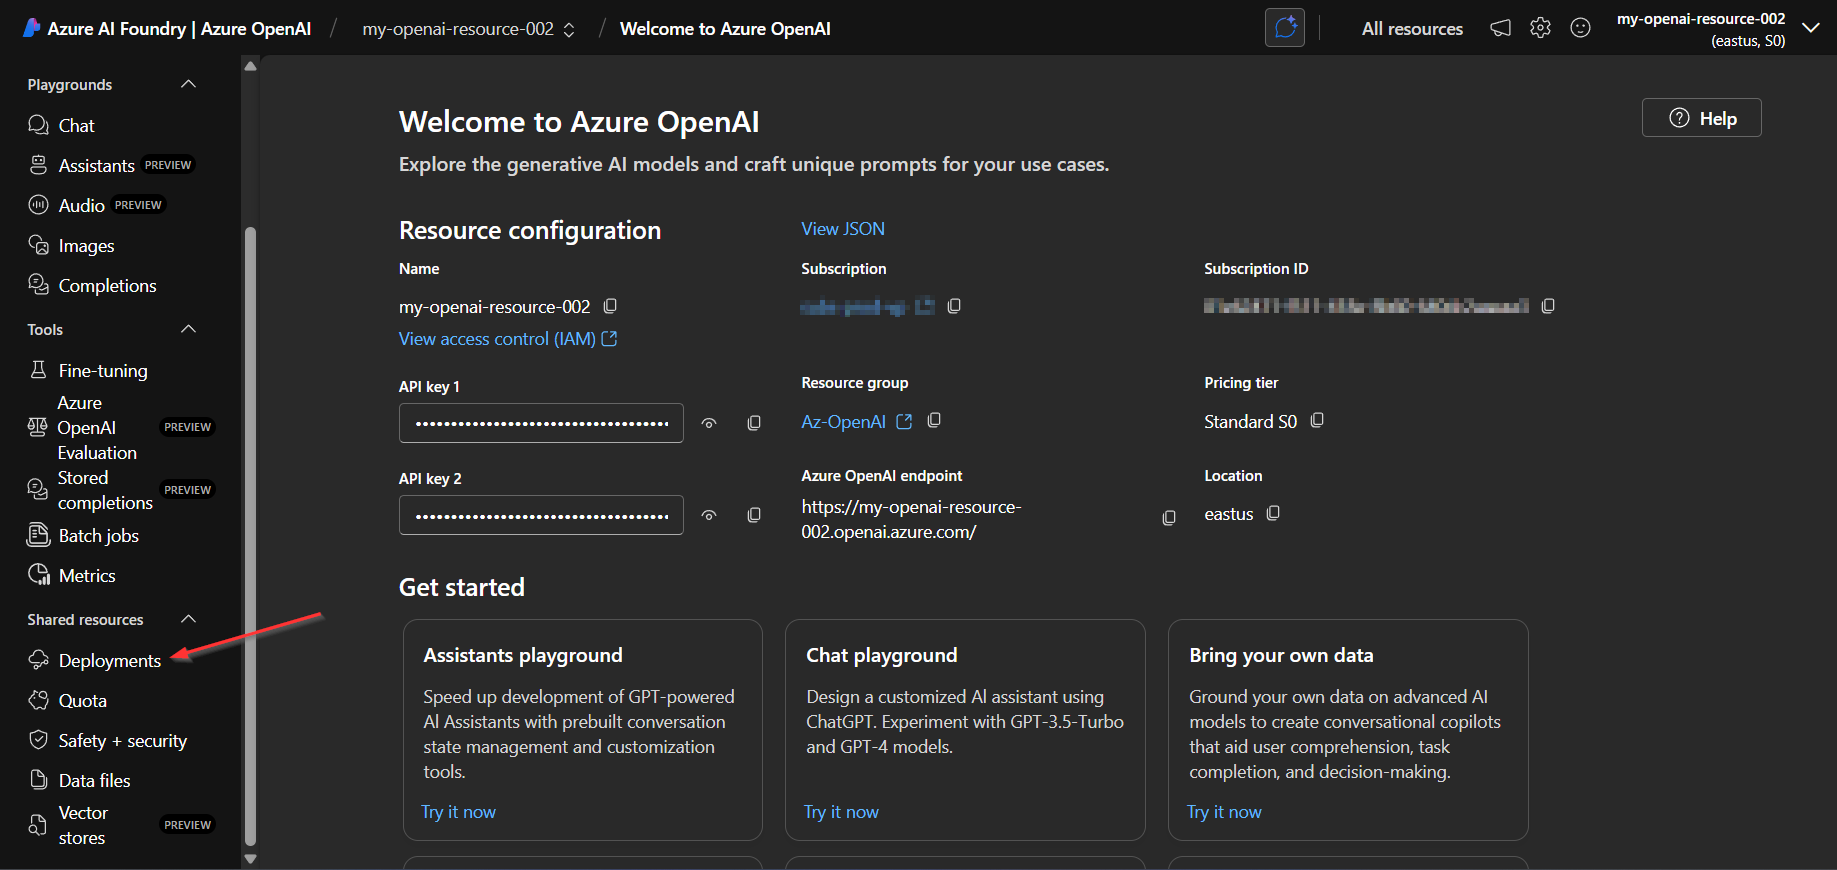
1.3 Go to Azure AI Studio
[This is where you use the model.]
- Open: https://ai.azure.com
- Sign in with the same Azure account.
- You’ll see your Azure OpenAI resource there.
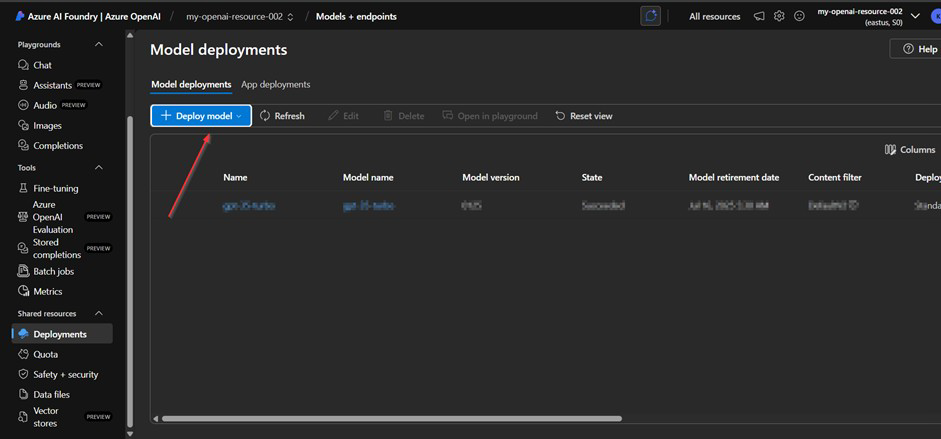
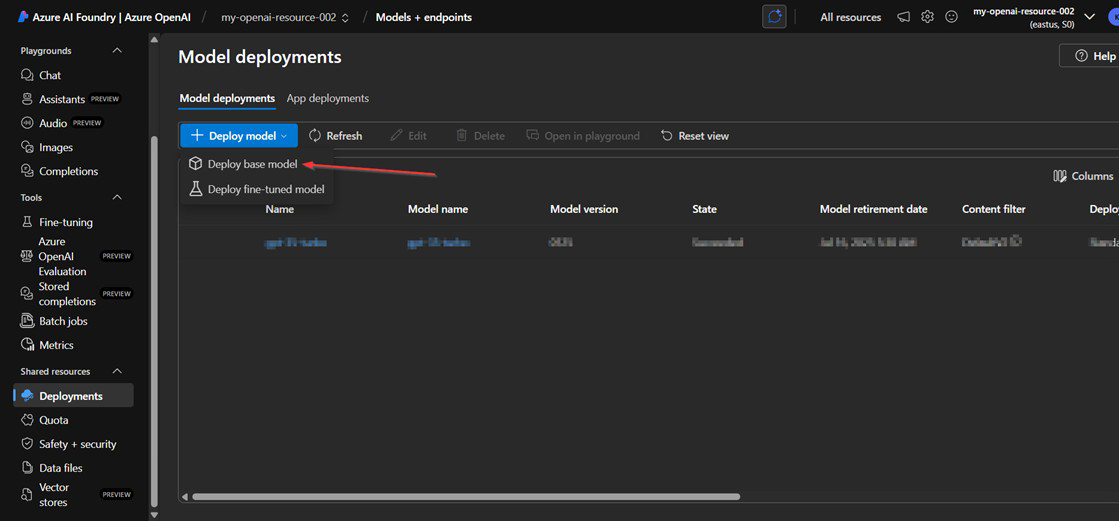
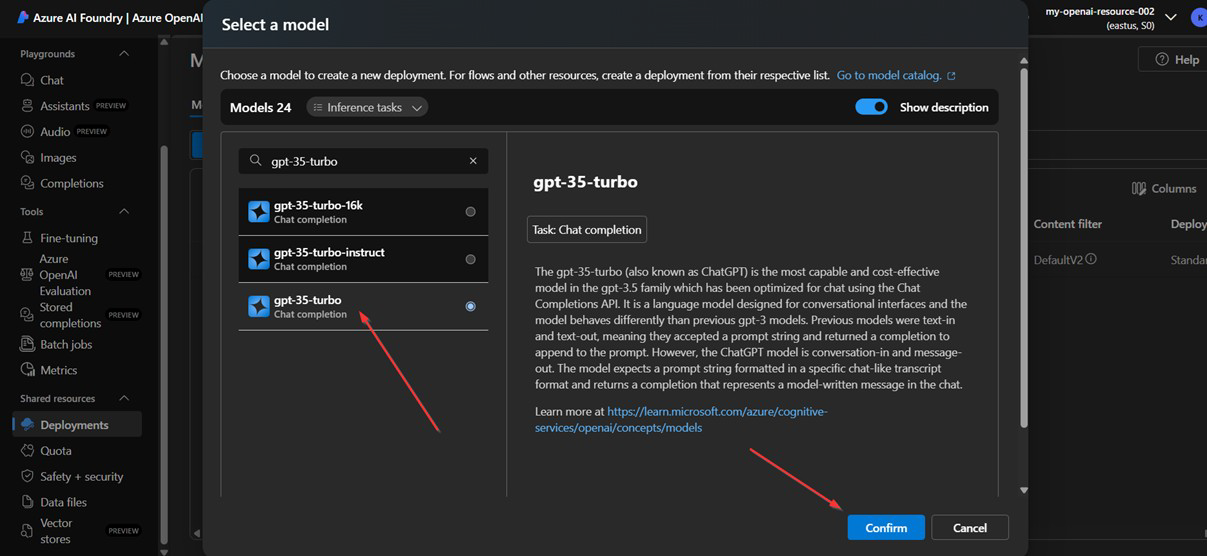
1.4 Deploy a GPT Model (e.g., GPT-3.5 Turbo)
[You must deploy a model before you can use it.]
- In Azure AI Studio, go to the Deployments tab.
- Click + Create deployment.
- Choose the following:
- Model: gpt-35-turbo
- Name: email-responder
- Deployment Name: gpt-email
- Click Deploy.
- After a few seconds, the model will be ready to use.

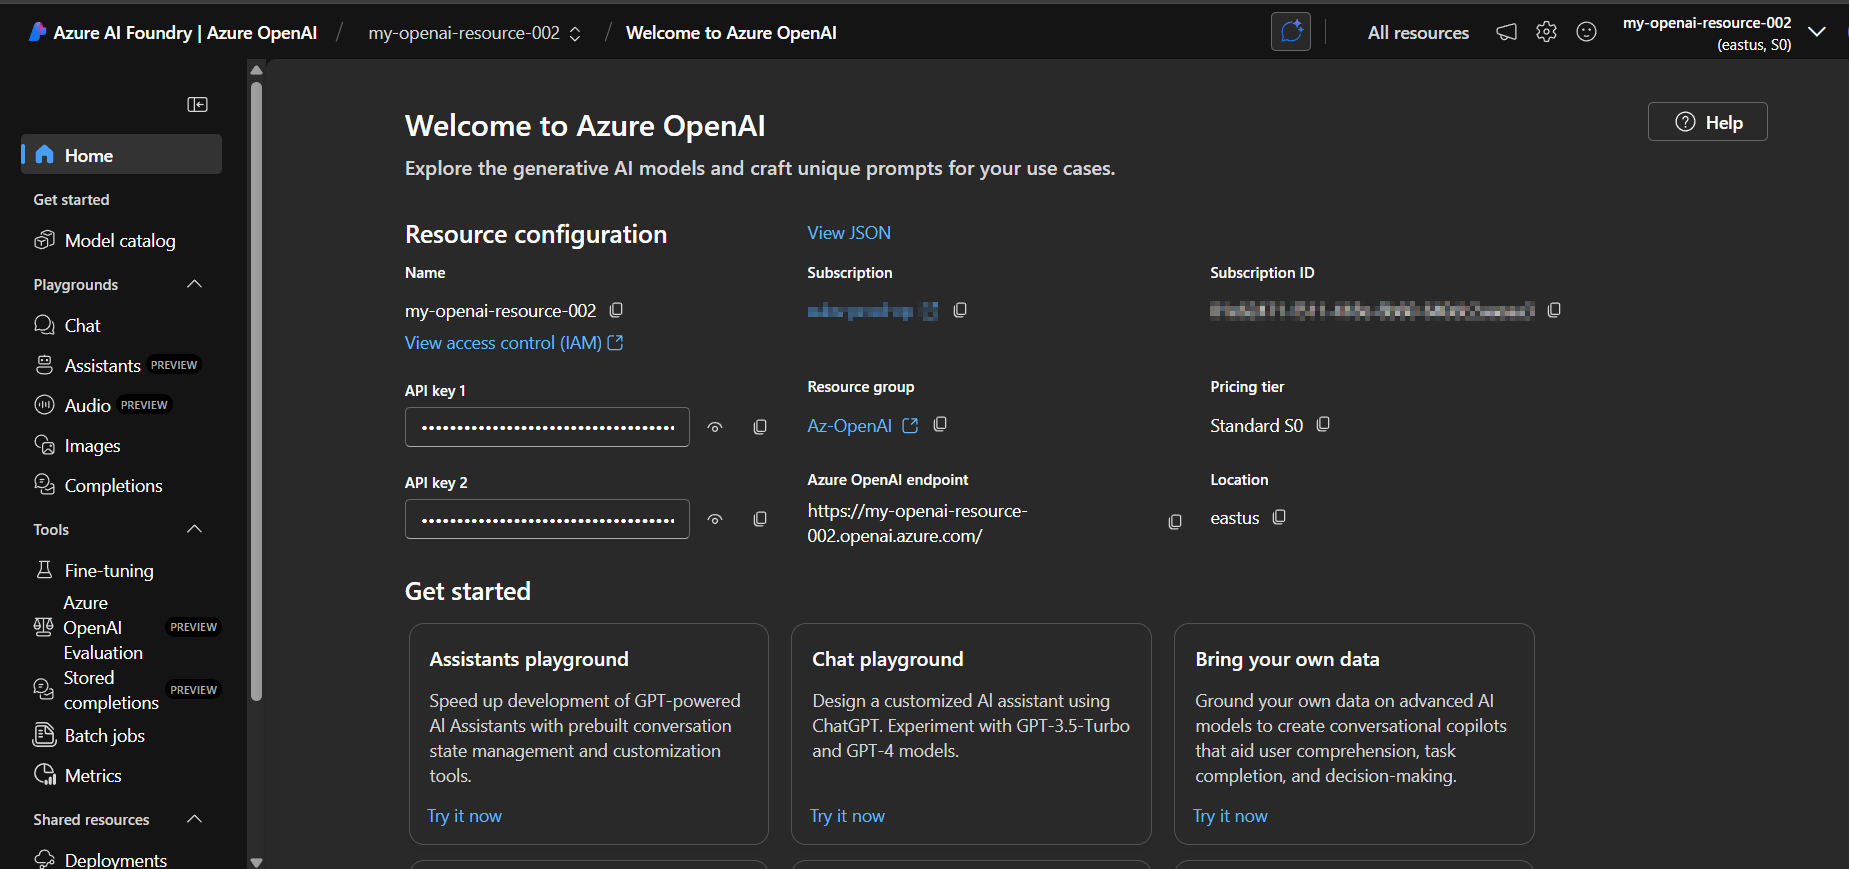
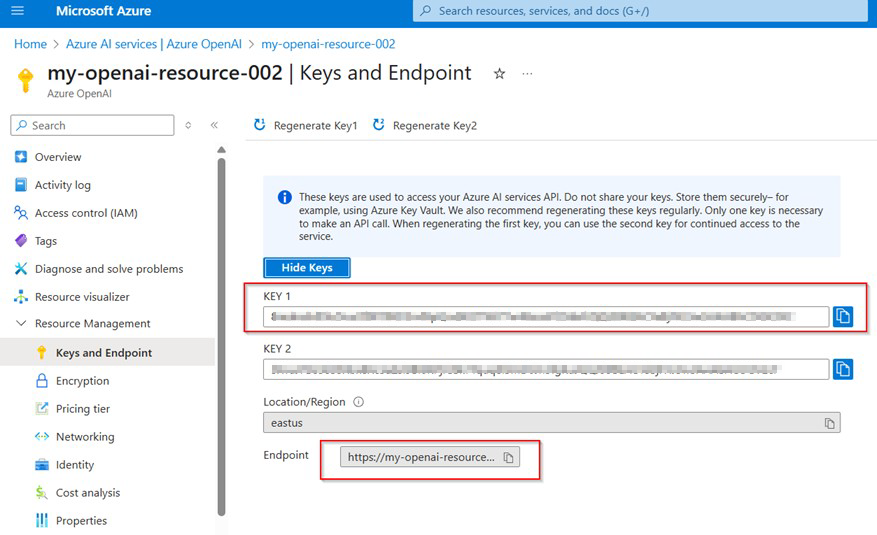
1.5 Copy API Key and Endpoint
[These are like login credentials for Power Automate to connect to the AI.]
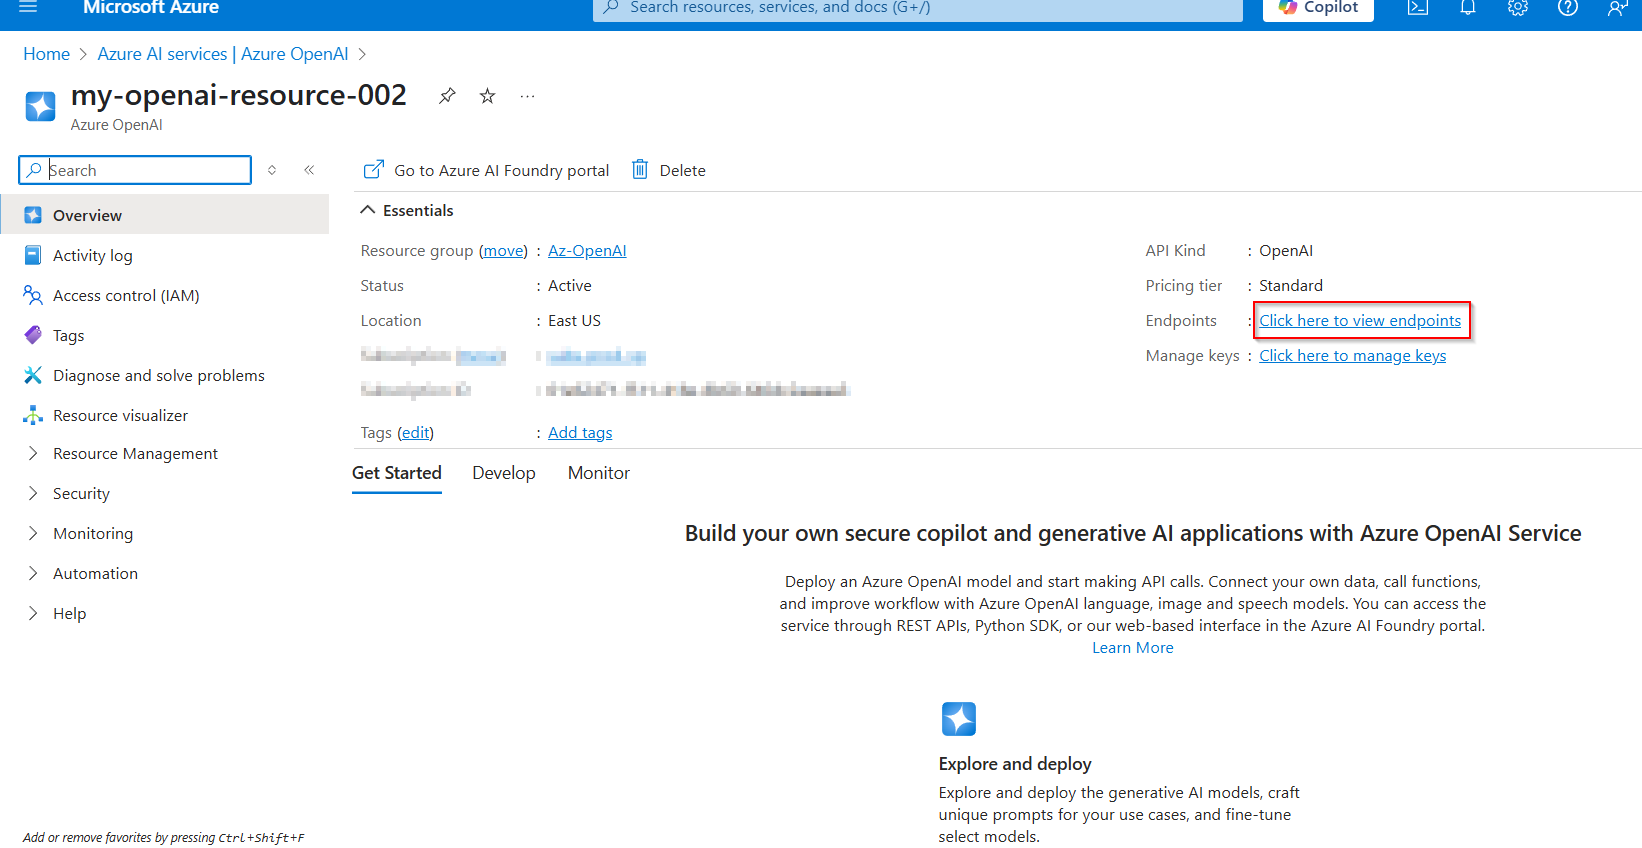
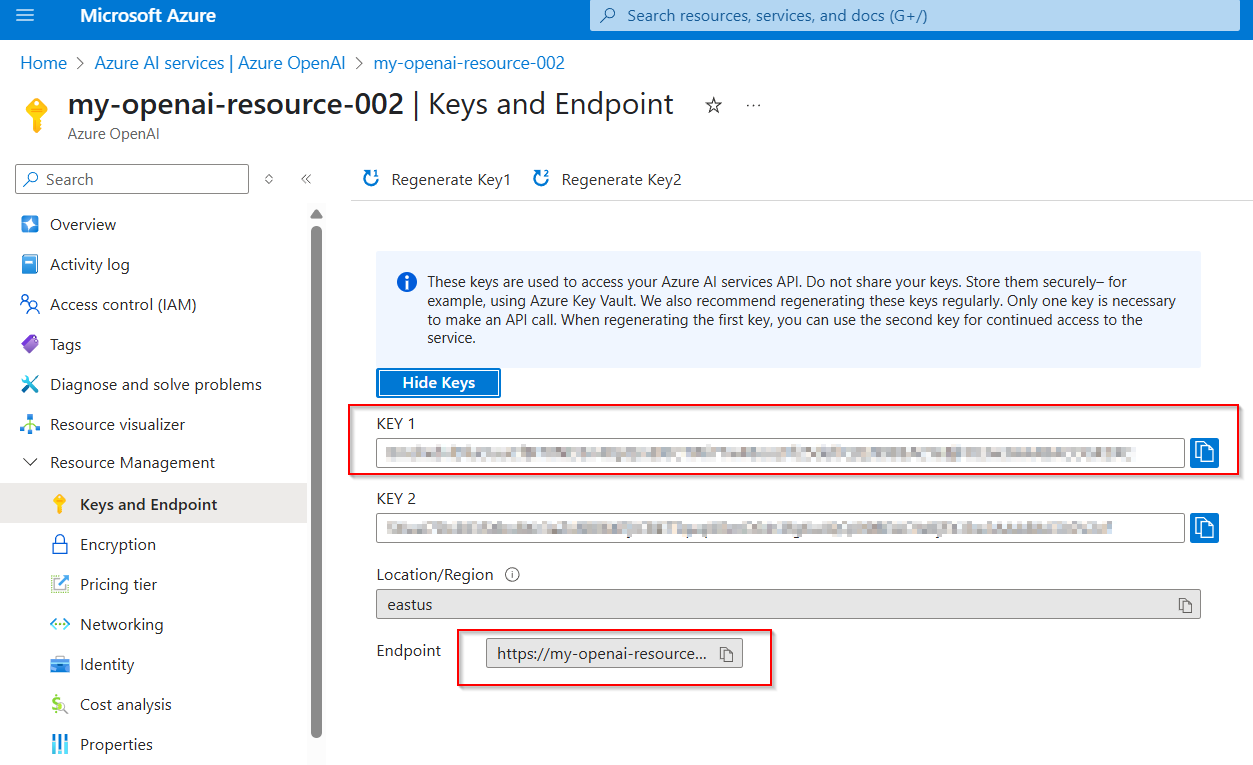
- Go back to the Azure Portal.
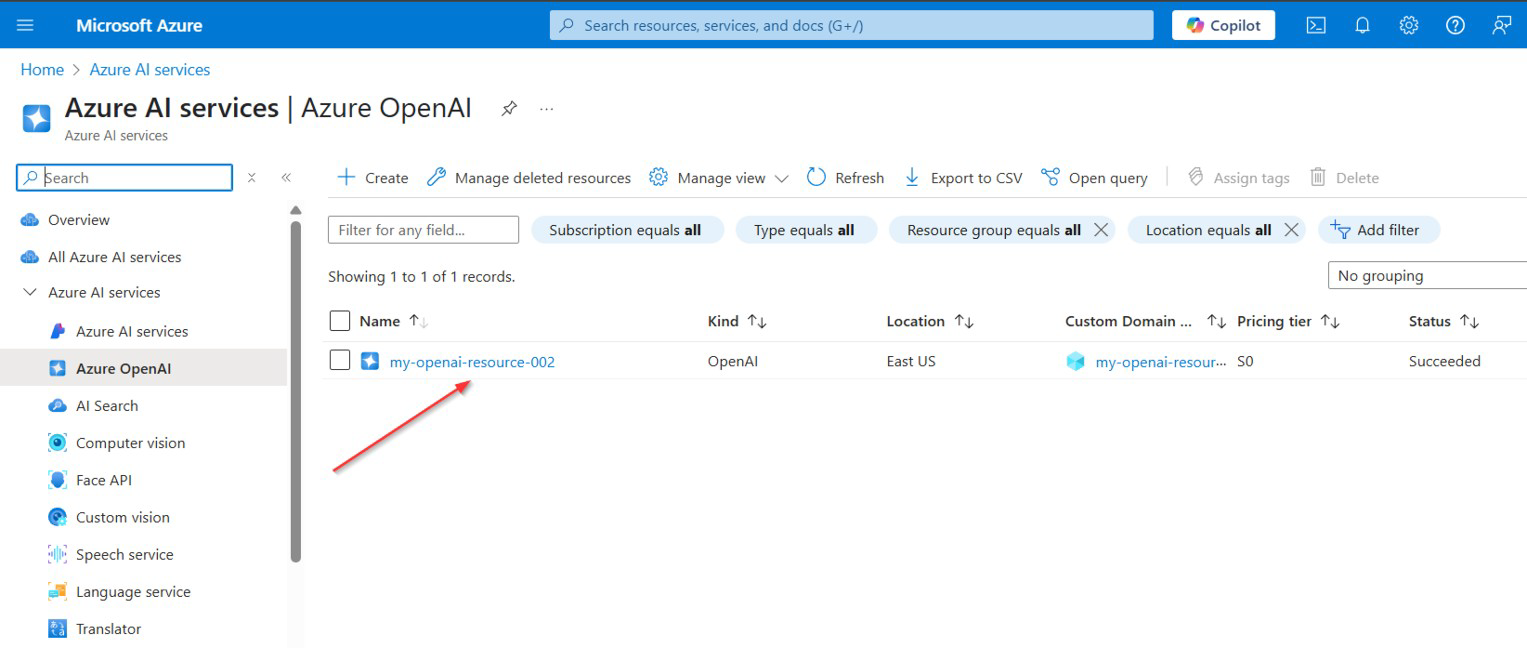
- Go to the Azure OpenAI resource you created.
- Click Keys and Endpoint URL on the left.
- Copy:
- The Key1 (API key)
- The Endpoint URL


STEP 2: Create Power Automate Flow
2.1 Open Power Automate
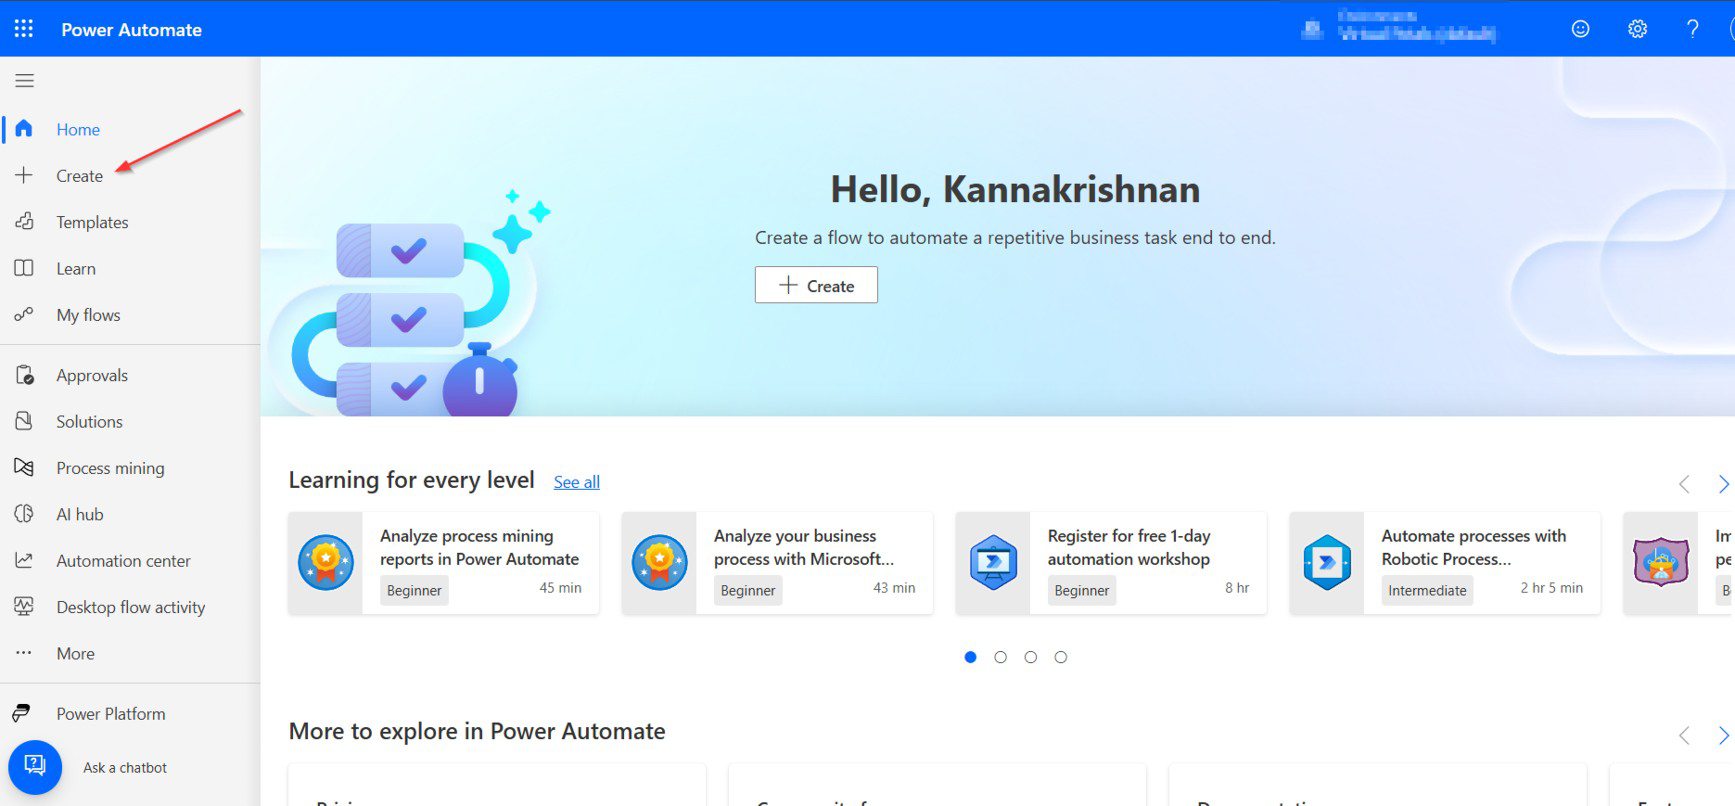
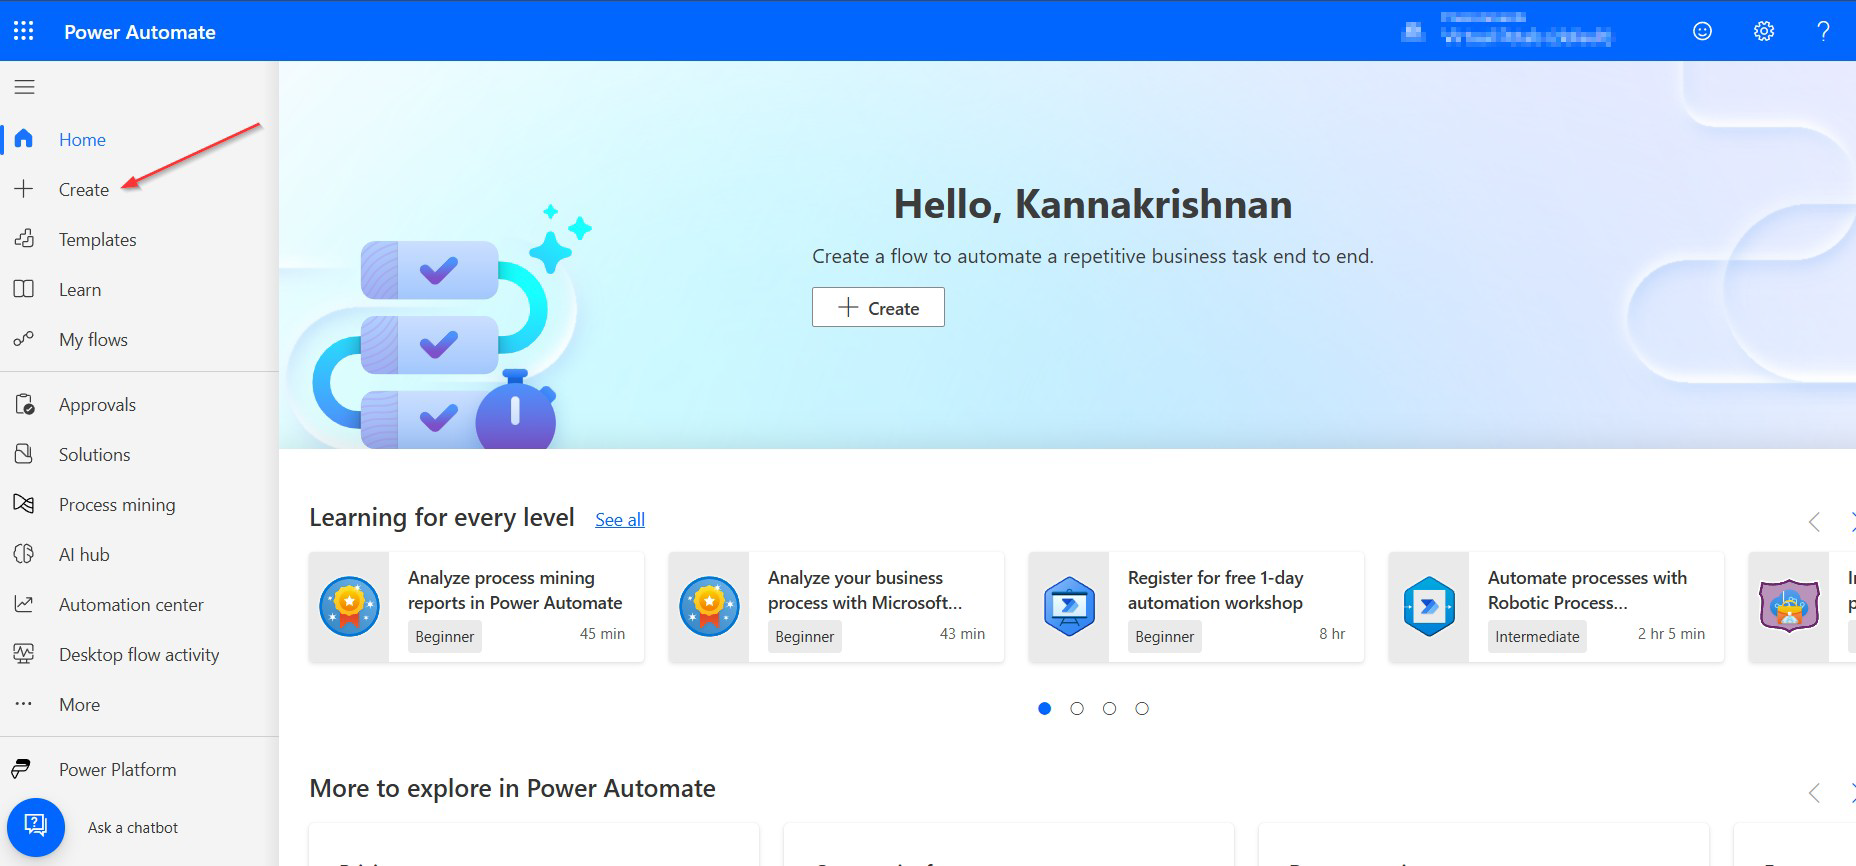
- Sign in with your Microsoft 365 account (the same account that receives emails).
- On the left side, click Create.
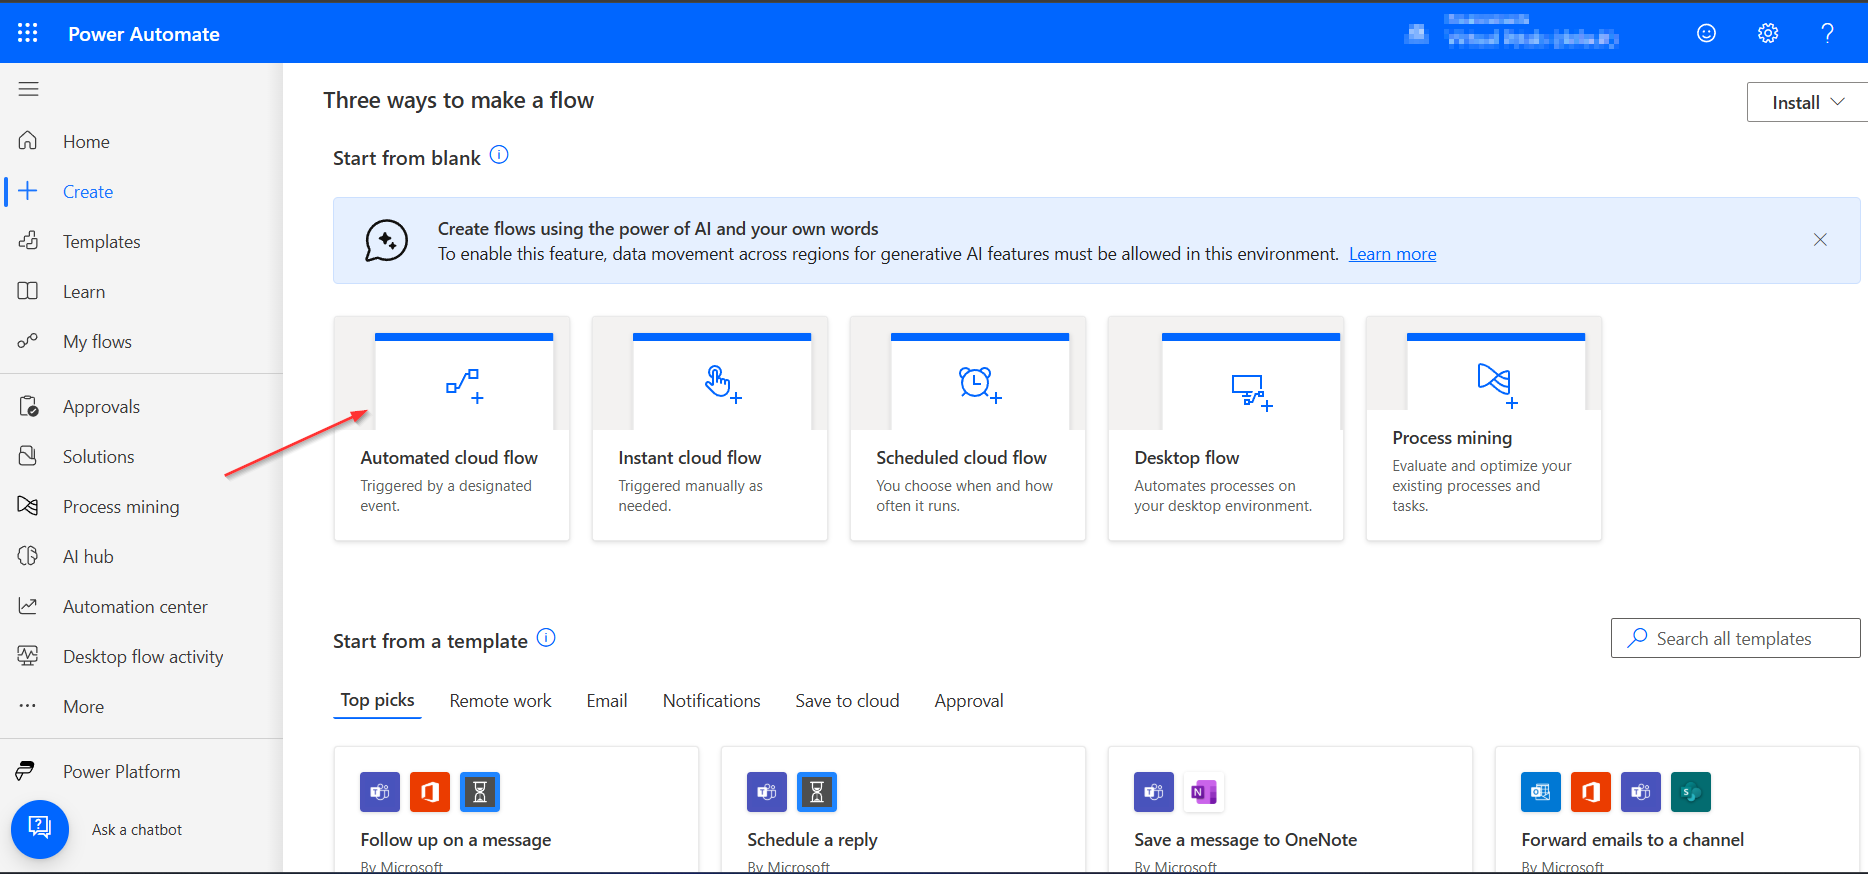
2.2 Choose Flow Type
- Select “Automated cloud flow”(this means the flow will run automatically based on a trigger)
- A pop-up will ask:
- Name your flow ? type something like AI Email Auto Responder
- Choose your flow’s trigger ? type and select:When a new email arrives (V3)
- Click Create.

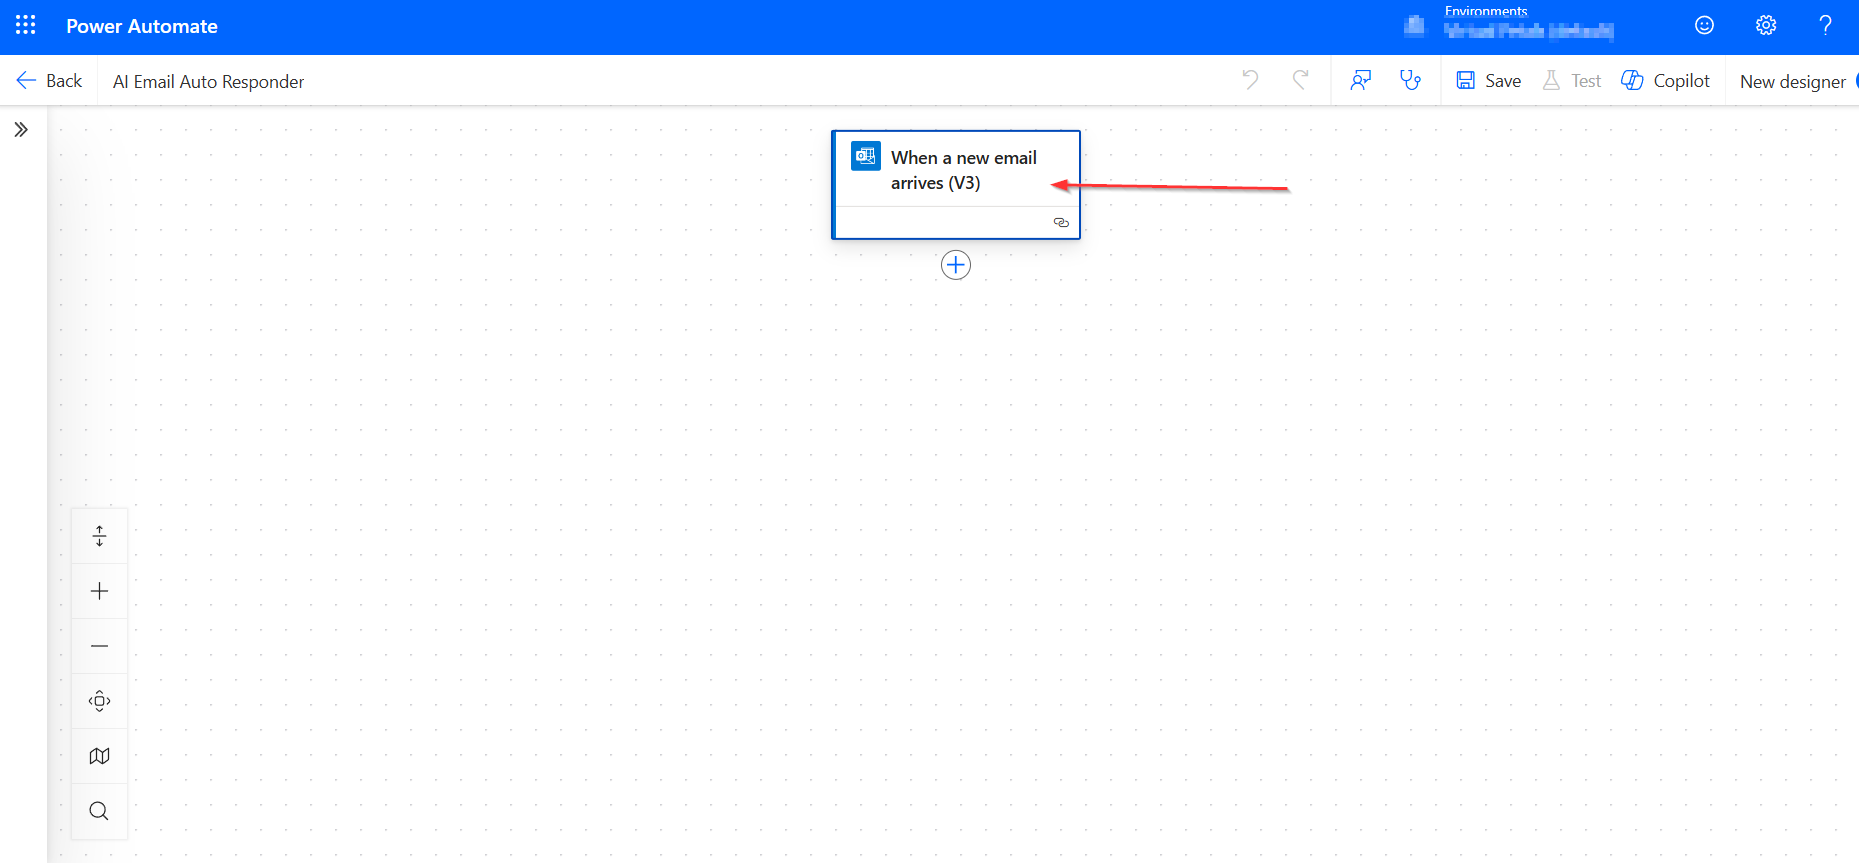
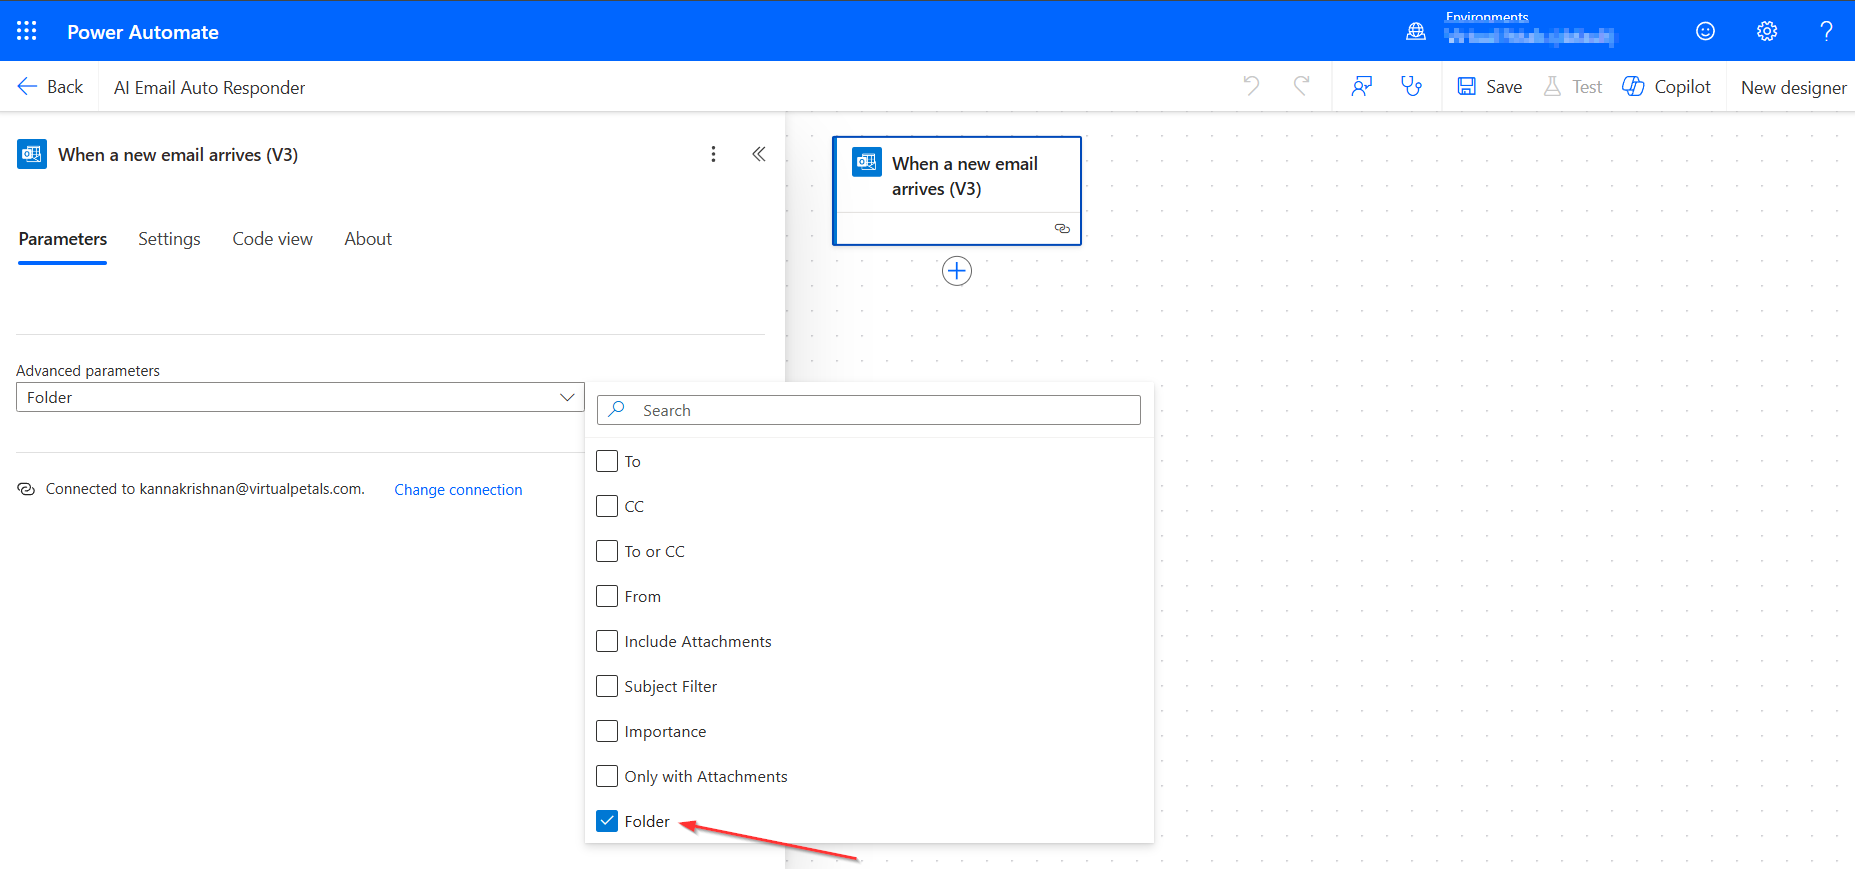
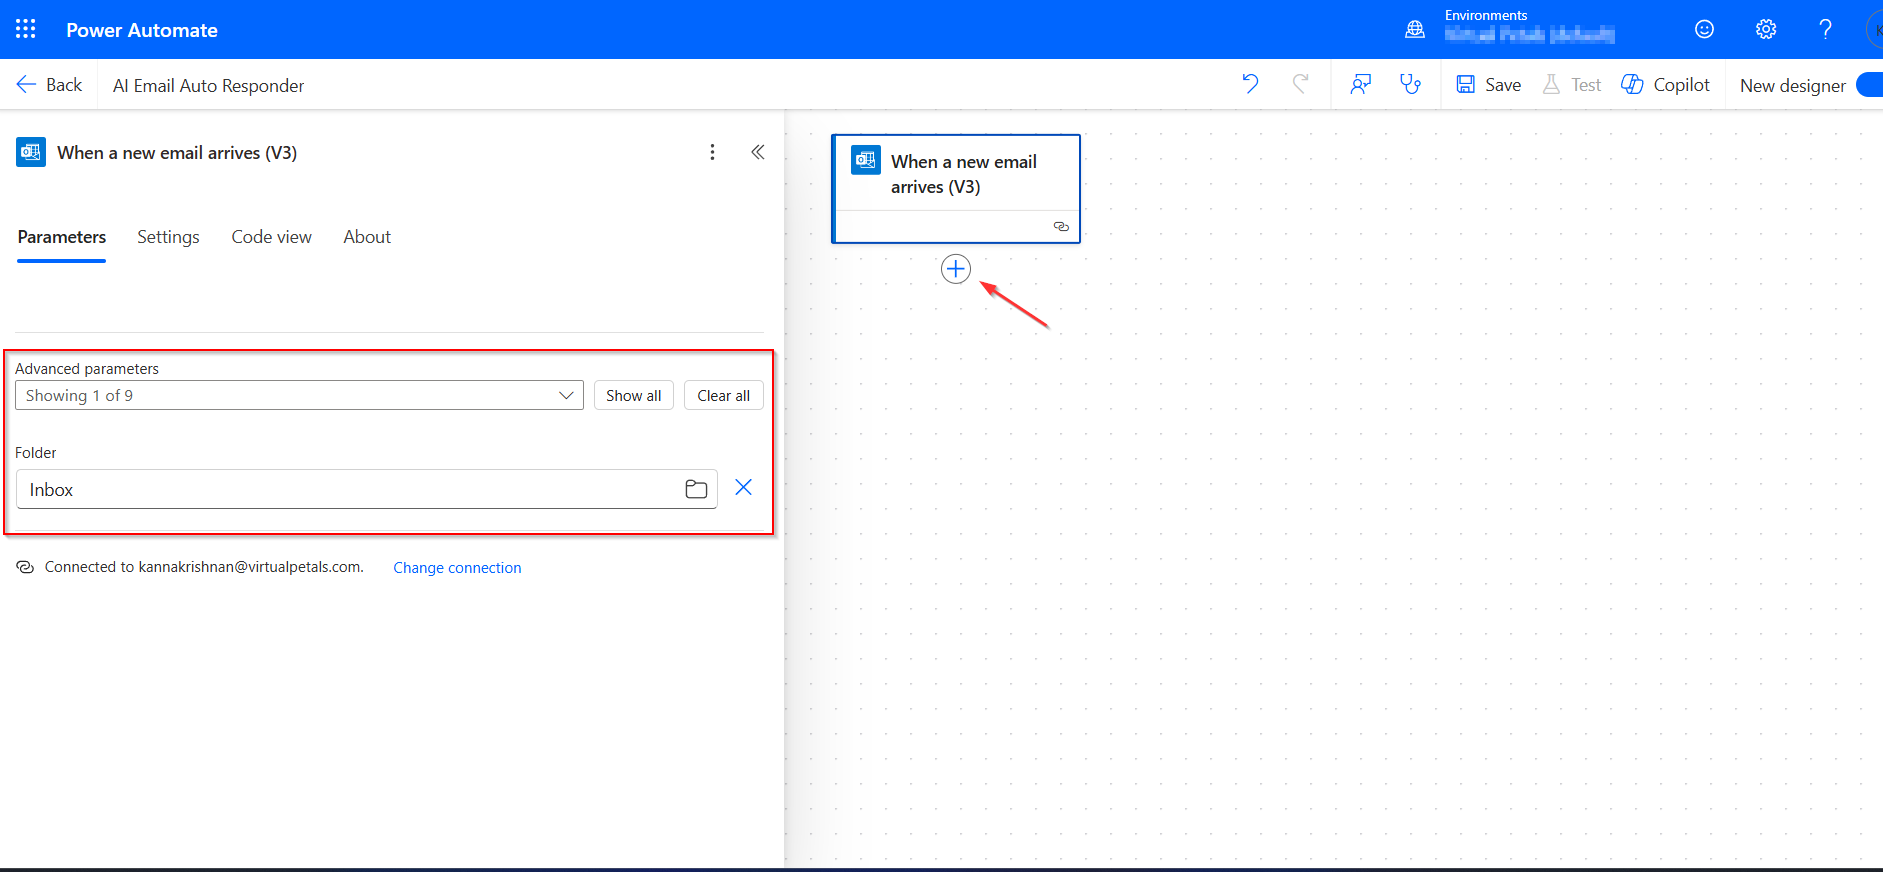
2.3 Configure Email Trigger
[After creating the flow, it will ask you to configure the trigger (i.e., what starts the automation)
- Choose: Folder -> Inbox
- Then click + New Step to continue to STEP 3.

STEP 3: Send Email Content to Azure OpenAI and Get a Reply
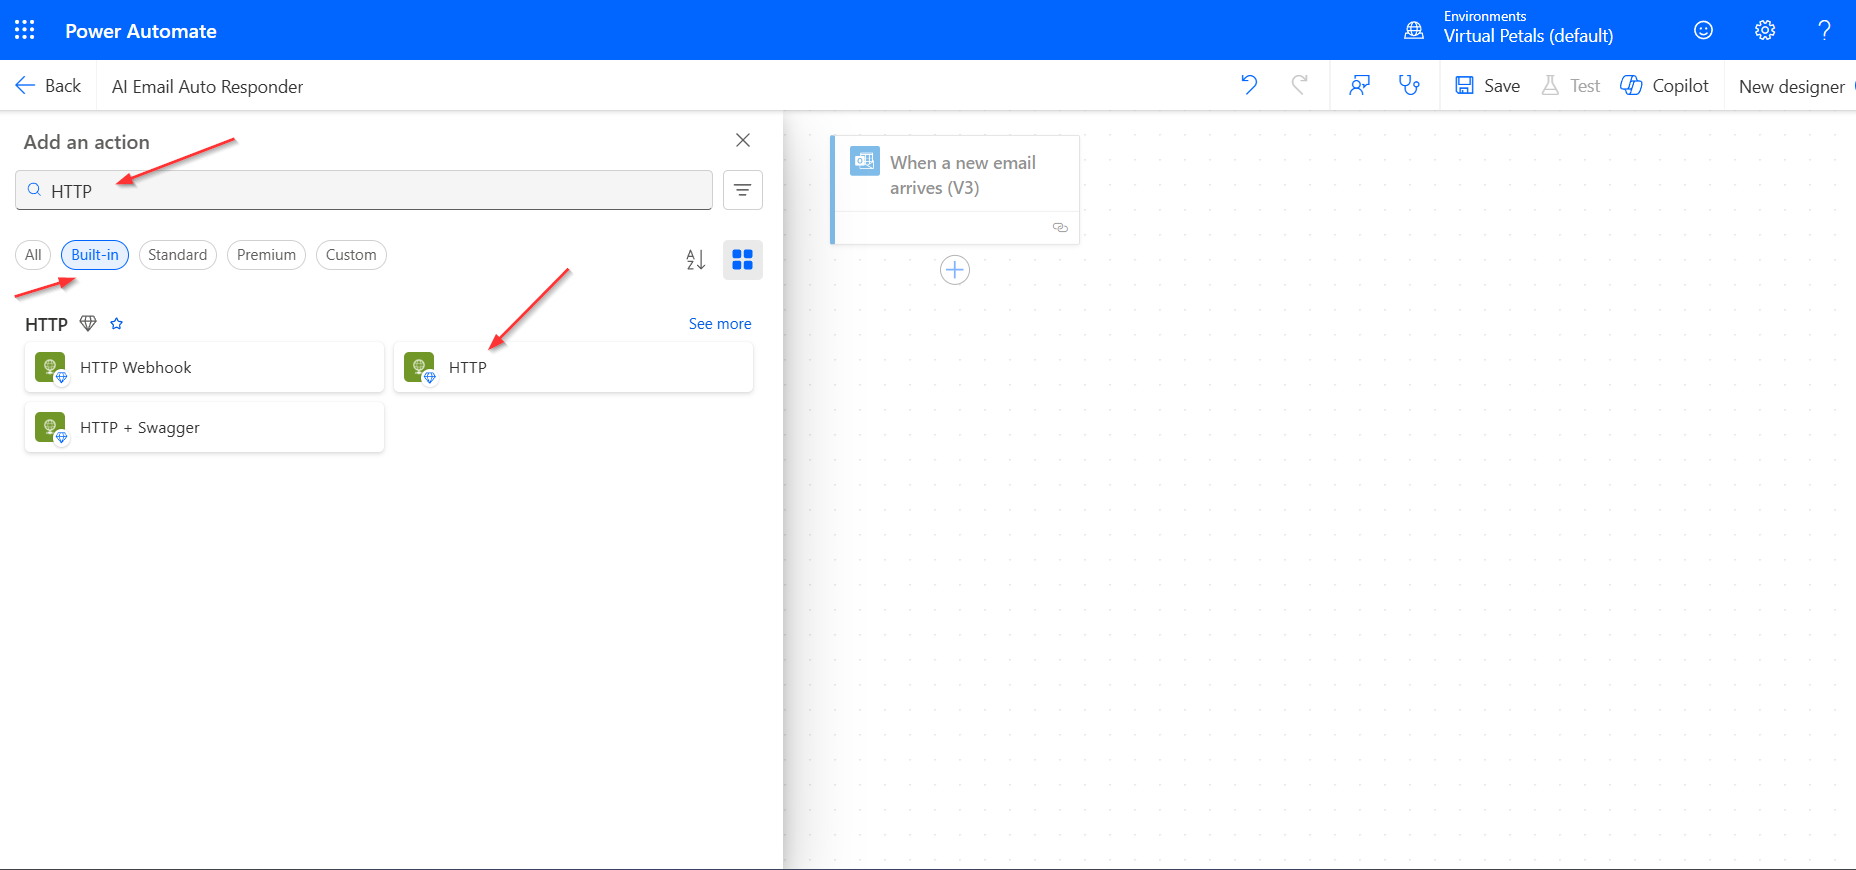
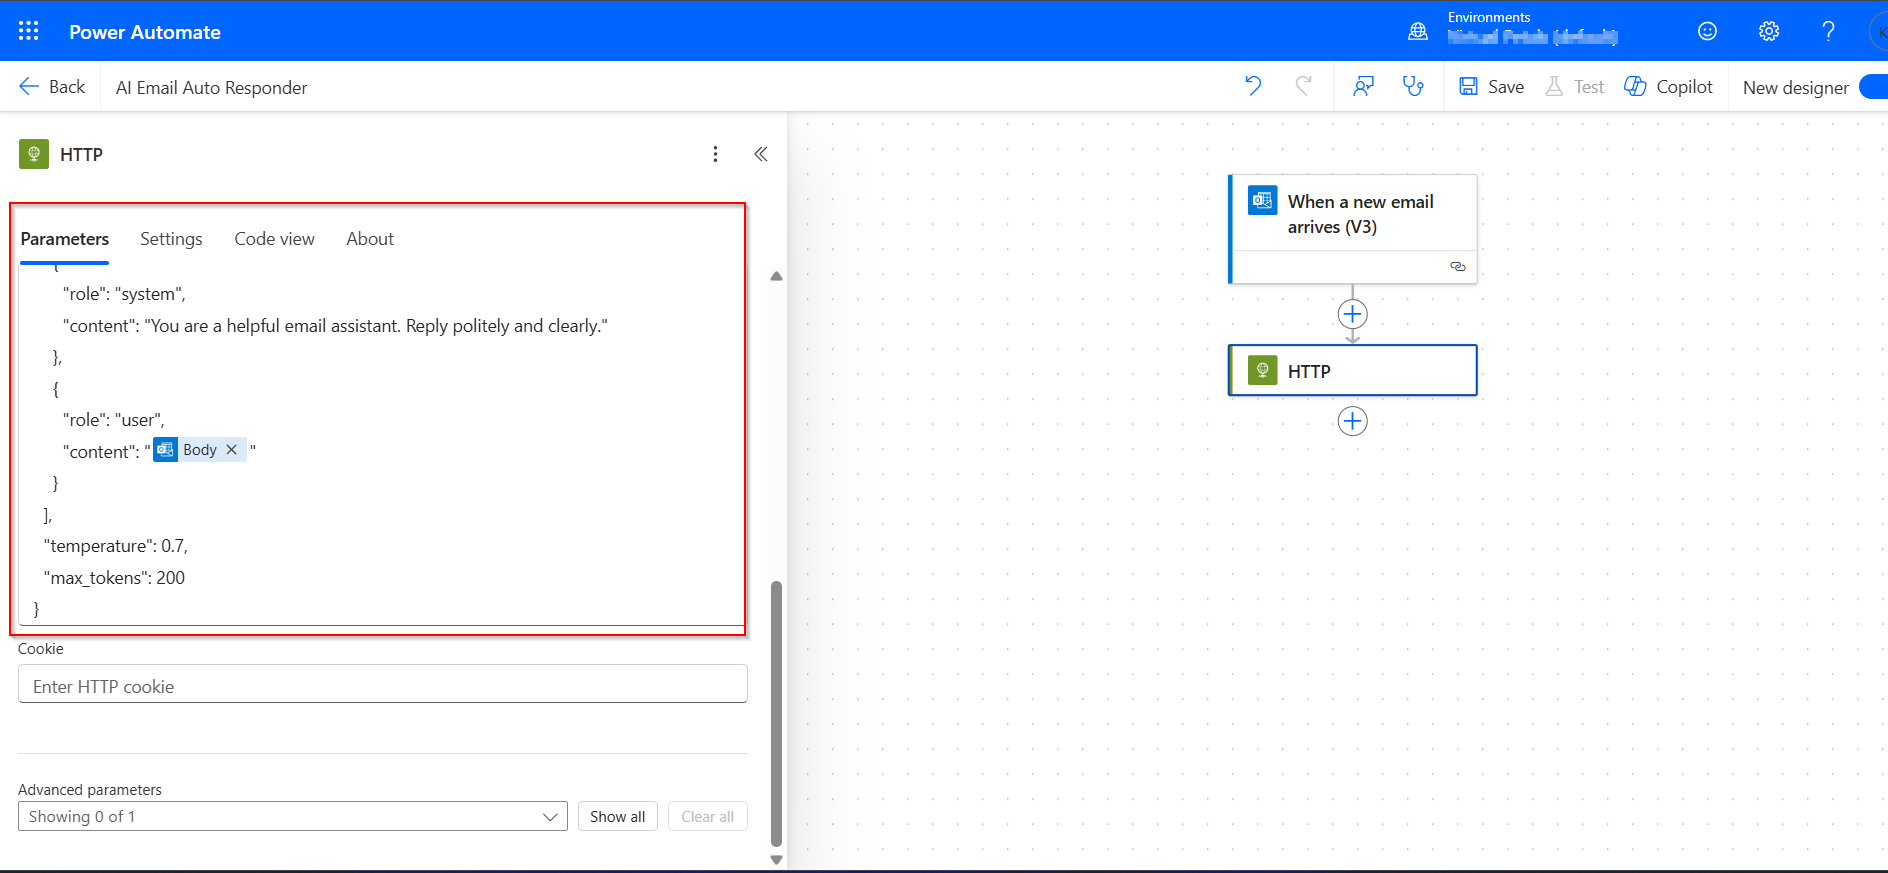
3.1 Add HTTP Action in Power Automate
- Click + New Step in your flow.
- In the search bar, type HTTP.
- Select the action: HTTP under Built-in.
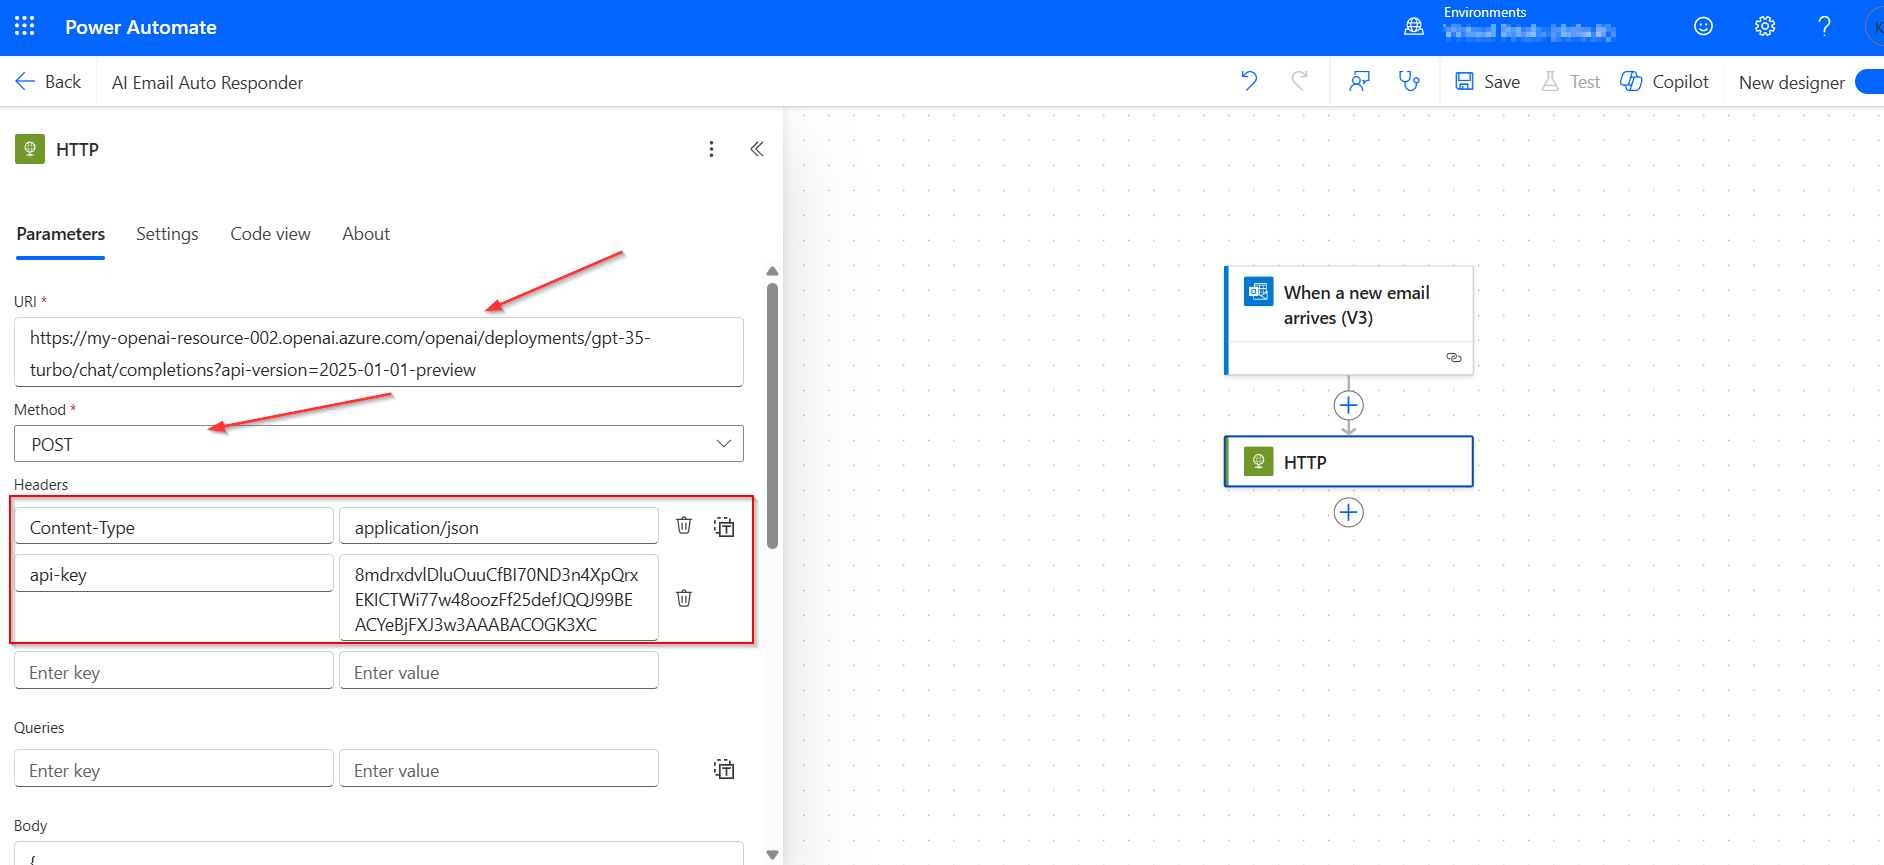
3.2 Fill in HTTP Action Details
- Now you need to fill in the settings so it can talk to Azure OpenAI.
- Here’s what to enter:
- Method: POST
- URL: Paste your Azure OpenAI Endpoint URL
- | Headers | Click “Add new item” and add these two rows:
- Content-Type ? application/json
- api-key ? Paste your Azure OpenAI API key
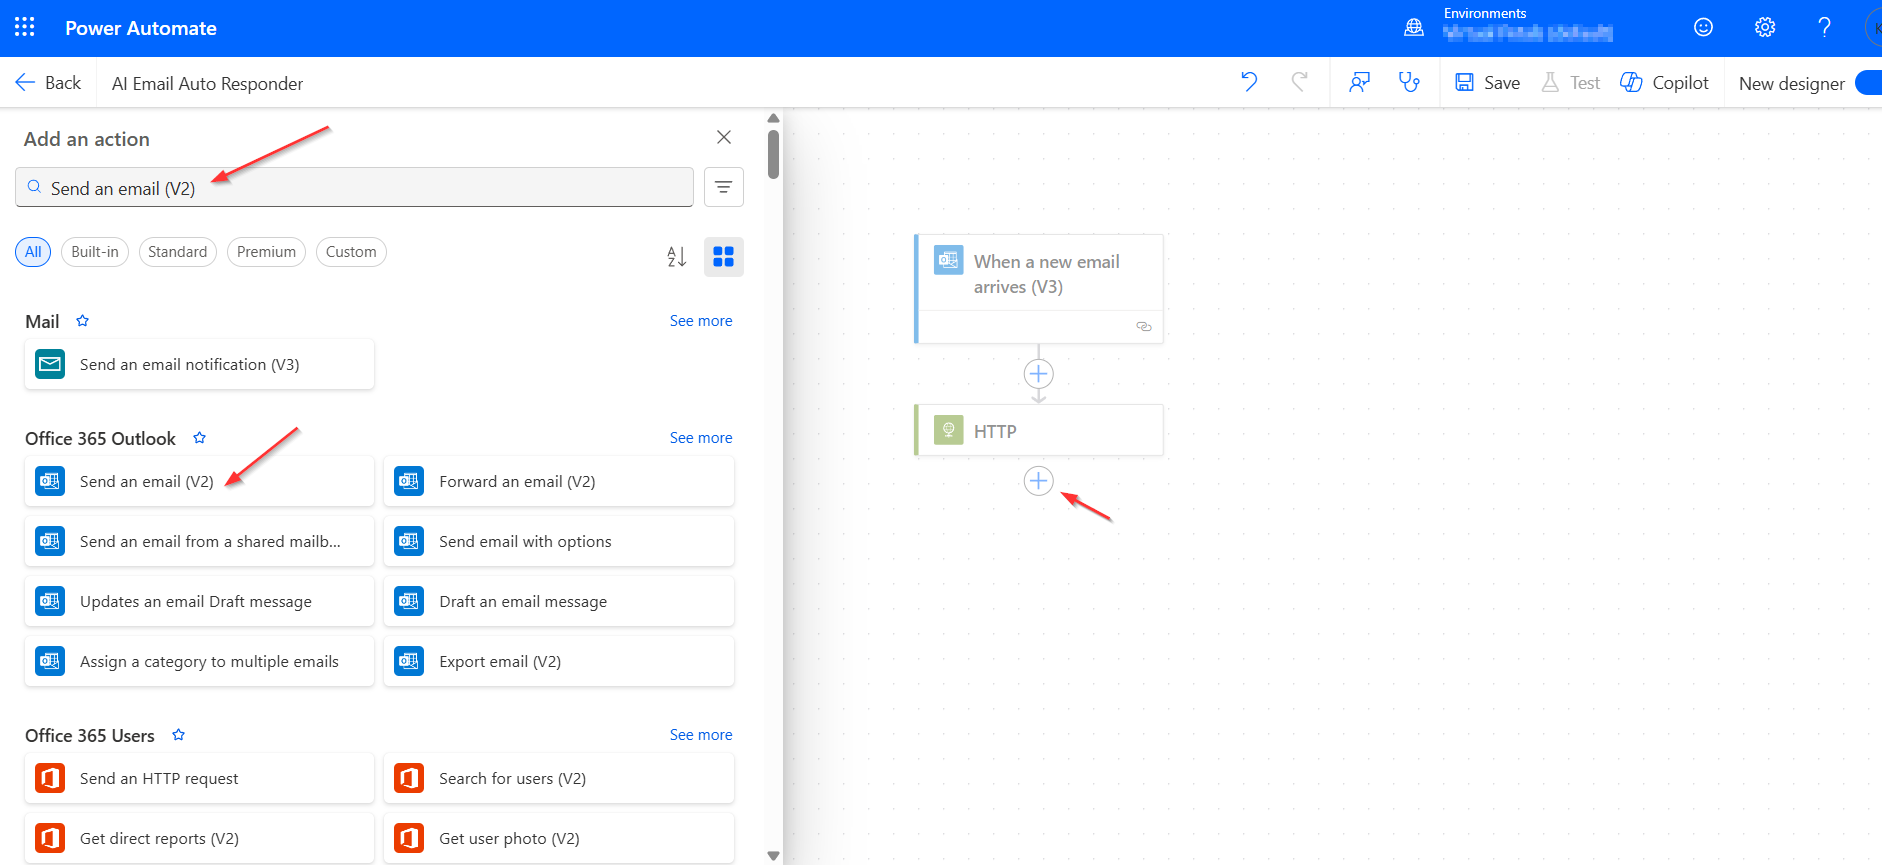
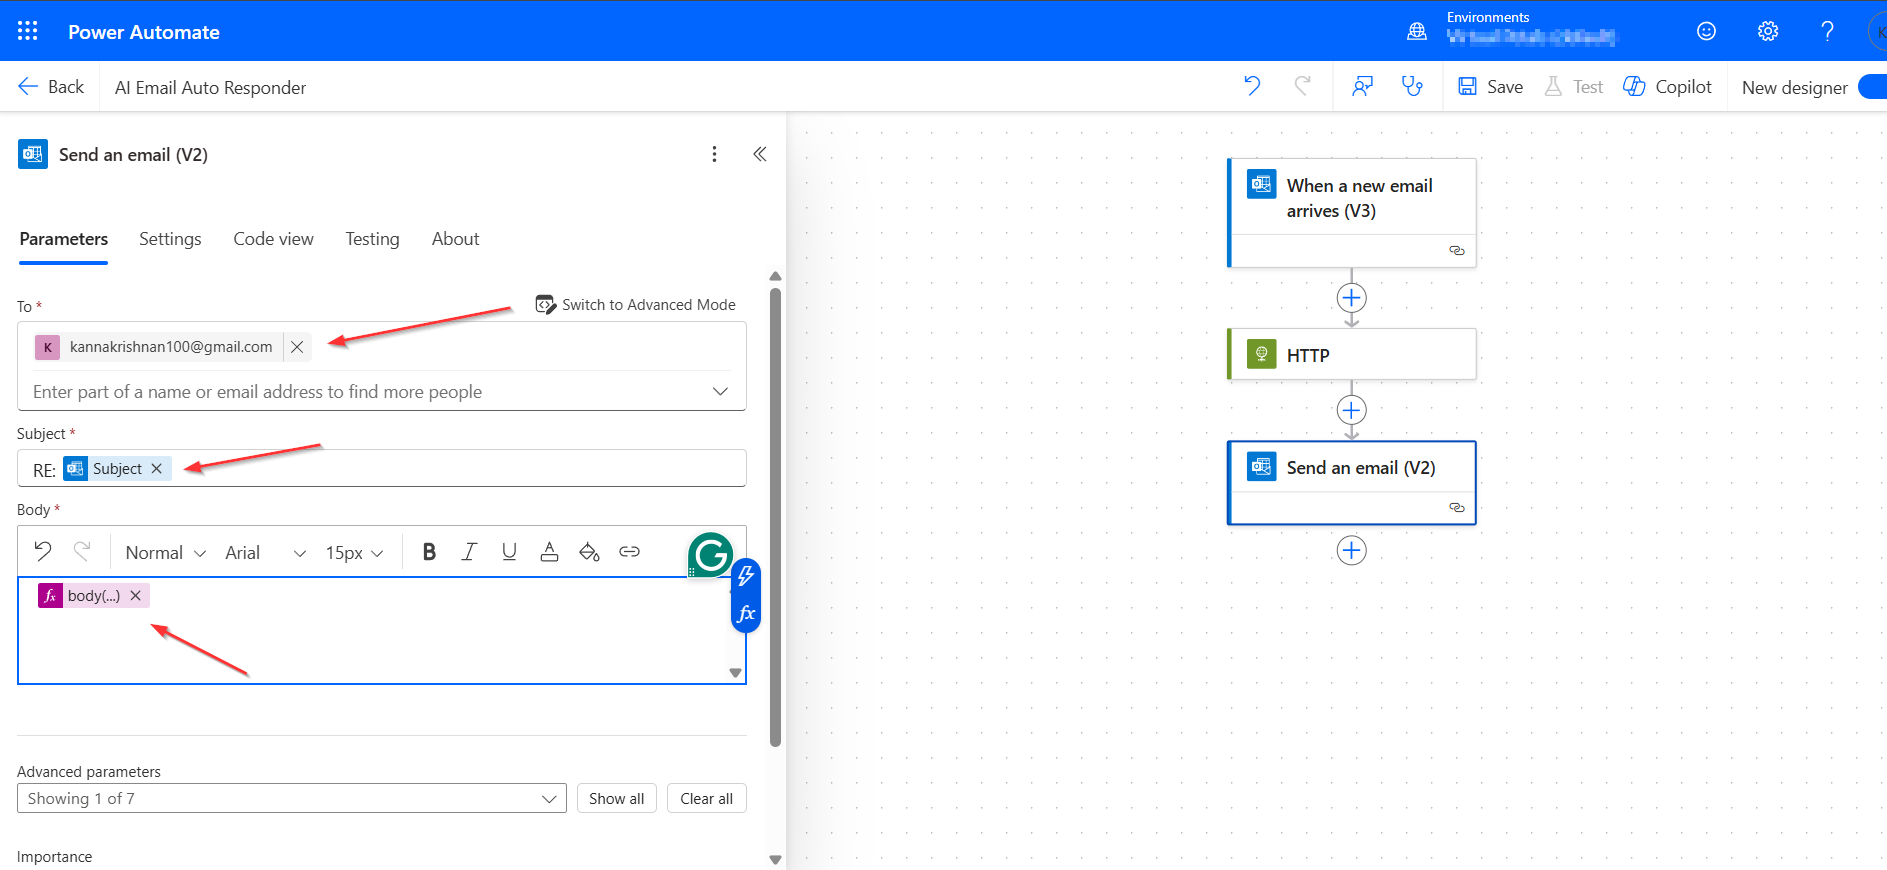
STEP 5: Send the Auto-Reply Email — Simple Explanation
5.1 Click + “New Step”
- In your flow (after the HTTP step), click:
- New Step ? Search for Send an email (V2) (It’s under the Outlook connector — choose Microsoft 365 Outlook)
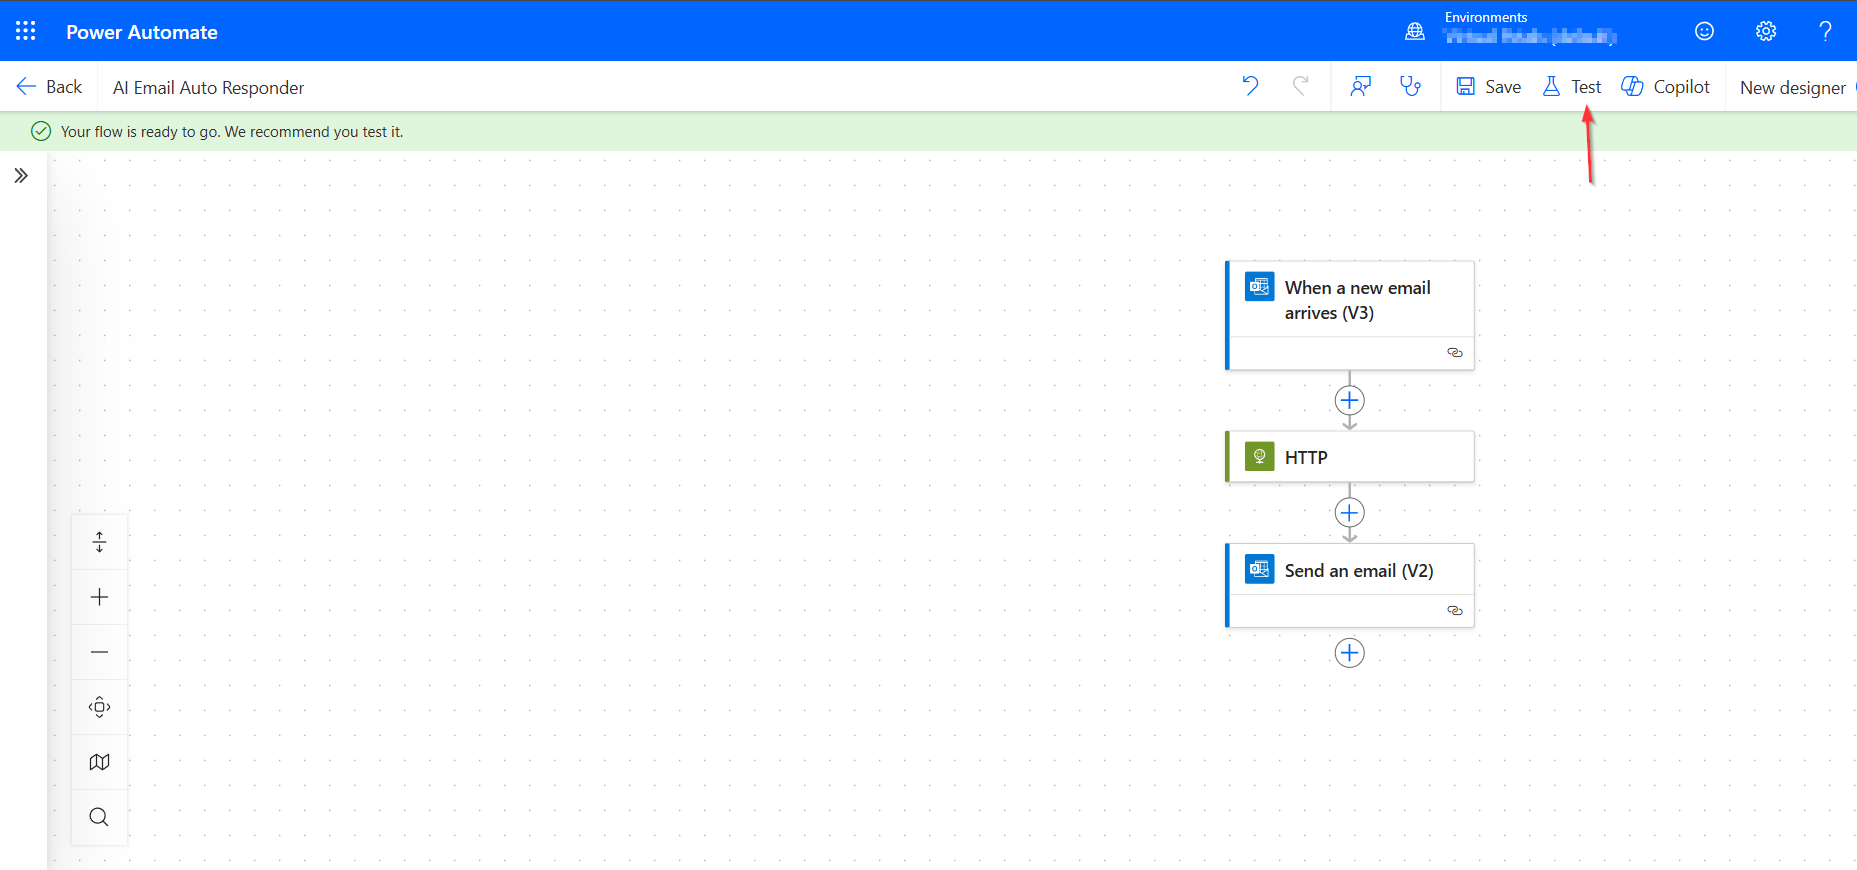
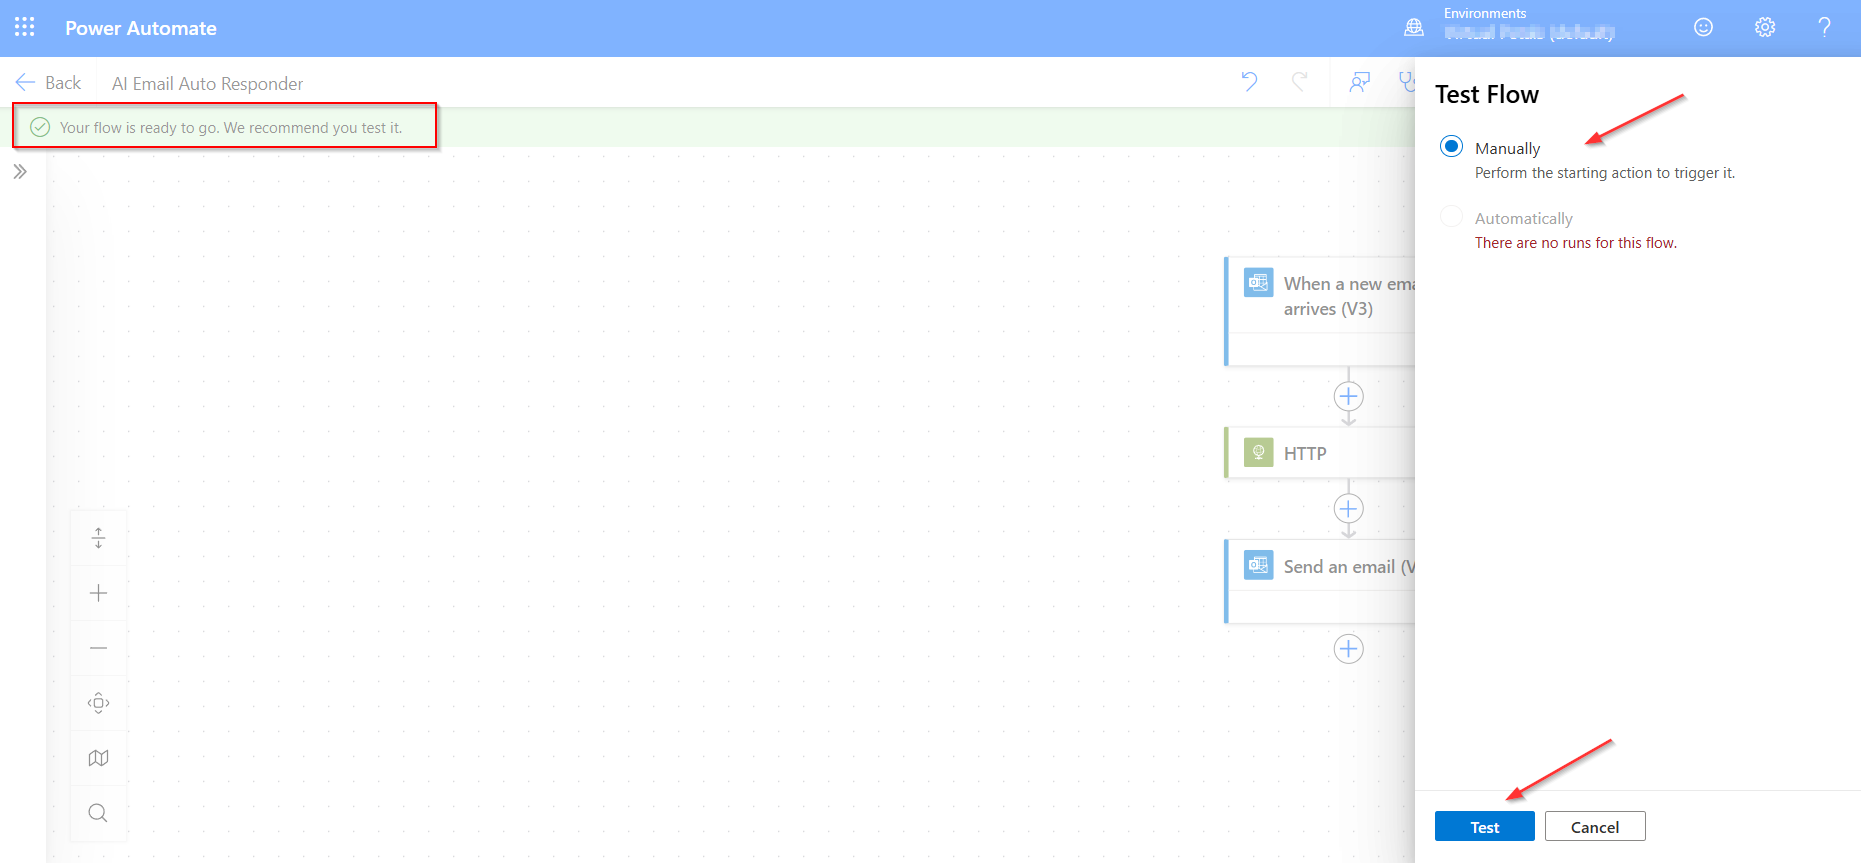
STEP 6: Save & Test Your Auto Email Responder
- Save the Flow
- At the top-right of Power Automate designer, you’ll see: Save button
- Click it — this saves your entire flow.
- Test the Flow
- Right next to Save, click: Test button
- You will see options: Select: Manually , Then click Test
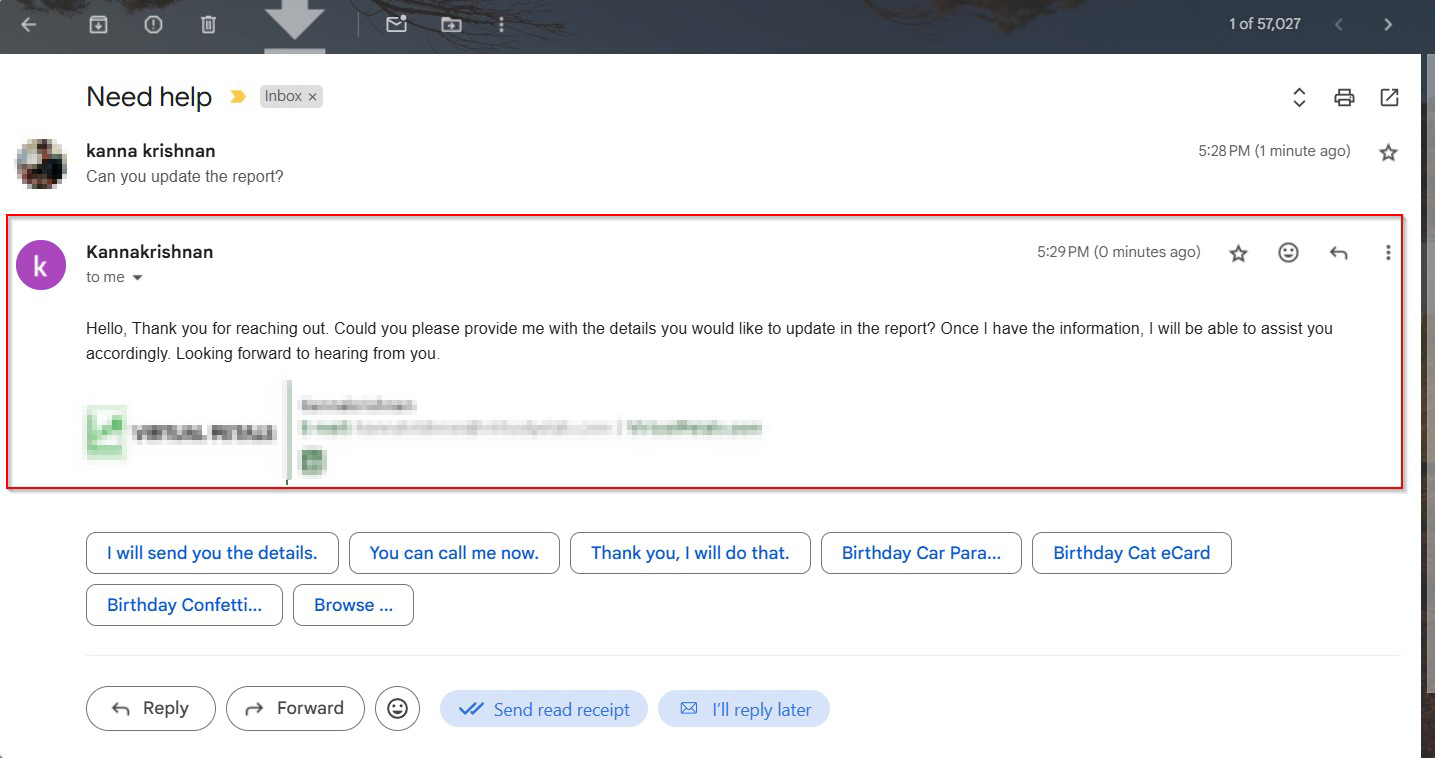
- Send a Test Email to Yourself:
- To: yourname@domain.com
- Subject: Need help
- Body: Can you update the report?
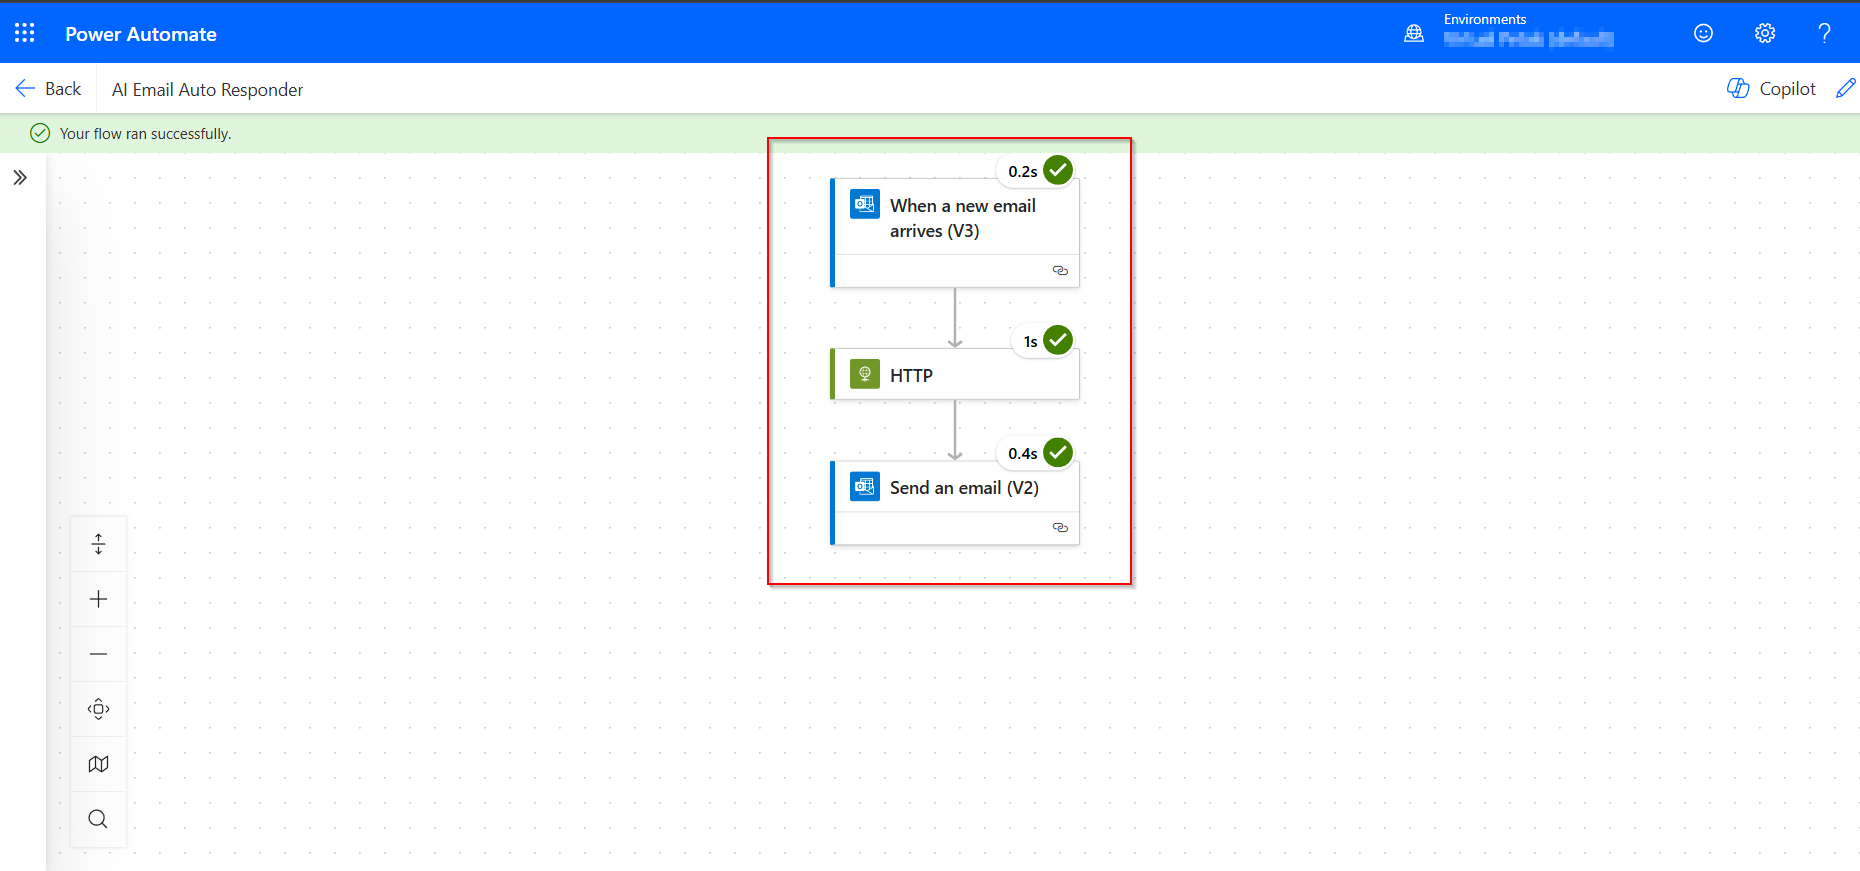
- Check if Flow Ran: If it worked, it will show green checkmarks
- Check Your Sent Items.


Conclusion
Automating email responses with Power Automate and Azure AI Studio offers a powerful, scalable solution for managing communication efficiently. By combining low-code workflow automation with the intelligence of Azure’s AI capabilities, you can create a dynamic responder that understands context, generates human-like replies, and adapts to evolving business needs. Whether you’re streamlining customer support or internal communications, this integration empowers your team to focus on higher-value tasks while ensuring timely and intelligent responses are always delivered.
