
Step 1: Initialize a ReactVite Project
Inside your terminal, type npm create vite@latest and press Enter. It will ask for permission to download create-vite@latest packages.
npm create vite@latest 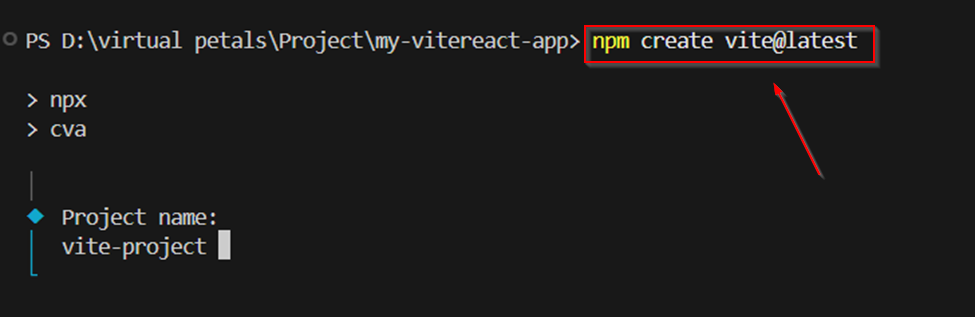

Press y and click Enter.
It will download the create-vite@latest packages; it will only take 2 or 3 seconds.
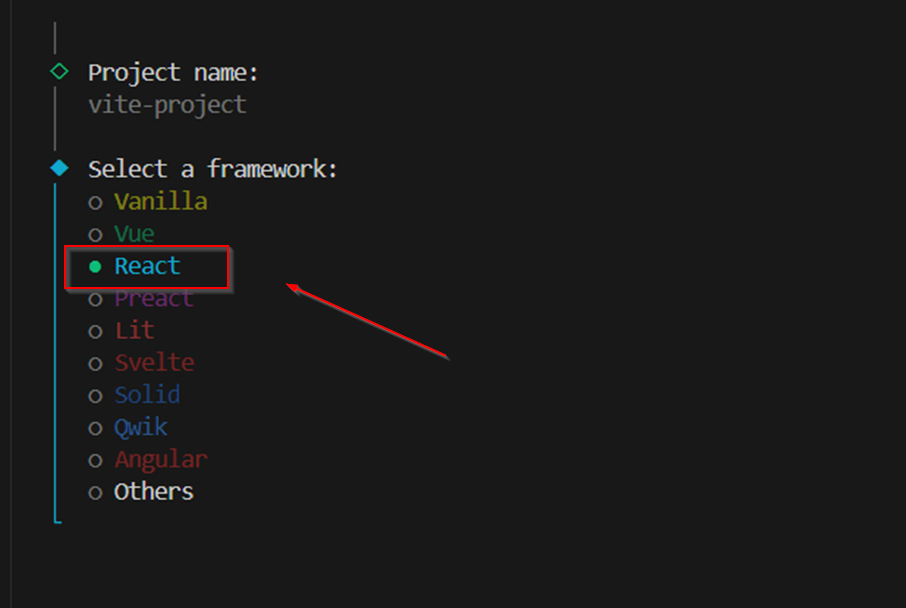
You will see a list; use the arrow keys to move up and down the list, and click Enter to choose your preferred option.
In this step, we will select React
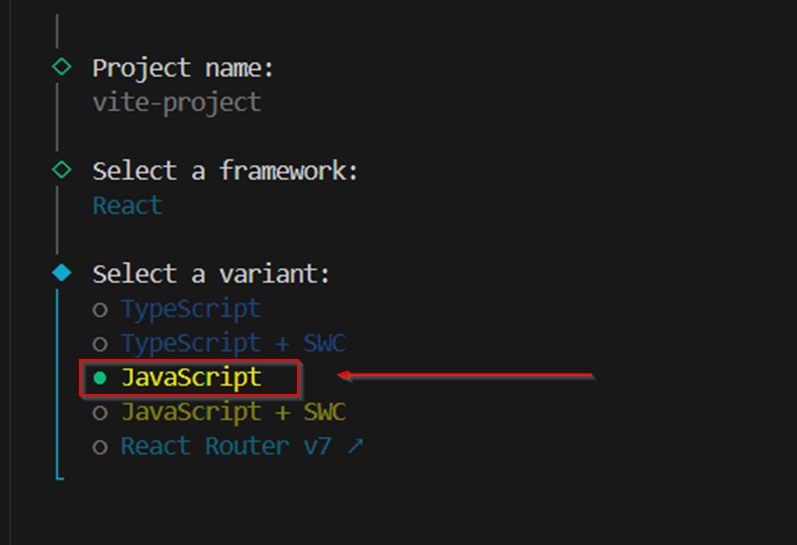
Next, you will see four options to choose from. Navigate to and select JavaScript
Enter your Vite project with the name
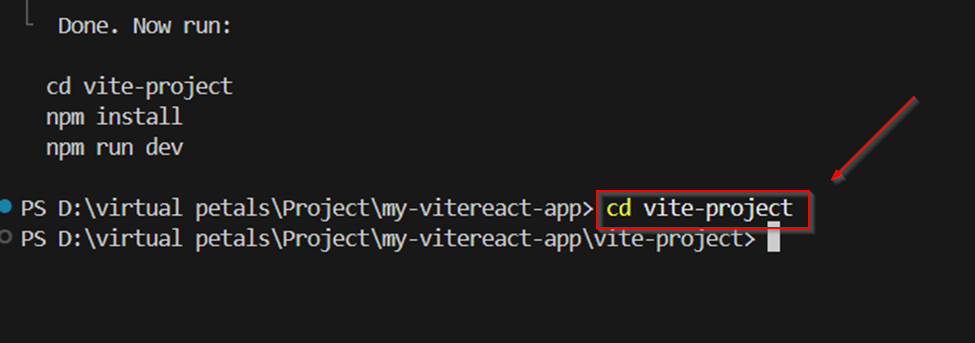
Next, type the second command on that list, npm install, and click Enter.
npm install
Type the third command on the list, npm run dev. Remember to type it exactly as you see it written on the list.
npm run dev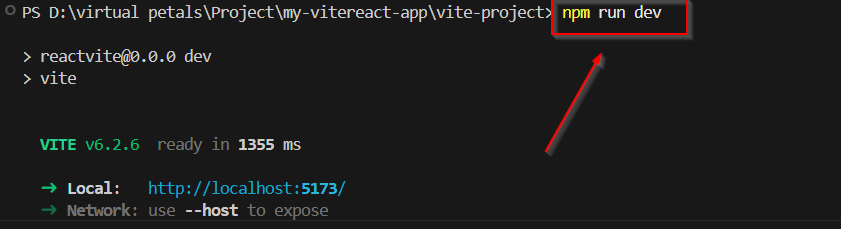
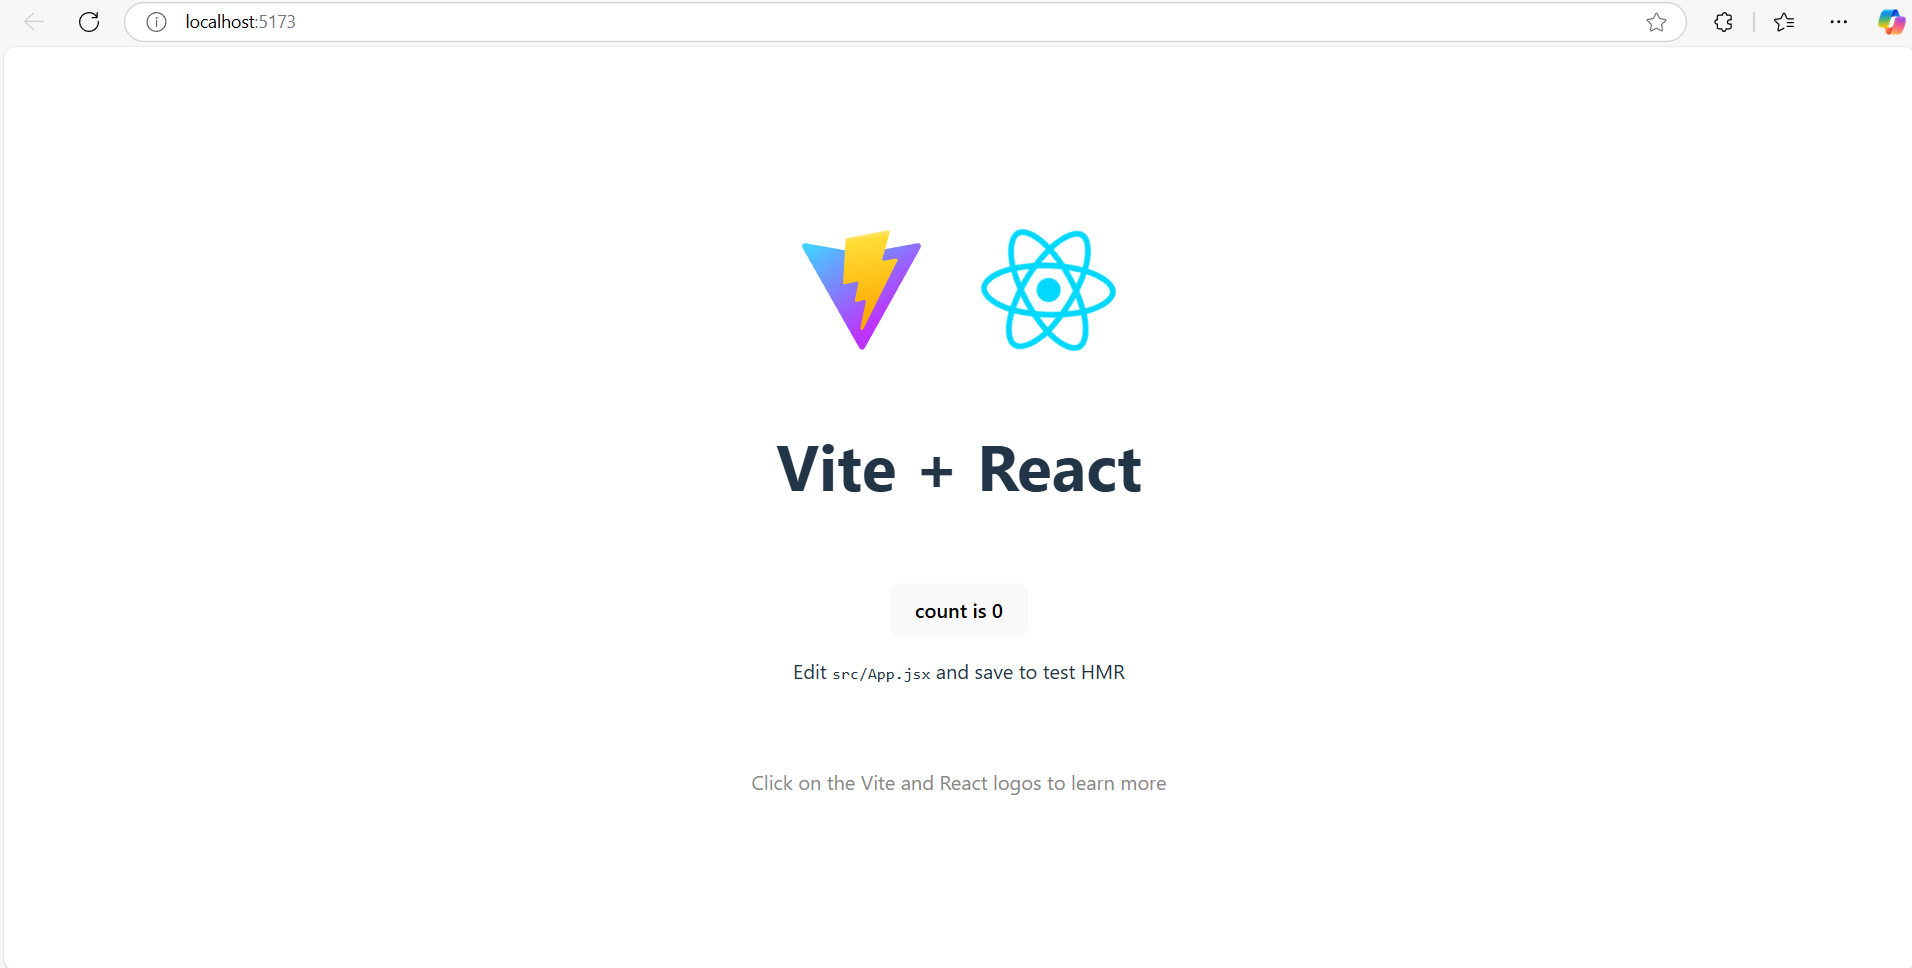
Output local machine
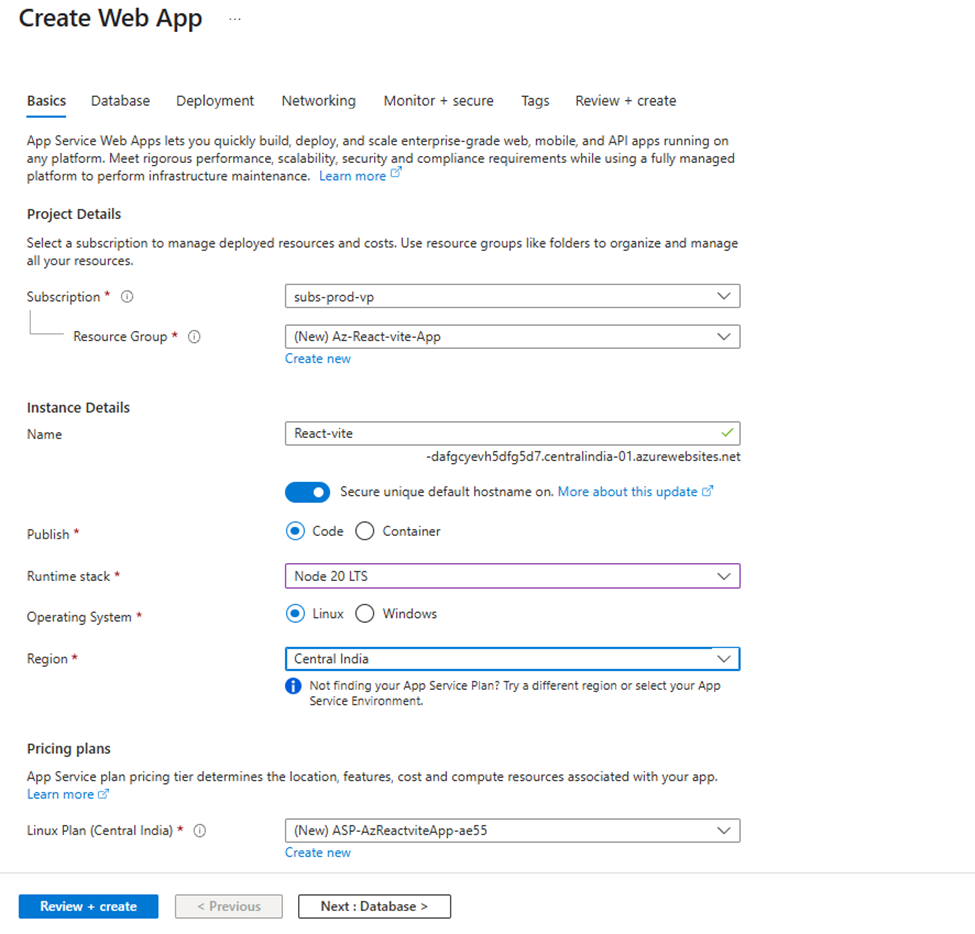
Step 2: Configure Azure App Service
Login into https://portal.azure.com
- Create an App Service with a basic B1 App Service Plan.
Once your web app is deployed, go to configurations and add the startup command
npx serve -s .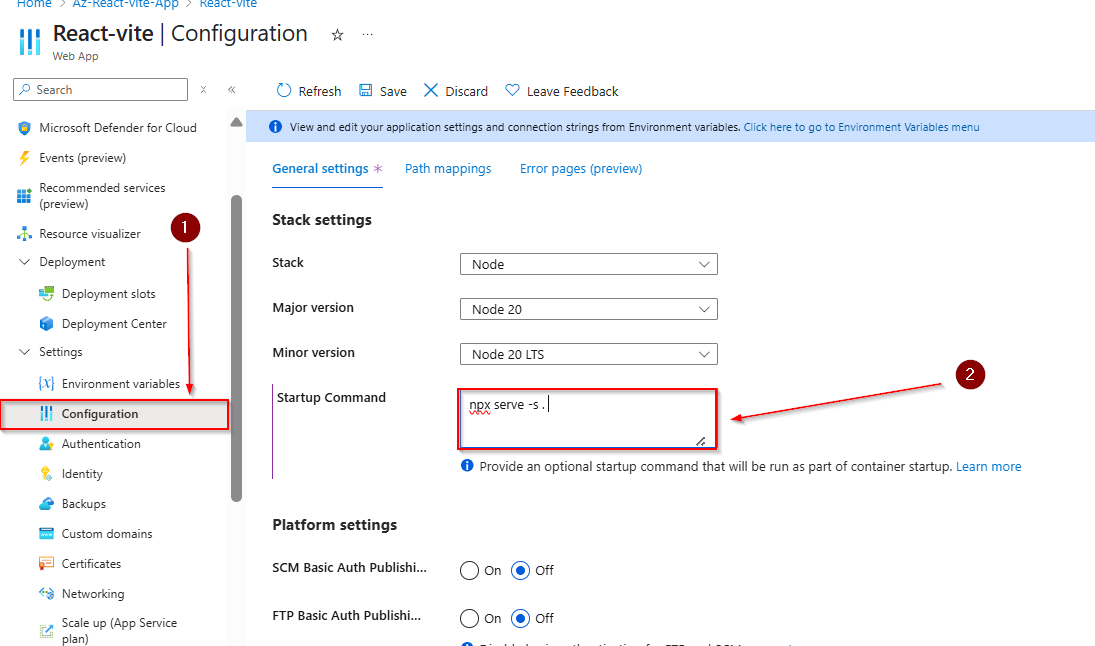
Step 3: Create the Azure DevOps Project and connect to the App service instance
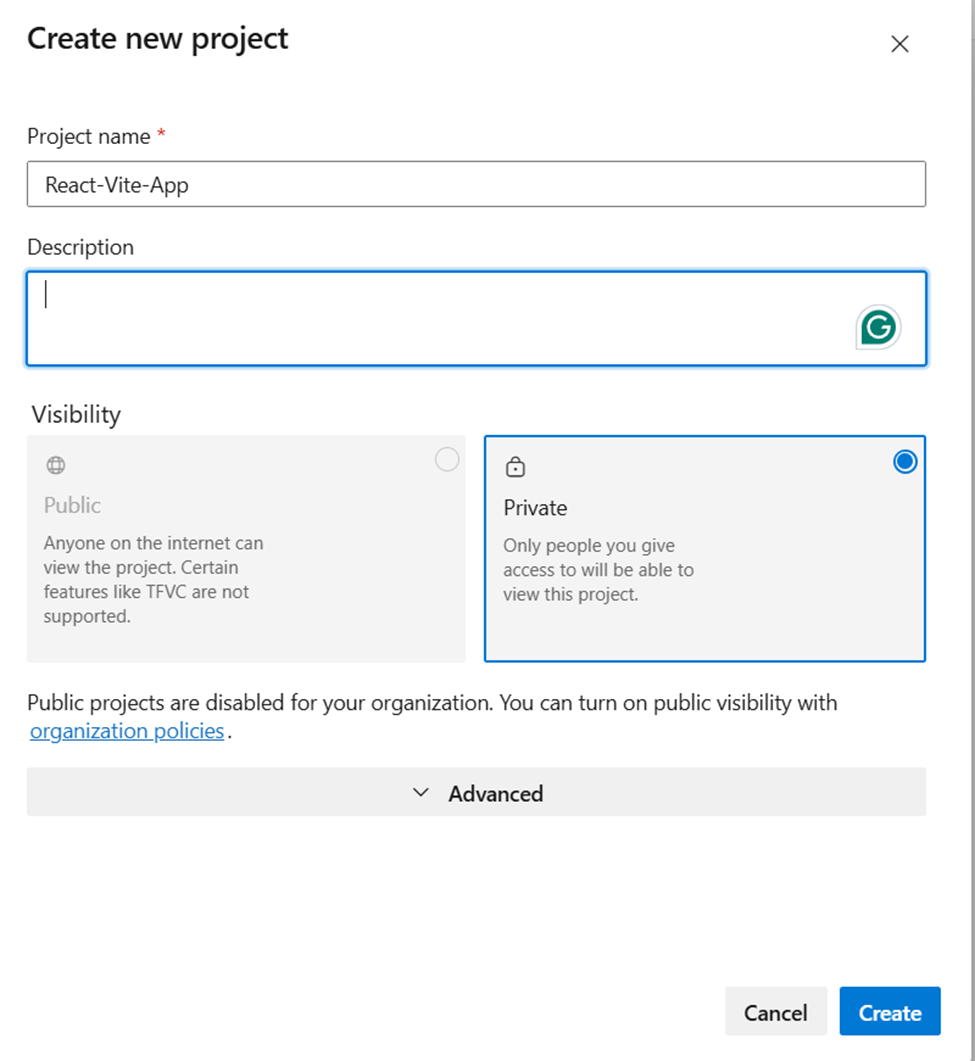
Login into https://dev.azure.com/ and create a new project

Setting up a Service Connection
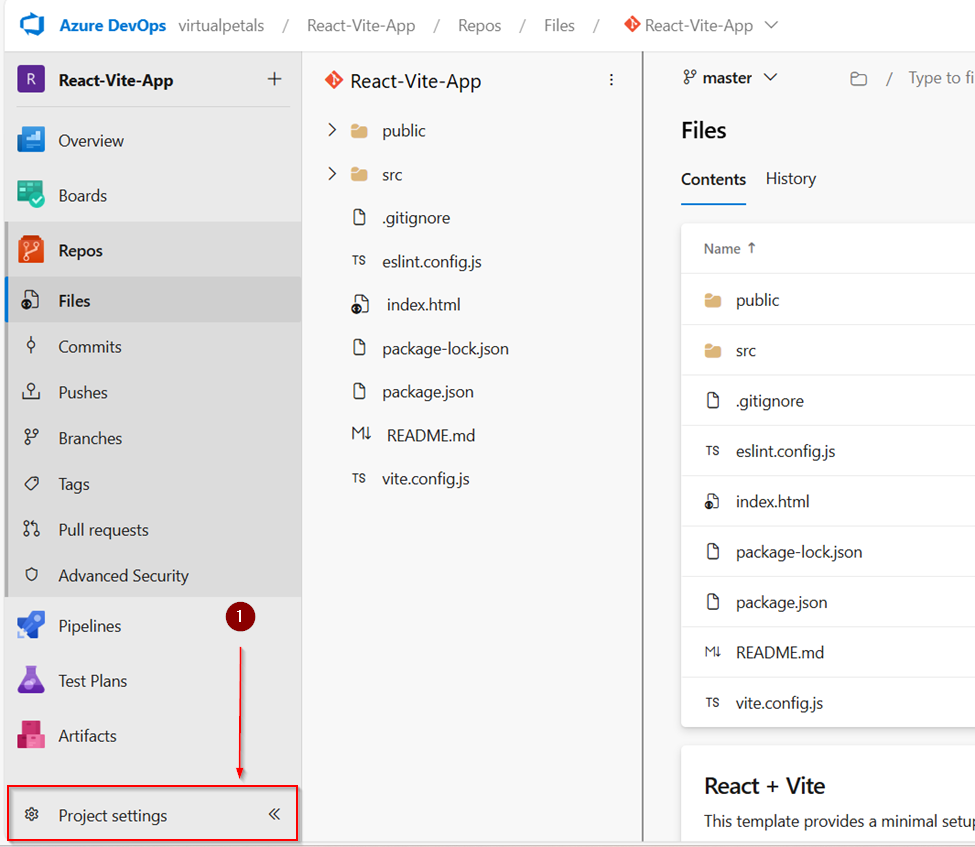
- 1. Go to Project Settings in Azure DevOps.
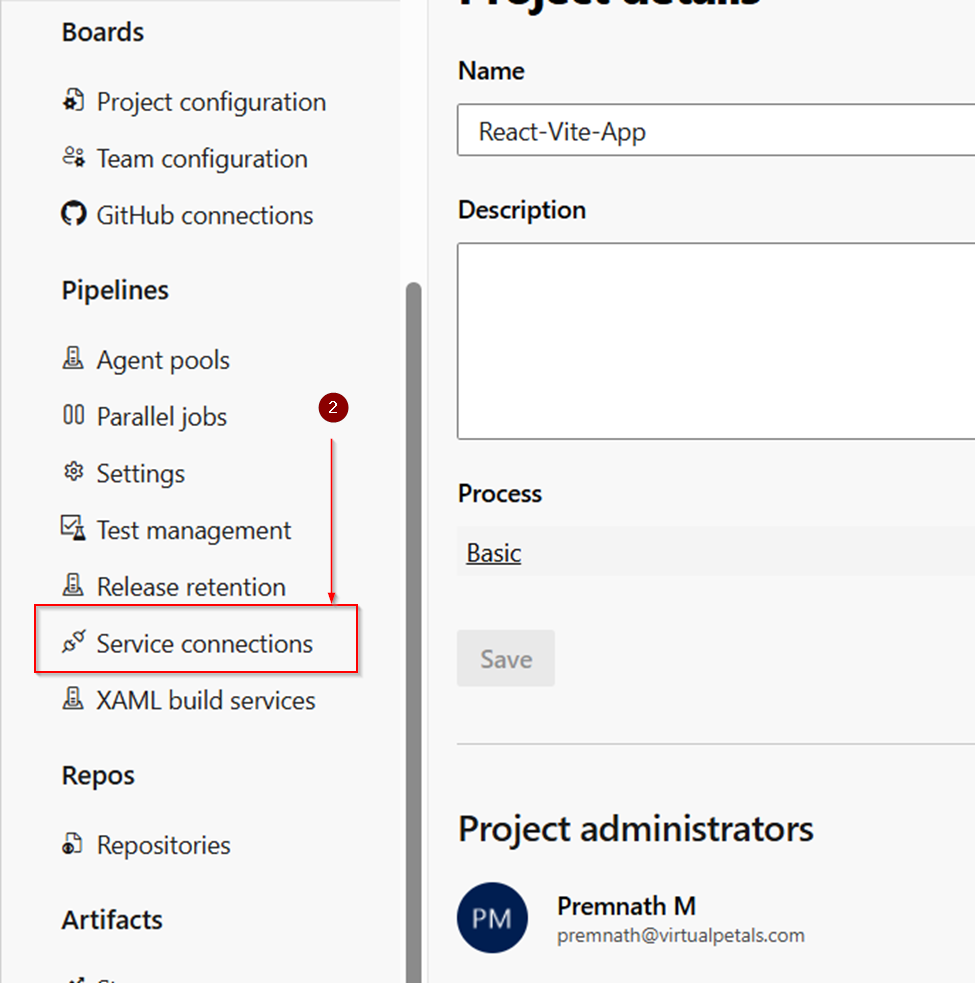
- 2. Under Pipelines, select Service Connections.
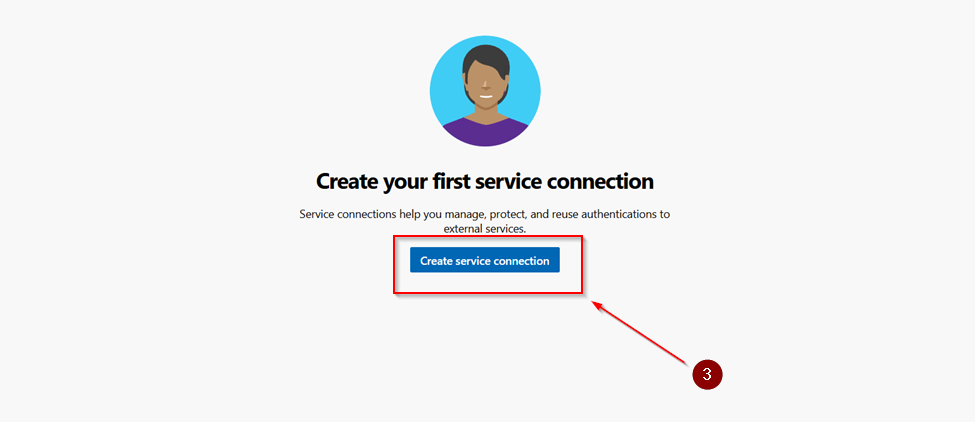
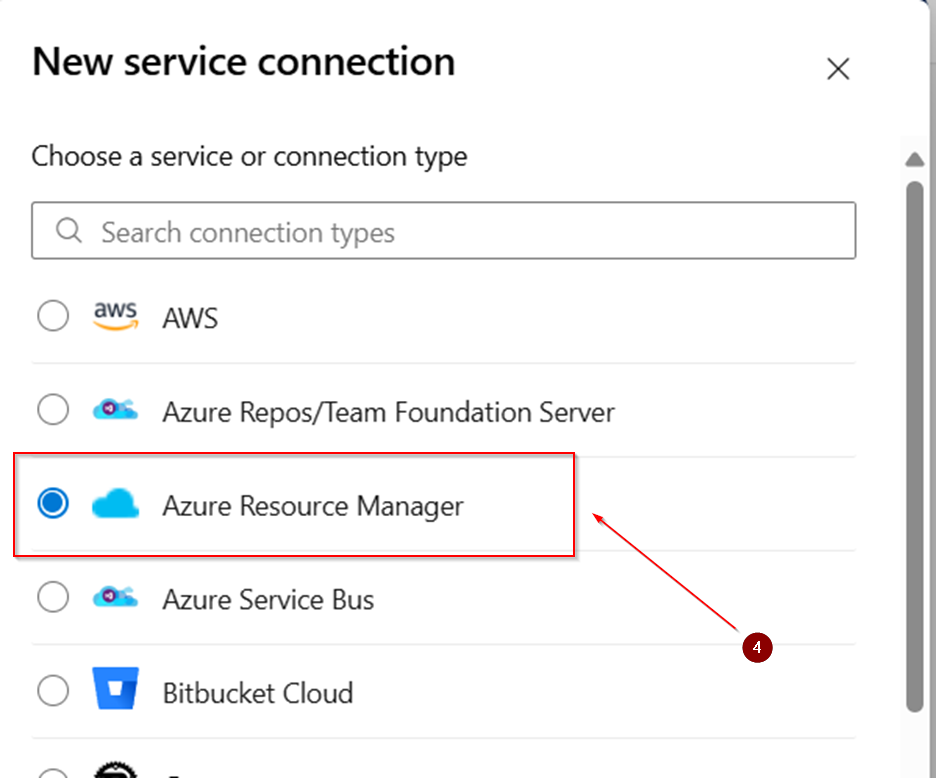
- 3. Click Create Service Connection.
- 4. Choose Azure Resource Manager.
- 5. Use Subscription as the scope.
- 6. Select the correct Resource Group for your App Service.
- 7. Name the service connection (e.g., az-vite-react).

Step 4: React vit app Push to Azure Repos
git initgit add .
git commit -m "Initial commit"
git remote add origin https://<your-org>@dev.azure.com/<your-org>/<project>/_git/<repo-name>
git push -u origin --all
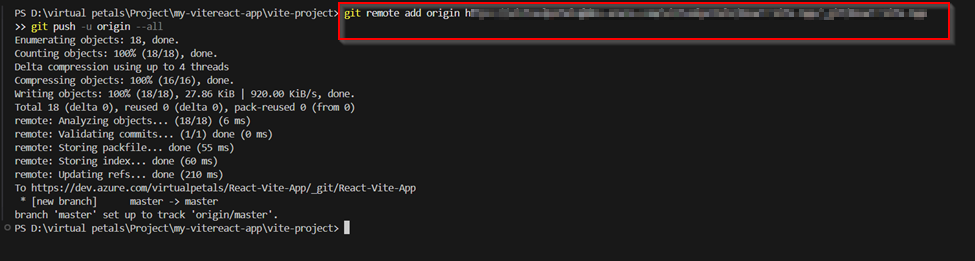
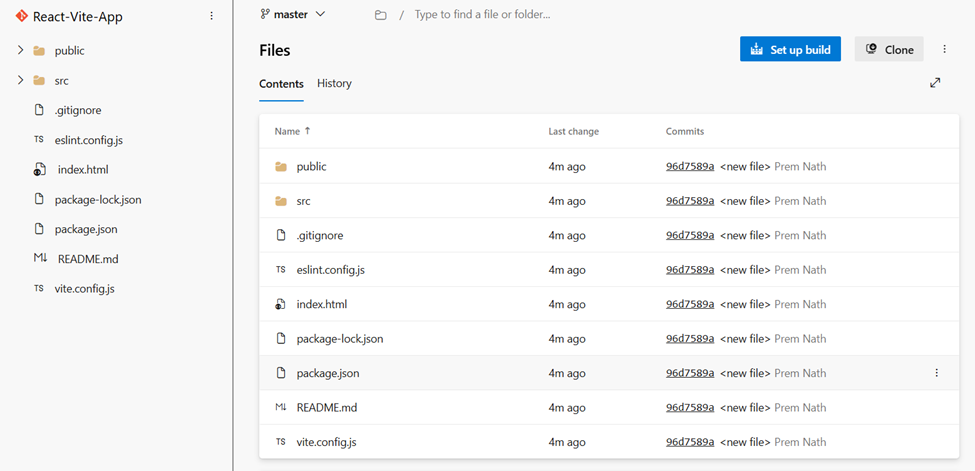
Log in if prompted. This confirms the project has been pushed to Azure Repos.
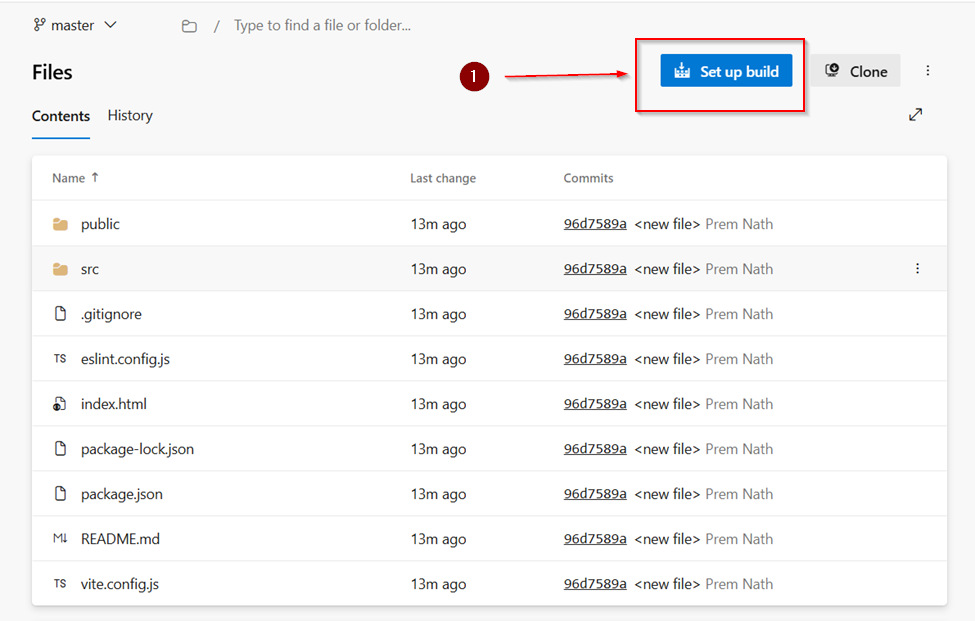
Step 5: Create a Build Pipeline
- 1. Navigate to Pipelines > Create Pipeline.
- 2. Choose Azure Repos (YAML).
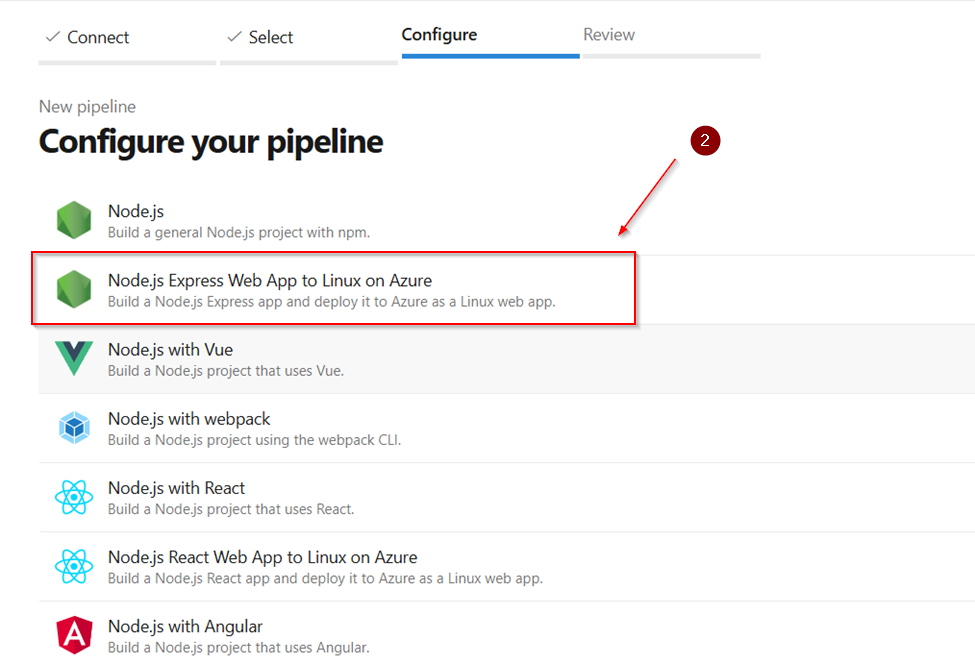
- 3. Select Node.js Express App to Linux on Azure.
- 4. Delete the default YAML.
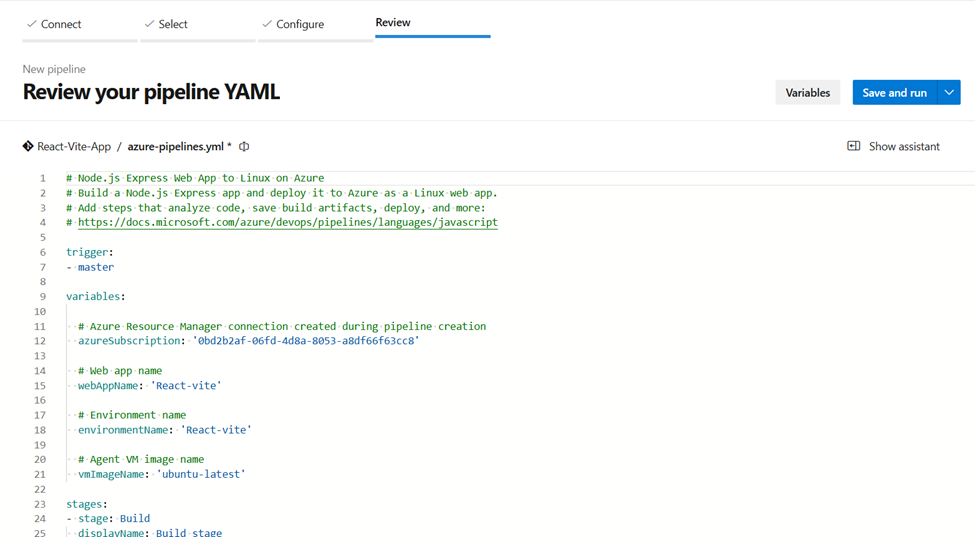
- 5. Replace it with the following:
Delete the default YAML.
trigger:
- main
pool:
vmImage: 'ubuntu-latest'
variables:
node_version: '18.x'
build_dir: 'dist'
steps:
- task: NodeTool@0
inputs:
versionSpec: '$(node_version)'
displayName: 'Install Node.js'
- script: |
npm install
npm run build
displayName: 'Install dependencies and build app'
- task: CopyFiles@2
inputs:
SourceFolder: '$(build_dir)'
Contents: '**'
TargetFolder: '$(Build.ArtifactStagingDirectory)'
displayName: 'Copy build output to staging directory'
- task: PublishBuildArtifacts@1
inputs:
PathtoPublish: '$(Build.ArtifactStagingDirectory)'
ArtifactName: 'drop'
displayName: 'Publish Artifact'
- task: ArchiveFiles@2
inputs:
rootFolderOrFile: '$(Build.ArtifactStagingDirectory)'
includeRootFolder: false
archiveType: 'zip'
archiveFile: '$(Build.ArtifactStagingDirectory)/app.zip'
replaceExistingArchive: true
displayName: 'Archive app for deployment'
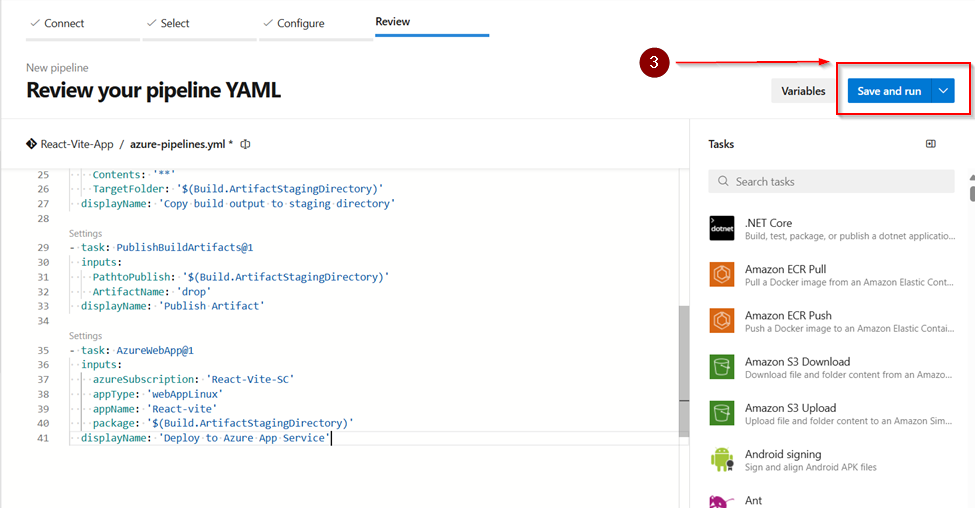
- task: AzureWebApp@1
inputs:
azureSubscription: 'React-Vite-SC'
appType: 'webAppLinux'
appName: 'React-vite'
package: '$(Build.ArtifactStagingDirectory)/app.zip'
runtimeStack: 'NODE|20-lts'
displayName: 'Deploy to Azure App Service'Save and Run
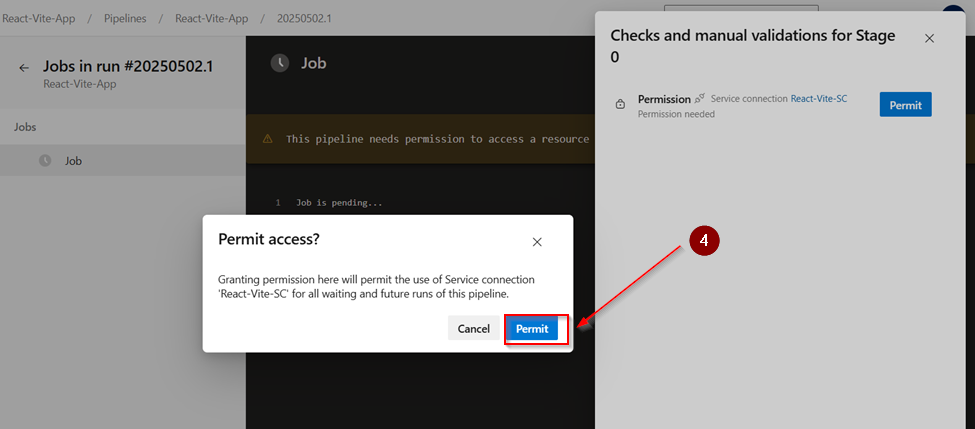
Give me permit access after pipeline run
Final Output
Once the pipeline completes:
– Your React app will be deployed to Azure App Service.
– You can access it using the app’s public URL.

